How to Make the Perfect Lemon Pepper Chicken Sandwich
The Lemon Pepper Chicken Sandwich is one of those deceptively simple dishes that can go spectacularly right or disappointingly wrong. The core question isn't whether you should make one, it's which version actually fits your evening. Fried delivers that shatter-crisp crunch.
Grilled offers a lighter, brighter bite. The air fryer splits the difference. Each method changes the texture, the cook time, and the cleanup, so the "best" answer depends entirely on your situation.
Before we break down each approach, know this: the USDA recommends cooking chicken to a safe internal temperature of 165°F. That single number matters more than your seasoning blend or bun choice. Use an instant-read thermometer every time, because visual cues like clear juices or golden crusts don't reliably indicate doneness.
As of 2026, that guideline remains the gold standard for poultry safety. Now let's figure out which cooking method deserves your stove space tonight.
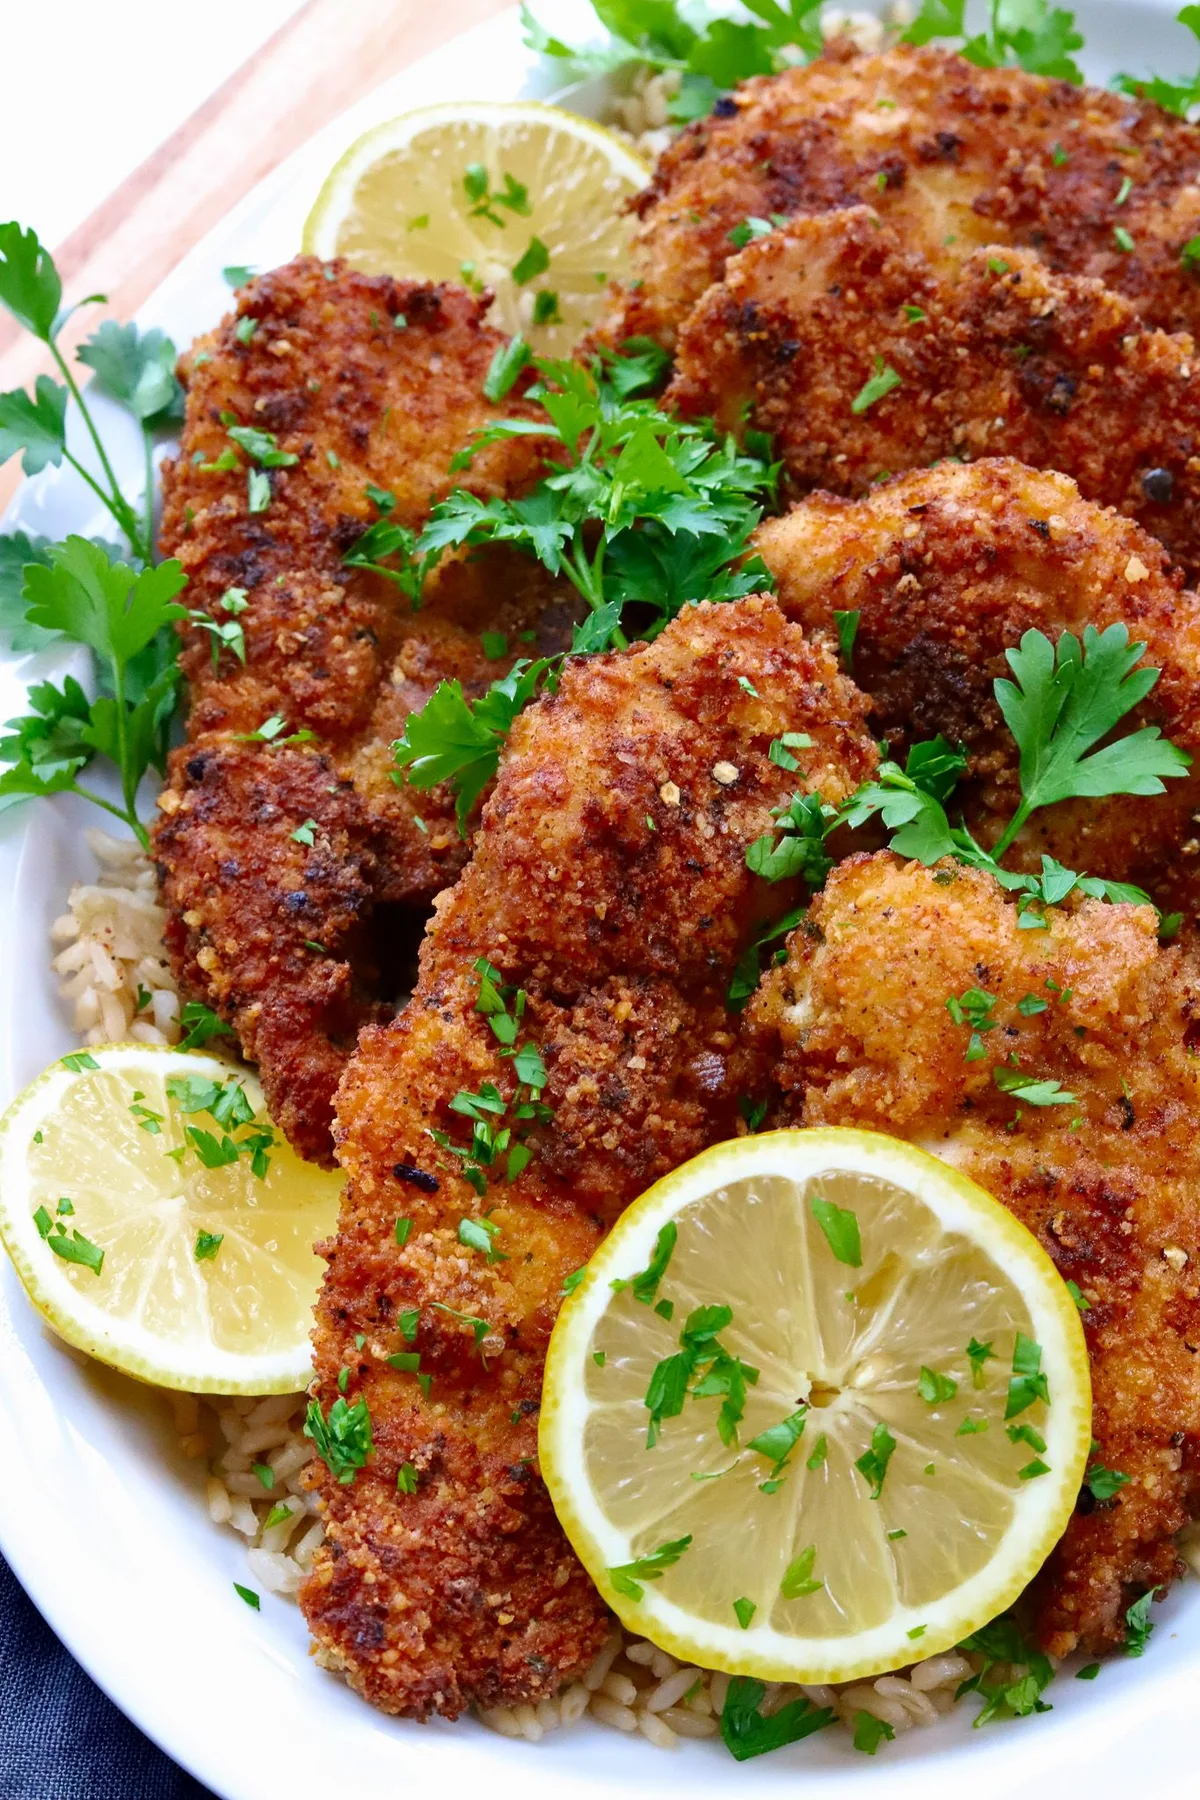
Image source: Bing (Web (fair-use with source credit))
Quick Answer
The best Lemon Pepper Chicken Sandwich depends on your priorities. Fried yields a crispy crust and juicy interior in about 20 minutes of active work. Grilled delivers charred flavor with fewer calories and less cleanup.
Air-fried offers a middle path with reduced oil and decent crunch. Use a thermometer to hit 165°F internally.
Why the Comparison Actually Matters
Most recipes treat this sandwich like there's one correct way to build it. That's misleading. The cooking method fundamentally changes the flavor profile, the texture, and how the lemon pepper seasoning behaves on the surface of the chicken.
Here's the real distinction. A fried crust traps the seasoning in a crunchy shell. The zest and pepper read bold and immediate with every bite.
A grilled surface lets the citrus and spice meld with the char, creating a deeper but subtler flavor. The air fryer sits somewhere between, giving you some crust without the heavy oil.
There's also the practical angle. Fried chicken sandwiches demand a pot of oil, a thermometer, and a bit of patience for cleanup. Grilled versions need a hot pan or grill grate.
Air fryers require a preheat cycle and nothing else. The decision often comes down to how much mess you're willing to handle on a weeknight.
Your choice also affects the bun. A thick, crispy fried cutlet needs a sturdy roll like a brioche bun or a potato roll to hold up. Grilled chicken is softer, so you can get away with a lighter sesame seed bun or even a lettuce wrap.
The bread isn't an afterthought here, it's part of the structural equation.
The Case for the Fried Lemon Pepper Chicken Sandwich
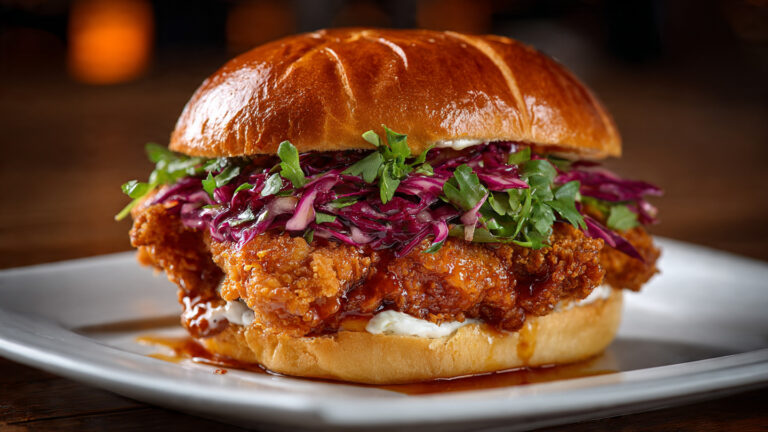
If you want maximum crunch and a crust that locks in every drop of juice, frying is the way to go. This version mimics what you'd get from a quality fast-food spot, but with control over your oil and seasoning.
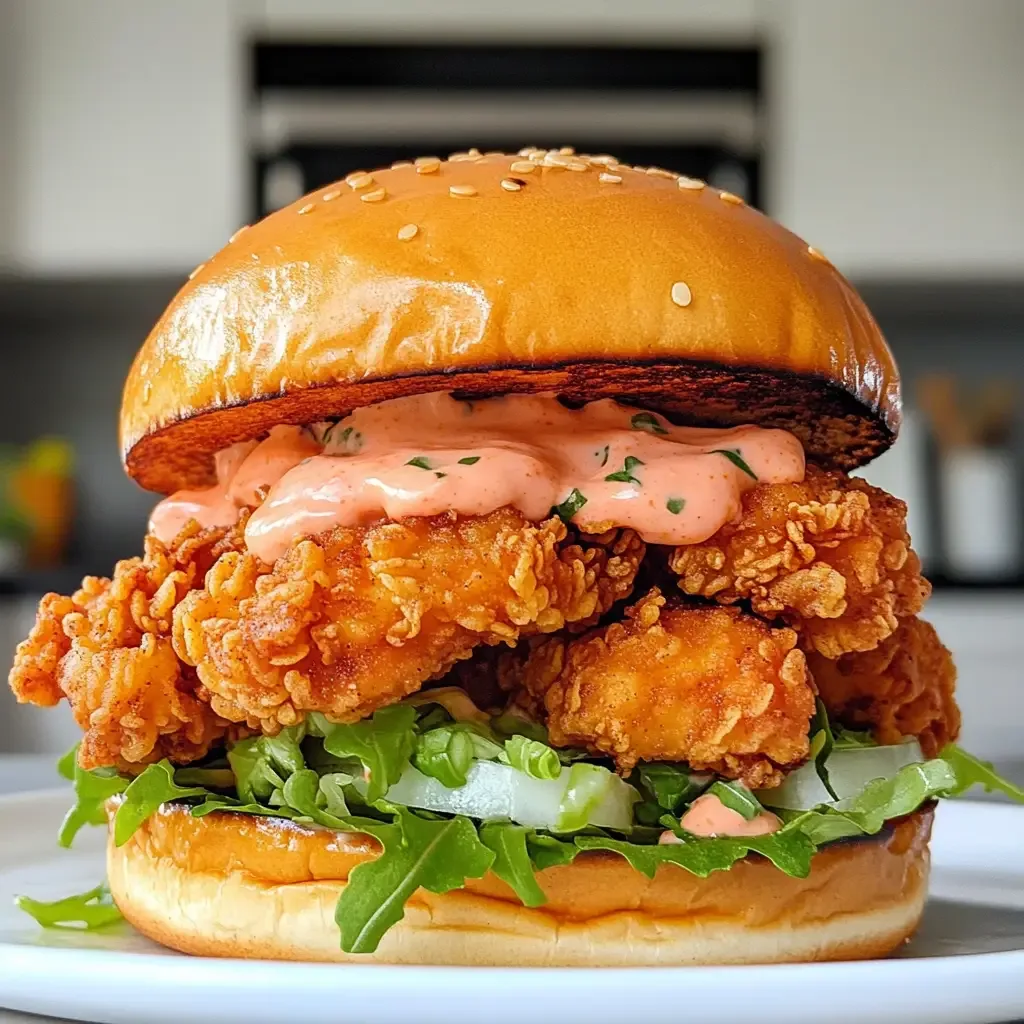
Image source: Bing (Web (fair-use with source credit))
The technique is straightforward but demands attention. Start with a buttermilk brine for at least 30 minutes and up to 4 hours. The acid tenderizes the meat and gives your breading something to cling to.
Then dredge in seasoned flour, shake off the excess, and fry at 350°F in a neutral oil like canola or peanut.
The seasoning goes into the flour, not just onto the raw chicken. Lemon pepper rub mixed into your dredge means every bit of that crispy crust carries the flavor. Add a teaspoon of salt per cup of flour, because underseasoned breading is the most common mistake.
Your rub should include dried lemon zest and cracked black pepper in roughly equal parts.
Cook thin chicken breasts for about 3 to 4 minutes per side. Thicker ones need closer to 5 or 6 minutes. Pull them when the internal temperature reads 165°F.
Let them rest on a wire rack for 3 minutes so the crust stays crisp instead of steaming on a plate.
This version pairs best with a toasted brioche bun that has some structure to it. The slight sweetness of the bun balances the sharp lemon and pepper heat. Add a swipe of mayonnaise and a couple of pickle slices for acidity.
Skip tomato, because it adds moisture that can turn your crispy crust soft within minutes.
The Case for the Grilled Lemon Pepper Chicken Sandwich
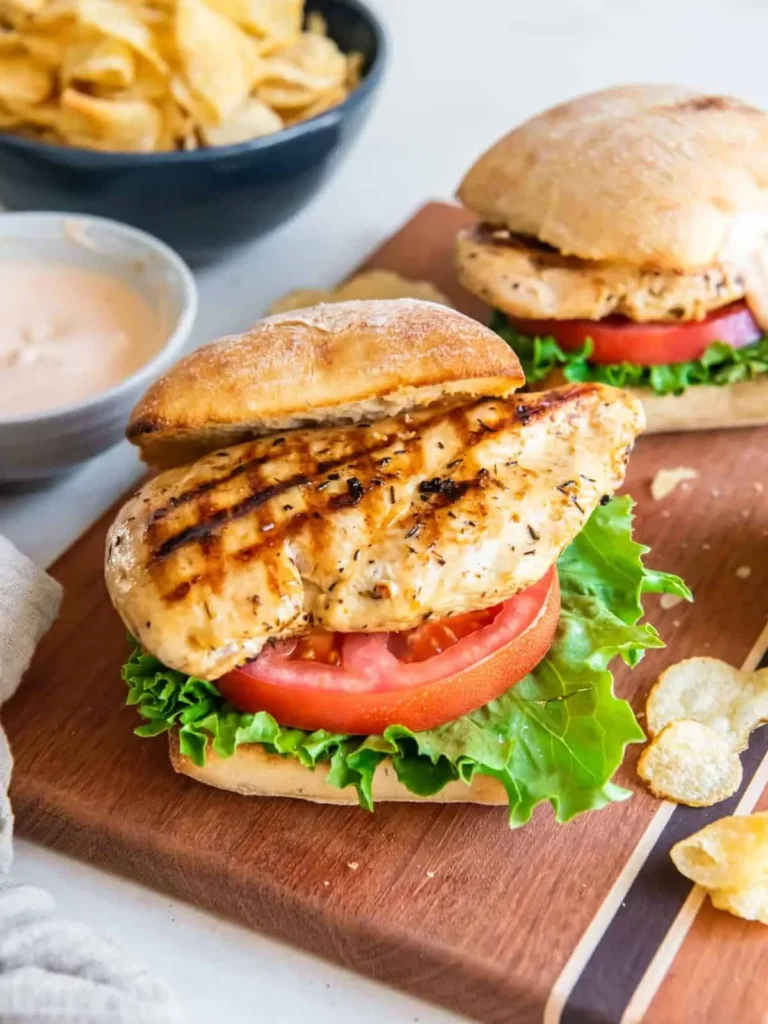
Grilling gives you a completely different sandwich. The lemon pepper becomes part of a marinade, soaking into the chicken rather than forming a shell around it. The result is juicier, lighter, and arguably more refreshing on a warm evening.

Image source: Bing (Web (fair-use with source credit))
The marinade is your starting point. Combine olive oil, the juice and zest of one lemon, cracked black pepper, minced garlic, and salt. A teaspoon of honey helps caramelization and keeps the pepper from becoming harsh.
Let the chicken sit for at least 15 minutes, or up to 2 hours in the refrigerator.
Heat your grill or cast iron pan to medium-high. You want a solid sear that creates those desirable char marks. Cook each side for about 5 to 6 minutes for a medium-thick breast.
The internal temperature should reach 165°F before you pull it off.
Here's the trap many people fall into. The acid in lemon juice can break down chicken proteins over time, leaving a mushy texture if you marinate too long. Keep it under 2 hours.
Also, pat the chicken dry before grilling. Excess marinade will just steam the surface and prevent browning.
This lighter version allows for a different bun strategy. A soft brioche or even a potato roll works well. Consider toasting it on the grill cut-side down for about 45 seconds.
That adds a subtle smokiness and keeps the bread from tearing under the juicy chicken.
You can skip a heavy sauce here. A lemon aioli or simply a smear of garlic mayonnaise complements the char without overwhelming it. Add crisp lettuce and thin-sliced red onion for texture contrast.
The sandwich feels substantial but not heavy.
The Air Fryer Curveball: A Legitimate Third Option
If you've been avoiding the air fryer for chicken sandwiches, it's time to reconsider. This method produces a respectable crunch with about a tablespoon of oil instead of a full pot. That means easier cleanup and fewer calories, while still getting closer to fried texture than grilling.
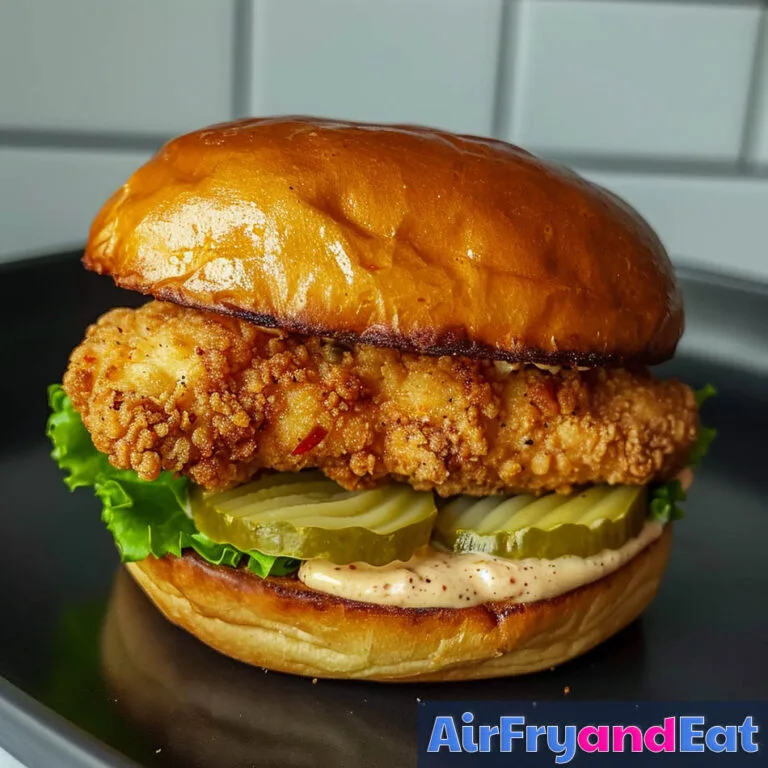
Image source: Bing (Web (fair-use with source credit))
The trick is in the coating. Use panko breadcrumbs mixed with lemon pepper seasoning for a light, airy crust. Dip the chicken in beaten egg, then press into the panko mixture.
Let the breaded cutlets rest for 5 minutes before cooking. That pause helps the coating adhere.
Preheat your air fryer to 375°F. Place the chicken in a single layer, leaving space between pieces so air can circulate. Cook for 10 to 12 minutes, flipping halfway through.
Check the internal temperature after 10 minutes and adjust from there.
The spray matters. Give the breaded chicken a light coat of cooking spray or brush with a thin layer of oil before cooking. Without it, the panko will stay pale and dry.
The oil helps the crust crisp up and brown evenly.
Air fryers vary in heat output, so your first batch is always a learning curve. If the coating isn't brown at 12 minutes, add 2 more minutes and check again. The seasoning can also burn faster in an air fryer.
Use slightly less dried lemon zest here, because the concentrated heat amplifies its bitterness.
This version works best on a sturdy bun with a generous spread of sauce. The added moisture compensates for the slightly drier texture compared to deep frying. A creamy lemon-herb aioli or even ranch dressing works well.
Sauce and Bun: The Silent Partners
You can nail the chicken and still end up with a mediocre sandwich if the sauce and bun are afterthoughts. These two elements carry the assembly, and they're easier to get right than most people think.
The sauce serves as the bridge between the hot chicken and the cool vegetables. It adds moisture, fat, and another layer of flavor. A simple lemon aioli made with mayonnaise, lemon zest, garlic, and a pinch of salt takes about two minutes.
Make it while the chicken cooks.
Butter the cut sides of your bun and toast them in a skillet or on the grill. A light browning adds structure and prevents soggy collapse. This step makes a noticeable difference in how the sandwich holds together.
For the fried version, opt for a brioche bun with good height. For grilled, a classic sesame seed bun or potato roll works. The air fryer version fits either depending on your mood.
Consider acidic toppings like pickles sparingly. A single layer adds brightness, but too many turn the whole sandwich sour. Lettuce should be crisp and dry, because wet lettuce makes the bun go limp faster than almost anything else.
Get the sides right and the chicken shines. Get them wrong and even a perfectly cooked cutlet gets dragged down. It's a team sport, and every component needs to pull its weight.