The Crispy Fried Chicken Sandwich Recipe That Outshines Every Drive-Thru
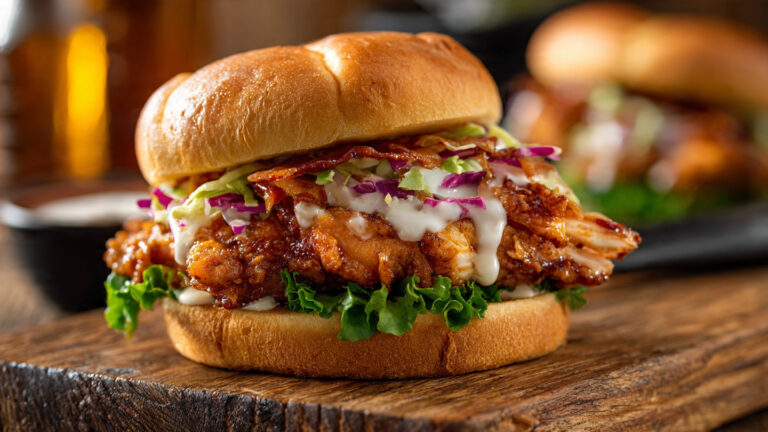
A perfectly executed fried chicken sandwich ranks among the most satisfying foods in American cuisine. The contrast between a shatteringly crisp, golden crust and tender, juicy chicken breast, nestled between soft toasted buns with tangy pickles and creamy sauce, creates an irresistible experience that keeps people coming back for more.
What makes this version exceptional is the double-dredge buttermilk brine that locks in moisture while building a thick, seasoned crust that stays crunchy for minutes after frying. The chicken is seasoned generously from the inside out, and the frying method ensures even cooking without drying out the meat. Whether you crave a classic Southern-style sandwich or a spicy Nashville hot variation, this base recipe adapts beautifully while remaining approachable for cooks of any skill level.
In this comprehensive guide, you will discover how to select the right chicken cut, master the brine and dredge for maximum juiciness and crunch, prepare a signature comeback sauce, and assemble sandwiches that hold up beautifully. The entire process takes about one hour from start to finish, with most of that time being hands-off brining.
Essential Tools
- Large heavy-bottomed pot or Dutch oven for frying
- Deep-fry thermometer or candy thermometer
- Wire rack set over a baking sheet for draining
- Three shallow bowls or pie plates for dredging station
- Meat mallet or rolling pin for pounding chicken
- Tongs and slotted spoon
- Instant-read thermometer for checking chicken doneness
- Sharp knife and cutting board
These tools ensure safety, consistent results, and easy cleanup.
Quick Recipe Snapshot
- Prep Time: 20 minutes (plus 30–60 minutes brining)
- Cook Time: 25 minutes
- Total Time: 1 hour 15 minutes
- Servings: 4 sandwiches
- Difficulty: Intermediate
- Make-Ahead: Chicken can be brined up to 24 hours in advance
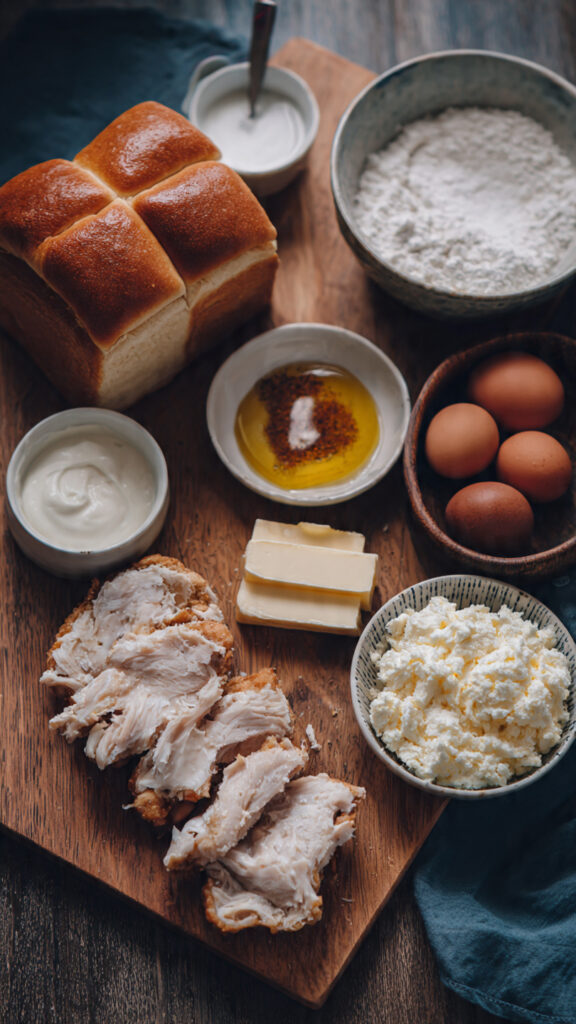
Ingredients
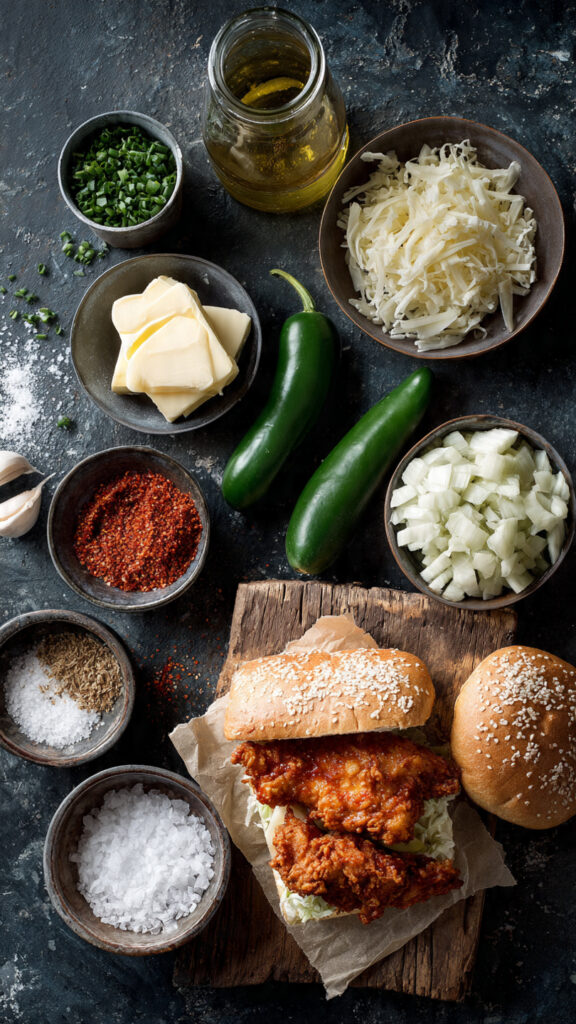
For the chicken and brine
- 4 boneless, skinless chicken breasts (6–8 ounces each)
- 2 cups buttermilk
- 1 tablespoon hot sauce (such as Crystal or Frank’s)
- 2 teaspoons kosher salt
- 1 teaspoon garlic powder
- 1 teaspoon onion powder
- ½ teaspoon smoked paprika
For the seasoned dredge
- 2 cups all-purpose flour
- ½ cup cornstarch
- 2 teaspoons kosher salt
- 2 teaspoons freshly ground black pepper
- 2 teaspoons garlic powder
- 2 teaspoons onion powder
- 1 teaspoon smoked paprika
- 1 teaspoon cayenne pepper (adjust for heat preference)
- 1 teaspoon baking powder
For frying
- 2–3 quarts neutral oil (peanut, canola, or vegetable) for deep frying
For the comeback sauce
- ½ cup mayonnaise
- 2 tablespoons ketchup
- 1 tablespoon Dijon mustard
- 1 tablespoon pickle juice
- 1 teaspoon Worcestershire sauce
- ½ teaspoon garlic powder
- ¼ teaspoon cayenne pepper
- Salt and pepper to taste
For assembly
- 4 brioche buns, split and toasted
- Dill pickle slices (8–12)
- 2 cups shredded iceberg lettuce or coleslaw mix
- Optional: sliced American cheese, hot honey, or Nashville hot oil
Cooking Instructions
Step 1: Pound and Brine the Chicken Breasts
Place each chicken breast between two sheets of plastic wrap. Using a meat mallet or rolling pin, gently pound to an even ½-inch thickness. This ensures uniform cooking and creates more surface area for the crust.
In a large bowl, whisk together buttermilk, hot sauce, salt, garlic powder, onion powder, and smoked paprika. Submerge the pounded chicken completely in the brine. Cover and refrigerate for at least 30 minutes or up to 24 hours. Longer brining yields more tender results, but avoid exceeding 24 hours to prevent mushy texture.
Timing: 5 minutes active, 30–60 minutes minimum rest. Texture cue: chicken should feel supple and slightly plump after brining. Common mistake: skipping the pounding step, resulting in uneven thickness and dry edges. Fix: take time to create uniform pieces. Pro tip: add ½ teaspoon of baking soda to the brine for even more tenderness through additional pH adjustment.
Step 2: Prepare the Seasoned Dredge and Dredging Station
In a shallow bowl, whisk together flour, cornstarch, salt, pepper, garlic powder, onion powder, smoked paprika, cayenne, and baking powder. Set up your station: one bowl with the remaining buttermilk from the brine (or fresh if needed), one with the seasoned flour mixture, and a plate for the dredged pieces.
This step takes 3 minutes. Texture cue: the flour blend should feel light and slightly aerated from the baking powder. Common mistake: using plain flour without cornstarch, which produces a thinner, less crunchy coating. Fix: always include cornstarch for superior crispiness. Pro tip: double-dredge by dipping in buttermilk again and back into flour for an extra-thick crust that mimics restaurant versions.
Step 3: Heat the Oil to Precise Temperature
Pour oil into a heavy pot until it reaches 3–4 inches deep. Heat over medium-high until it registers 350°F on a deep-fry thermometer. Maintain this temperature throughout frying; it is the sweet spot for golden color without burning or leaving the interior undercooked.
Timing: 8–10 minutes to reach temperature. Doneness cue: a small pinch of flour dropped in should sizzle vigorously but not burn instantly. Common mistake: frying at too low a temperature, resulting in greasy chicken. Fix: use a thermometer and adjust heat as needed between batches. Pro tip: fry in batches of two pieces to prevent overcrowding, which drops the oil temperature dramatically.
Step 4: Dredge the Chicken for Maximum Crunch
Remove chicken from brine, letting excess liquid drip off. Dredge each piece thoroughly in the seasoned flour, pressing firmly to adhere. For extra crunch, dip back into buttermilk and dredge a second time. Let the coated chicken rest on a wire rack for 5 minutes; this helps the coating set and prevents it from falling off during frying.
Timing: 5 minutes. Texture cue: the coating should feel dry and slightly tacky. Common mistake: rushing the rest period, causing coating to slough off in the oil. Fix: always allow the 5-minute rest. Pro tip: shake off excess flour gently—too much loose flour creates burnt bits in the oil.
Step 5: Fry the Chicken to Golden Perfection
Carefully lower two coated breasts into the 350°F oil using tongs. Fry for 6–8 minutes, flipping halfway, until the crust is deep golden brown and an instant-read thermometer inserted in the thickest part registers 165°F. Transfer to a wire rack set over a baking sheet to drain. Repeat with remaining pieces, allowing oil to return to 350°F between batches.
Timing: 12–16 minutes total for all pieces. Texture and doneness cues: crust should audibly crackle when pressed; chicken juices should run clear. Common mistake: overcrowding the pot, leading to soggy results. Fix: maintain proper temperature and batch size. Pro tip: skim any floating debris between batches to keep oil clean and prevent off flavors.
Step 6: Make the Comeback Sauce While Chicken Fries
In a small bowl, whisk together mayonnaise, ketchup, Dijon mustard, pickle juice, Worcestershire sauce, garlic powder, cayenne, salt, and pepper until smooth. Taste and adjust seasoning. Refrigerate until assembly.
Timing: 2 minutes. Texture cue: sauce should be thick enough to coat the back of a spoon. Common mistake: using only mayonnaise, resulting in a one-note flavor. Fix: the combination of tangy, sweet, and spicy elements creates balance. Pro tip: make extra sauce—it keeps refrigerated for up to one week and elevates everything from fries to salads.
Step 7: Toast Buns and Assemble the Sandwiches
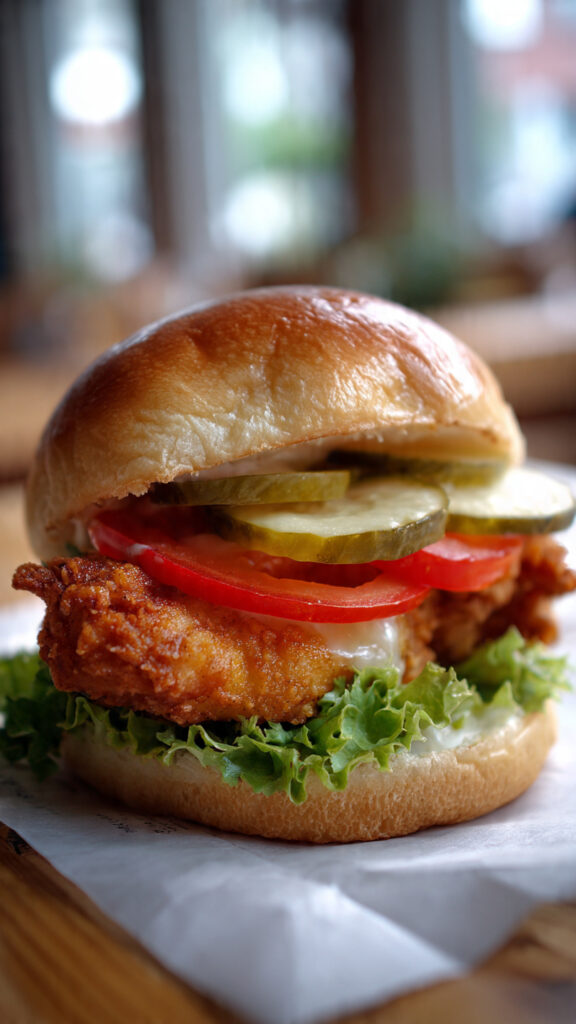
While chicken drains (about 2 minutes), toast the split brioche buns in a dry skillet or under the broiler until golden. Spread comeback sauce generously on both cut sides. Layer bottom bun with pickles, fried chicken breast, shredded lettuce, and additional sauce if desired. Top with the second bun and press gently.
Timing: 5 minutes. Texture cue: chicken should still be audibly crunchy when bitten. Common mistake: assembling on untoasted buns, which become soggy quickly. Fix: always toast for structural integrity. Pro tip: add a drizzle of hot honey or a brush of Nashville hot oil (fryer oil mixed with spices) right after frying for a customizable heat level.
The cooking instructions section provides exhaustive detail to guarantee restaurant-level results at home.
Recipe Variations
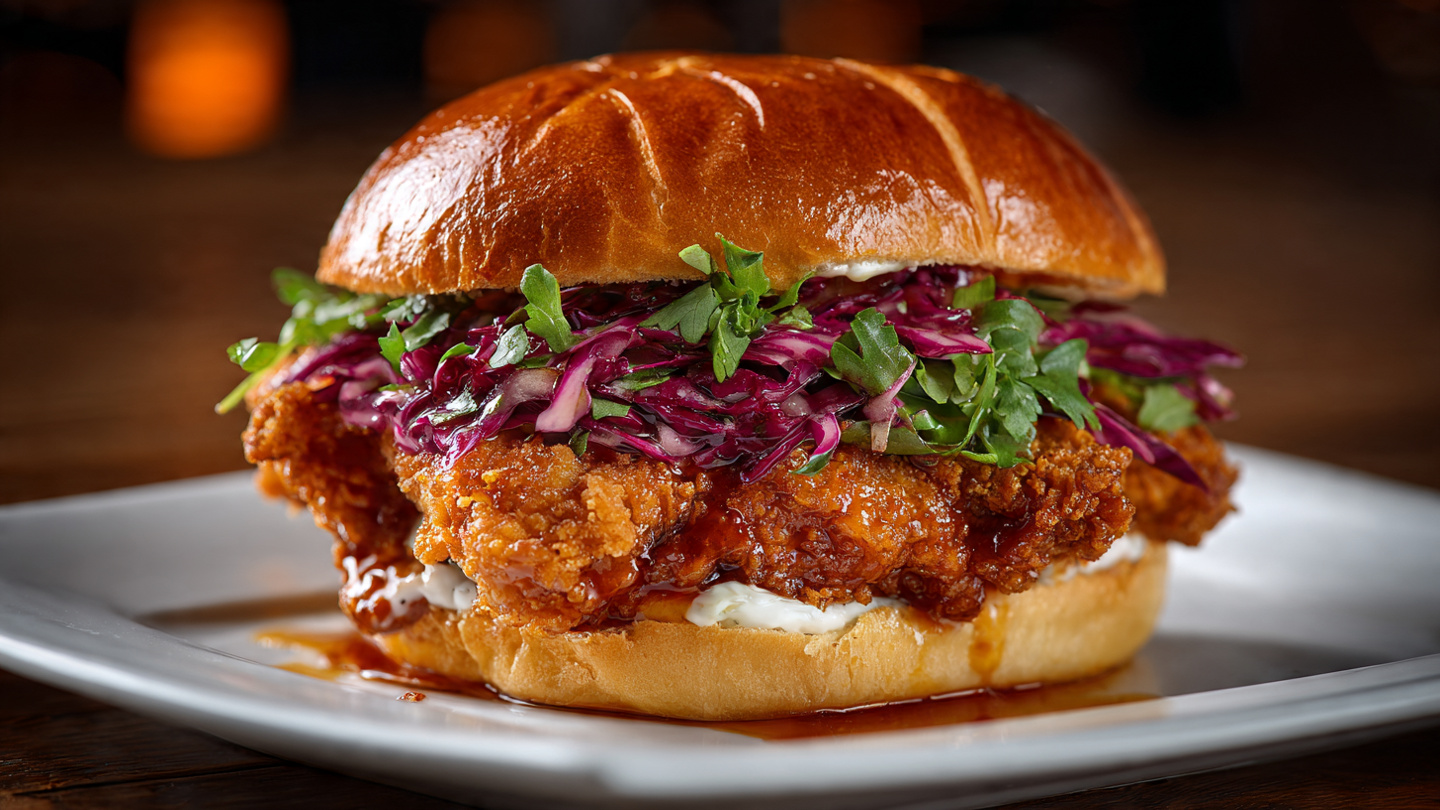
Nashville Hot: Mix ⅓ cup hot oil from the fryer with 2 tablespoons cayenne, 1 tablespoon brown sugar, and ½ teaspoon garlic powder. Brush liberally over fried chicken.
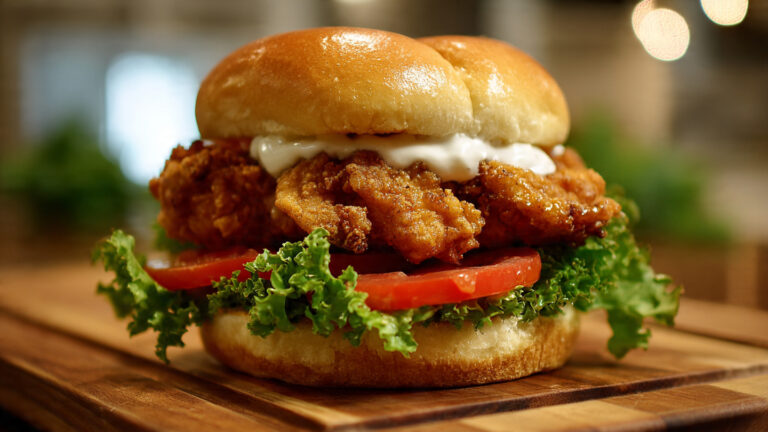
Classic Southern: Omit cayenne from dredge and serve with extra pickles and coleslaw.
Spicy Korean-Style: Add gochujang to the brine and finish with a gochujang-mayo sauce.
Chicken Tender Version: Use chicken tenders instead of breasts for faster frying and kid-friendly portions.
Serving Suggestions
Serve immediately with crinkle-cut fries, potato chips, or a simple coleslaw. Ice-cold sweet tea, lemonade, or craft beer pairs beautifully. These sandwiches also make excellent game-day fare when scaled up.
Storage & Reheating
Fried chicken is best enjoyed fresh, but leftovers can be refrigerated up to 2 days. Reheat in a 375°F oven on a wire rack for 10–12 minutes to restore crispiness. Avoid microwaving, as it softens the crust. The uncooked brined chicken can be frozen up to 1 month; thaw overnight in the refrigerator before dredging and frying.
Common Mistakes & Fixes
| Mistake | Cause | Fix |
|---|---|---|
| Soggy crust | Oil temperature too low | Maintain 350°F and avoid overcrowding |
| Dry chicken interior | Overcooking or uneven thickness | Pound to even ½ inch and use thermometer |
| Coating falls off | No resting period after dredging | Rest 5 minutes on wire rack |
| Greasy chicken | Oil not hot enough or poor draining | Drain on wire rack, not paper towels |
| Bland flavor | Under-seasoned brine or dredge | Taste brine and flour mix before using |
FAQs
Can I use chicken thighs instead of breasts?
Yes. Bone-in or boneless thighs work beautifully and often stay juicier. Increase frying time by 1–2 minutes.
How do I make this less spicy for children?
Omit cayenne from the dredge and hot sauce from the brine. The sandwich will still be flavorful.
What oil is best for frying?
Peanut oil offers the best flavor and high smoke point. Canola or vegetable oil are excellent neutral alternatives.
Can I bake or air-fry instead of deep-fry?
You can, but results will be less crispy. For air-frying, spray generously with oil and cook at 375°F for 18–22 minutes, flipping halfway.
How do I keep the chicken warm for a crowd?
Place fried pieces on a wire rack in a 200°F oven. They will stay crisp for up to 30 minutes.
Is it possible to prepare the dredge ahead?
Yes. Mix the seasoned flour up to 2 days in advance and store in an airtight container.
Conclusion
This fried chicken sandwich recipe transforms simple ingredients into a show-stopping meal that rivals the best restaurants. The careful balance of brine, double dredge, precise frying temperature, and flavorful sauce creates layers of texture and taste in every bite. Once you master these steps, you will confidently produce juicy, ultra-crispy sandwiches that disappear quickly from any table.
Whether enjoyed on a casual weekend or served to guests, this sandwich delivers pure satisfaction. Experiment with the variations to suit your mood, but always respect the core techniques for consistent excellence. Your search for the ultimate homemade fried chicken sandwich ends here—enjoy every crunchy, juicy bite.