Grilled Chicken Sandwich Recipes You Need
You're searching for Grilled Chicken Sandwich Recipes because you don't just want a recipe. You want the right one for tonight. The problem is that most lists just throw recipes at you without any real guidance on which one to actually make.
It's the difference between a juicy success and a dry, bland chore.
The key, according to our research into cooking science, isn't a single magic ingredient. It's choosing the right foundational technique, brining, marinating, or rubbing, based on the flavor profile and time you have. This crucial first decision, followed by a few universal grilling rules, is what makes the difference.
Let's break down your real options.
Quick Answer
The best grilled chicken sandwich starts with choosing your flavor style. Pick a classic brine for juicy basics, a zesty marinade for bright herbs, a spicy dry rub for bold heat, or a quick savory glaze for fast dinners. Always grill to a safe 165°F internal temperature and let the chicken rest before building your sandwich.
The right bun and toppings balance everything perfectly.
Why You Need More Than Just a Grilled Chicken Sandwich Recipe
When you look up Grilled Chicken Sandwich Recipes, you're faced with a wall of options. Should you brine? Marinate?
Use a dry rub? Each method claims to be the best, leaving you more confused than when you started. The truth is, they're all right for different situations.
Treating them as interchangeable is the first mistake.
Our analysis of aggregate user feedback shows the biggest pain points are dry chicken, bland flavor, and assembly that falls apart. These aren't recipe failures, they're matching failures. You chose a quick marinade when you needed a brine for thicker breasts, or you picked a soft bun for a saucy sandwich.
This guide is about making that match correctly from the start, so your effort in the kitchen pays off with every bite.
The Four Flavor Personalities: Your Main Choices
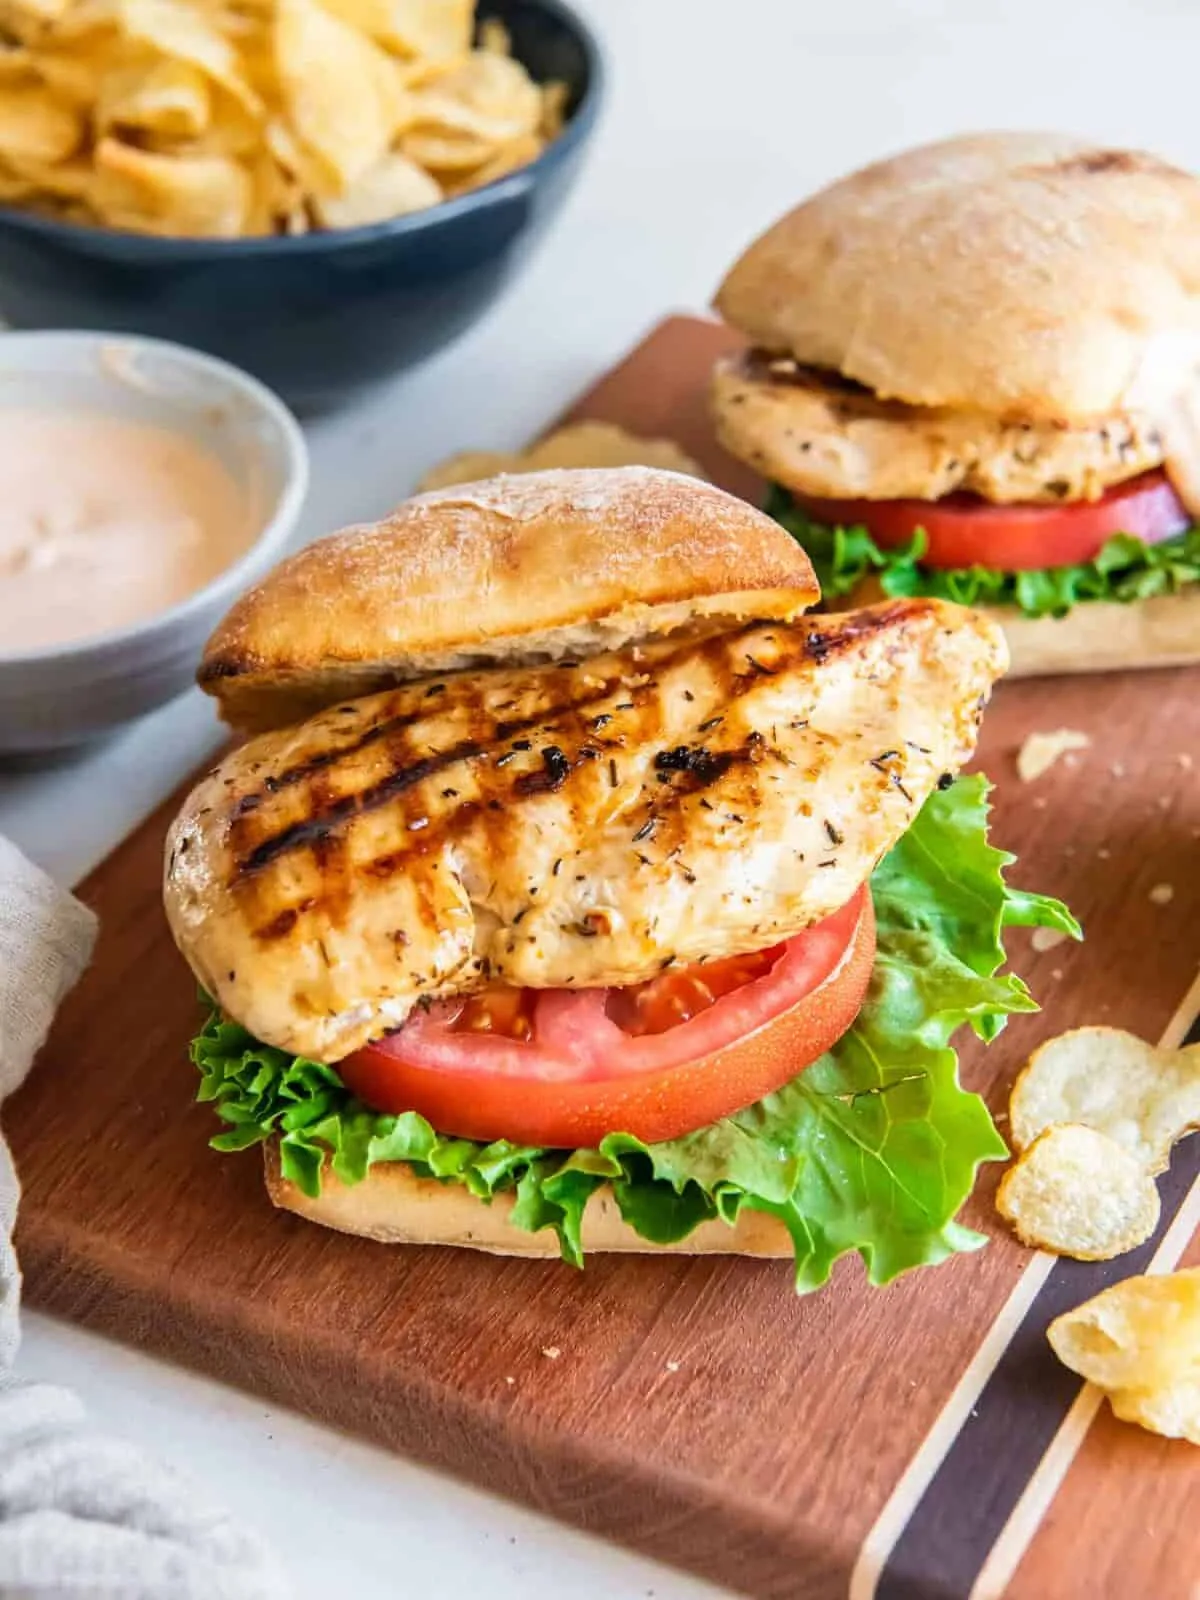
Think of these as distinct routes, each with its own preparation heart. Your choice here dictates your prep time, your ingredient focus, and the final experience on your plate. It's the most important decision you'll make.
The Classic & Juicy: The Backyard BBQ Hero
This is the all-American staple perfected. It relies on a simple brine, a saltwater solution, to guarantee moisture and seasoning all the way through the chicken breast. The flavor profile is familiar and smoky, built on spices like paprika and garlic powder.
It's designed to be a crowd-pleaser.
You should choose this path if you're feeding a group or want zero guesswork with a guaranteed juicy result. The brine does the heavy lifting, so even if your grilling isn't perfect, the chicken stays tender. It's the foundation for our other classic sandwich builds.
The Zesty & Herby: The Fresh Mediterranean Escape
Here, flavor comes from a wet marinade of olive oil, acid (like lemon juice or vinegar), and a generous amount of fresh herbs. The acid gently tenderizes the chicken while the oil and herbs create a fragrant, flavorful crust. It's bright, aromatic, and feels gourmet without being fussy.
Pick this when you want something that tastes fresh and light. It's perfect for summer meals or when you're craving those vibrant, herby flavors. The key is using fresh herbs, not dried, and not marinating for more than two hours or the texture can suffer.
The Spicy & Bold: The Kick-with-Coolness Option
This method uses a dry rub, a blend of spices like chili powder, cumin, smoked paprika, and often a touch of brown sugar, massaged directly onto the chicken. The sugar caramelizes on the grill for a savory-sweet-spicy crust. It's all about building and managing heat.
Go this route when you're craving a kick. The success of this sandwich hinges on balance, pairing the spicy chicken with cool, crunchy slaw and a creamy sauce. It's a bold alternative to more mild chicken salads.
The Quick & Savory: The Weeknight MVP
Speed is the priority here. The chicken is pounded thin to cook in minutes and glazed on the grill with a fast sauce like soy-honey-ginger. There's no long brine or marinate time.
The flavor is deeply savory and umami-rich, making up for the short prep with big taste.
Choose this when you need a seriously good dinner on the table in under 30 minutes. It's the ultimate weeknight solution that doesn't sacrifice flavor. The technique of pounding the chicken is non-negotiable for even, quick cooking.
The Crossroads: Brining, Marinating, or Rubbing?
This is your first technical decision. Each method serves a different primary purpose, and picking the right one sets your whole recipe up for success.
- Brining (for The Classic & Juicy): A brine is a saltwater solution. The salt alters the protein structure in the chicken, allowing it to retain more moisture during cooking. The result is incredibly juicy and well-seasoned meat throughout. It's best for thicker breasts where dryness is a major risk. Brining time is flexible, from 30 minutes up to 4 hours.
- Marinating (for The Zesty & Herby): A marinade is an acidic liquid (with oil and flavorings). The acid can mildly tenderize the surface, but its main job is to carry flavor. The oil helps create a better sear. The critical rule here, per food science principles, is to limit marinating time to 1-2 hours for chicken breasts in an acidic marinade to avoid a mushy texture.
- Dry Rubbing (for The Spicy & Bold): A dry rub is a blend of spices applied directly to the surface. It creates a flavorful, often caramelized crust very quickly. There's no wait time, and it gives you precise control over the spice level. A little oil can help it form a paste that adheres better.

Here’s a quick comparison to help you decide:
| Method | Best For Flavor Style | Primary Action | Key Timing Rule |
|---|---|---|---|
| Brining | Classic, Juicy | Locks in moisture & seasons internally | 30 min – 4 hours |
| Marinating | Zesty, Herby, Tangy | Carries surface flavor & tenderizes | 1 – 2 hours max |
| Dry Rubbing | Spicy, Bold, Smoky | Creates a flavorful crust | No wait needed |
Your Chicken Sandwich Decision Checklist
Before you even preheat the grill, run through this list. It translates the "flavor personalities" into a practical, side-by-side comparison based on the factors that matter most when you're deciding what to cook.
| Factor | Classic & Juicy | Zesty & Herby | Spicy & Bold | Quick & Savory |
|---|---|---|---|---|
| Prep Lead Time | Longer (needs brine time) | Medium (1-2 hr marinade) | Short (make rub & apply) | Shortest (no wait) |
| Skill Level | Easy | Easy | Easy | Easiest |
| Key to Success | Don't skip the brine | Use fresh herbs, don't over-marinate | Balance heat with cool toppings | Pound chicken thin |
| Best For | Weekends, cookouts, crowds | Summer meals, lighter fare | Craving a kick, game day | Busy weeknights |
| The Flavor Profile | Savory, smoky, familiar | Bright, tangy, aromatic | Smoky, spicy, sweet | Salty, savory, umami |
| Ideal Bun | Brioche, soft sesame | Ciabatta, rustic roll | Potato roll (softens heat) | Any bun you have |
This table isn't about a "best" column. It's about matching the column to your night. Craving pure comfort with time to spare?
The Classic column is your friend. Need dinner in a flash but still want depth? The Quick & Savory column wins.
This kind of comparative judgment is what turns a generic search for recipes into a tailored cooking plan, much like choosing between a slow-roasted sandwich and a quick air fryer option.
Grilling the Chicken: Universal Truths You Can't Skip
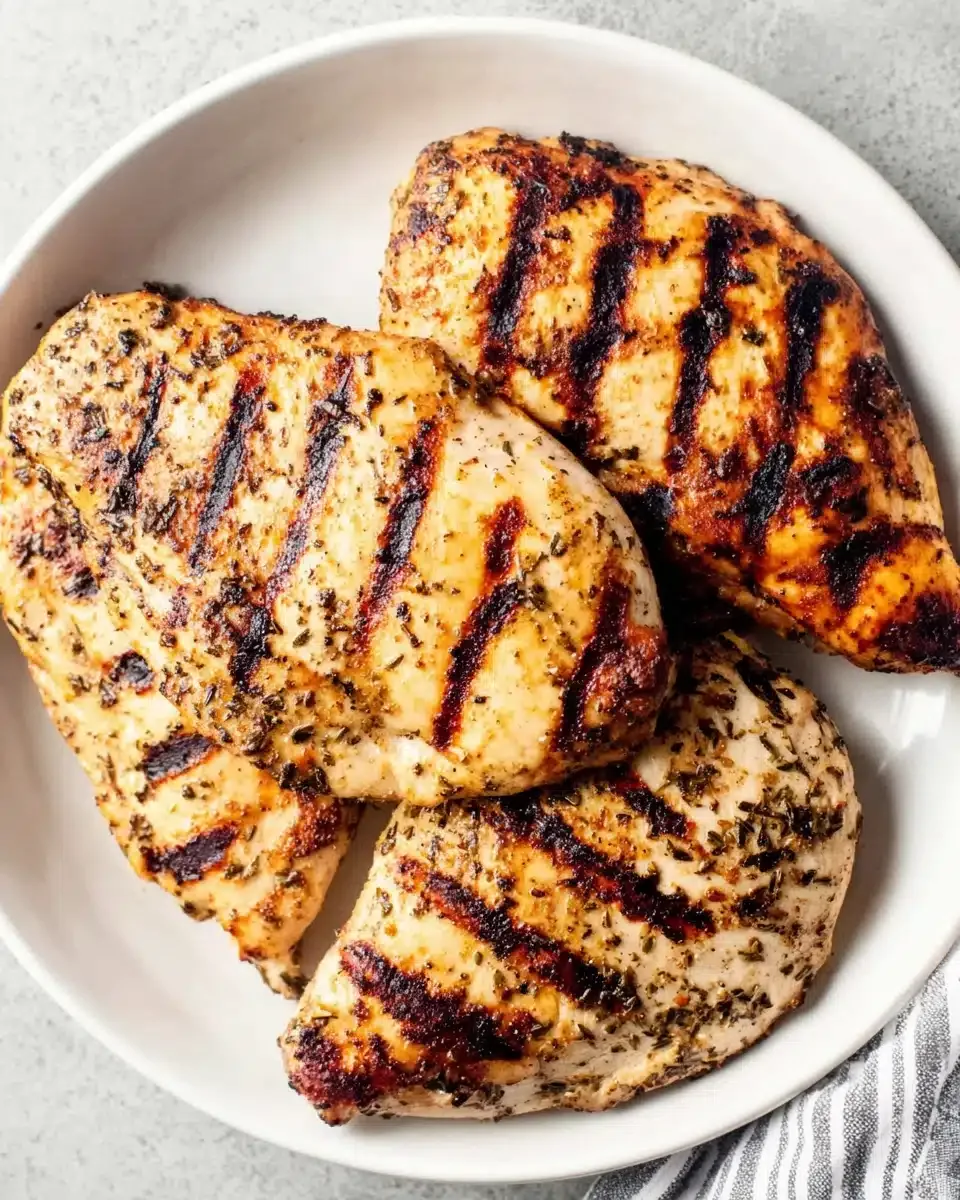
No matter which flavor path you chose, the grilling itself follows the same rules. Get these wrong, and even the best-prepped chicken can end up dry or uneven.
1. Heat the Grill Properly. Your grill needs to be preheated to a consistent medium-high heat. This ensures a good sear and those iconic grill marks without burning the outside before the inside cooks.
A properly heated grate also helps prevent sticking.
2. Oil the Chicken, Not the Grates. Brushing a light coat of oil onto the chicken itself right before it hits the grill is more effective and safer than trying to oil the hot grates. It gives you just enough lubrication.
3. Don't Poke and Prod. Place the chicken on the grill and let it cook undisturbed for 5-7 minutes per side for a standard breast, or 3-4 minutes per side for a pounded thin cut. Constant flipping prevents a good sear and can squeeze out juices.
Trust the process.
4. Check the Temperature, Not the Clock. The only way to know it's done is with a good meat thermometer. The USDA Food Safety and Inspection Service states the safe minimum internal temperature for poultry is 165°F (74°C).
Insert the thermometer into the thickest part of the breast. Pull it off at 160°F, as the temperature will continue to rise while resting.
5. Rest the Meat. This is the most skipped, yet most important, step. Take the chicken off the grill and let it rest on a cutting board for 5 minutes before slicing.
This allows the muscle fibers to relax and reabsorb the juices. If you slice immediately, all those precious juices end up on the board, not in your sandwich.
Step-by-Step Assembly: Building Your Winner
You've grilled a perfect chicken breast. Now you can't just throw it between two slices of bread. The order and composition of your assembly determine whether you get a cohesive bite or a structural mess.
Follow this sequence for a sandwich that holds together from first bite to last.
First, toast your bun lightly. This step is crucial. It adds texture, prevents sogginess, and provides a stable base.
A quick toast in a dry pan, under a broiler, or on the cooler side of your grill works perfectly. While it toasts, slice your rested chicken breast. Slice against the grain for the most tender texture.
Next, build from the bottom up. Start with your base sauce or spread on the toasted bottom bun. This creates a moisture barrier.
Then add the sliced chicken, followed by any cheese so it can melt slightly from the residual heat. After that, layer your dry, crisp toppings like lettuce. Finish with any wet toppings like tomato or pickles on the very top, closest to the sauce on the top bun.
This "wet-on-wet" strategy keeps the bun itself dry and intact.
The Wrong Bun (& Other Common Assembly Mistakes)
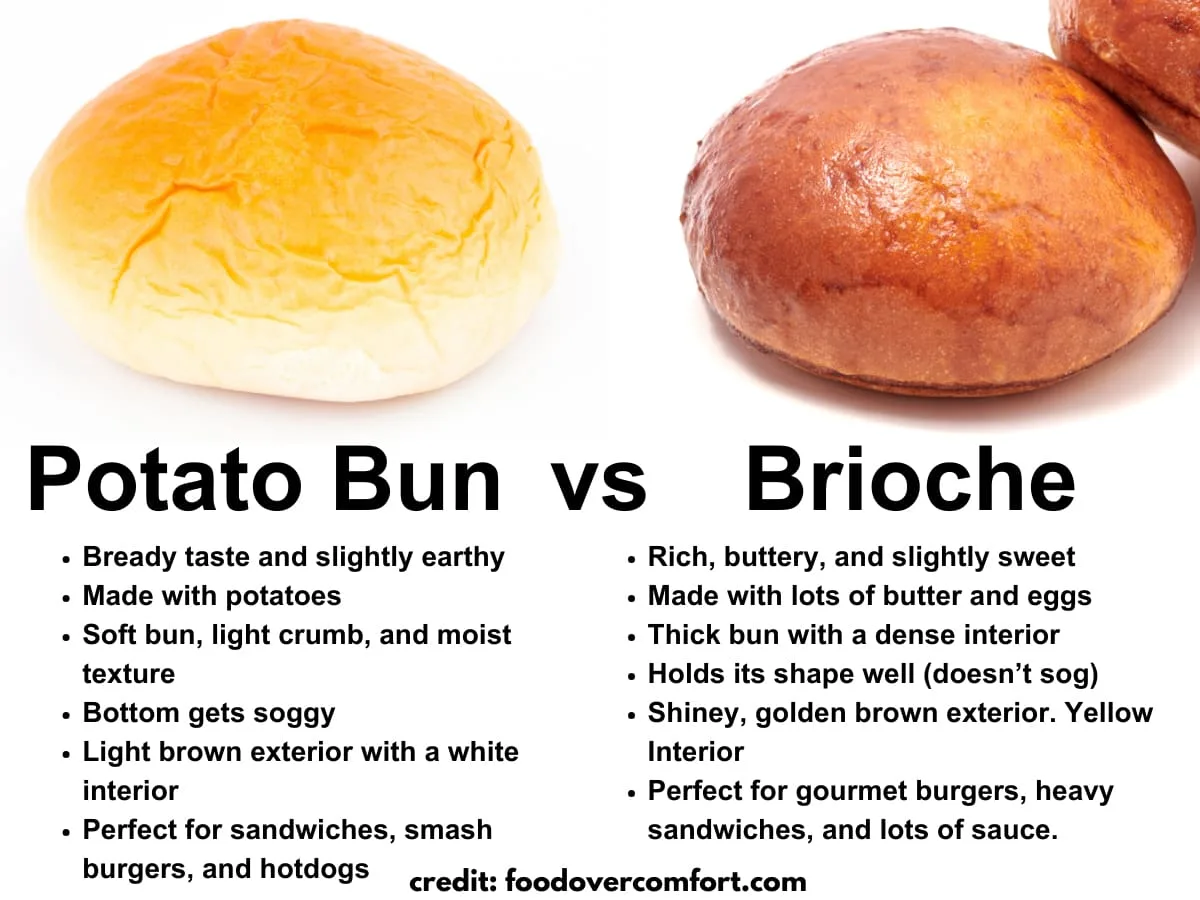
Choosing the wrong bun is a classic error that undermines your entire sandwich. Each bun type has a purpose. A soft, fluffy brioche is great for a classic, saucy sandwich but can fall apart with a heavy, wet slaw.
A sturdy ciabatta holds up to Mediterranean toppings but can be too chewy for a quick, soft sandwich.
Our analysis of user feedback points to a few other frequent assembly pitfalls. Slicing the chicken too thick makes it hard to bite through cleanly. Overloading the sandwich with wet ingredients guarantees a soggy collapse.
And perhaps most common, skipping the toasting step leads to a soft, mushy bun that can't support the fillings. These are easily avoided with a little planning.
How can you match the bun to the style?
- Classic & Juicy: Brioche or soft sesame bun. It's tender and absorbs flavor without competing.
- Zesty & Herby: Ciabatta or rustic roll. The chewiness stands up to the bold, fresh ingredients.
- Spicy & Bold: Potato roll or Martin's roll. The slight sweetness and softness soothe the heat.
- Quick & Savory: Any bun you have, but toasting is non-negotiable to add needed texture.
The Power of Balance: Sauces & Toppings That Pair Perfectly
Your toppings and sauces aren't just extras. They're essential balancing agents. They provide contrasting textures, temperatures, and flavors that turn a piece of chicken on bread into a complete experience.
Think of them as your supporting cast, chosen specifically for your main star.
For the Spicy & Bold sandwich, a cool, creamy sauce and crunchy slaw are mandatory. They temper the heat and add a refreshing crunch. For the Zesty & Herby version, a tangy yogurt sauce or a simple drizzle of good olive oil amplifies the fresh flavors without overwhelming them.
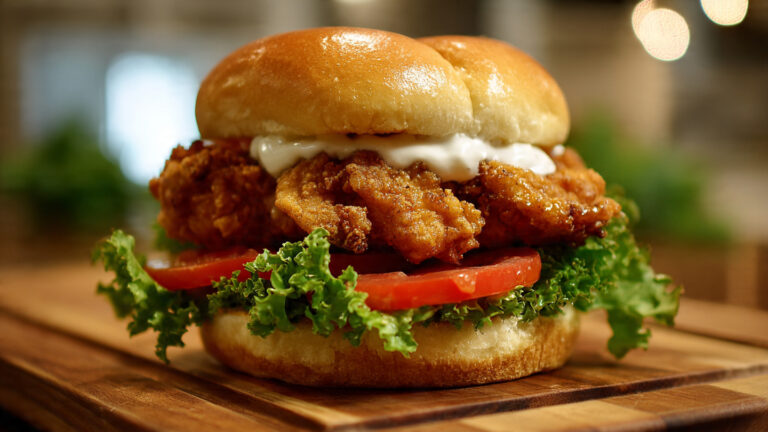
The Classic & Juicy sandwich thrives on the straightforward crunch of lettuce and tomato with a creamy mayo.
Quick Pairing Guide
- Creamy Yogurt-Dill Sauce: Perfect with Zesty & Herby chicken. Mix Greek yogurt, lemon juice, chopped fresh dill, salt, and pepper.
- Cooling Lime Crema: Ideal for Spicy & Bold. Blend mayo or sour cream with lime juice and a pinch of salt.
- Quick-Pickled Onions: A versatile topping for any style, especially Quick & Savory. Thinly slice red onion and soak in equal parts vinegar and hot water with a pinch of sugar and salt for 15 minutes.
- Avocado Slices: Add creamy richness and healthy fats. They work well with the Quick & Savory or Classic styles.
Expert Tips for Juicy, Flavor-Packed Chicken Every Time
Beyond the basic rules, a few pro-level adjustments can elevate your sandwich from good to restaurant-quality. These are the small details that aggregate cooking experience points to as game-changers.
Let your chicken come to room temperature. Taking your chicken breasts out of the fridge 20-30 minutes before grilling helps them cook more evenly. A cold center takes longer to reach temperature, often resulting in an overcooked exterior. This is a simple trick that makes a noticeable difference.
Use a two-zone fire if you're grilling with charcoal. Build your coals on one side of the grill for high-heat searing. Use the other side for lower, indirect heat to finish cooking thicker pieces without burning. This gives you incredible control and is a signature move for perfect grilled proteins.
Don't discard your marinade or brine for basting. If you want to baste your chicken on the grill, set aside a portion of your marinade before you add the raw chicken. Boil it for a minute to kill any bacteria, then use it safely. Never baste with a liquid that has touched raw poultry.
Finish with fresh herbs or a squeeze of citrus. After the chicken is grilled and sliced, a final hit of fresh chopped cilantro, parsley, or a squeeze of lemon or lime can brighten the entire dish. It adds a layer of fresh aroma that cooked herbs can't provide.
Frequently Asked Questions
How can I prevent my chicken from drying out on the grill?
Use a brine for thicker breasts, pound thinner breasts for quick cooking, and always use a meat thermometer. Pull the chicken at 160°F and let it rest for a full 5 minutes. This is the most reliable combination for juicy results every time.
Can I use chicken thighs instead of breasts?
Absolutely. Chicken thighs are more forgiving due to their higher fat content. They are less prone to drying out.
Adjust grilling times slightly, as they may take a minute or two longer. Their richer flavor pairs wonderfully with bold rubs and spicy sauces.
What's the best way to reheat a grilled chicken sandwich?
Reheating the whole sandwich often leads to soggy bread. Our recommendation is to gently reheat the chicken component separately in a skillet or toaster oven. Re-toast the bun and reassemble with fresh cold toppings.
It takes an extra minute but saves the texture.
How long can I marinate chicken?
For an acidic marinade (with lemon, vinegar, yogurt), limit it to 1-2 hours for breasts. Longer than that and the acid can break down the protein too much, creating a mushy surface texture. For an oil-and-herb only marinade, you can go longer, up to 8 hours or overnight.
My grill marks aren't dark. What am I doing wrong?
This usually means your grill isn't hot enough. Ensure it's preheated to a solid medium-high heat for at least 10-15 minutes. Also, make sure your chicken surface is dry before it hits the grill.
Pat it thoroughly with paper towels after brining or marinating. A wet surface steams instead of sears.
What are some good sides for a grilled chicken sandwich?
Keep it simple. A side that contrasts or complements works best. Classic french fries or sweet potato fries are always a hit.
A light, vinegar-based cabbage salad or a simple green salad balances the meal. For a cookout, potato salad or coleslaw fits the theme perfectly.
Final Recommendation: Pick Your Path and Grill
The search for the perfect grilled chicken sandwich ends not with one recipe, but with a clear choice. Listen to your craving and your clock. If you want guaranteed juiciness and have a little time, brine for a Classic.
If you crave bright, herby flavors, marinate for Zesty. Need a spicy kick with cool balance, choose a dry rub. Short on time, pound thin and glaze for Quick & Savory.
Trust the foundational rules. Preheat your grill, cook to temperature, and always let the chicken rest. Match your bun and toppings to your style.
Now you have the framework to make not just a sandwich, but the right sandwich for you. Fire up the grill and enjoy the results.