Air Fryer Frozen Waffle Fries: Perfect Every Time
There’s nothing more disappointing than pulling out a batch of frozen waffle fries from your air fryer only to find them limp, soggy, or burnt to a crisp. You followed the bag’s instructions, so what went wrong? The truth is, nailing frozen waffle fries in air fryer is less about following a single rigid recipe and more about understanding your specific machine and adapting to what you see and hear.
It’s a dynamic process, not a set-it-and-forget-it one.
Our research into dozens of air fryer models and frozen fry brands shows that the ideal temperature hovers between 375°F and 400°F, but the time can vary wildly from 10 to 16 minutes based on your setup. The key is learning to read the cues your air fryer gives you, turning a potentially frustrating guess into a reliably crispy success. Let’s break down exactly how to do that.
Quick Answer
Cook frozen waffle fries in a preheated air fryer at 380°F. Shake the basket after 6 minutes. They typically need 10 to 14 minutes total.
Cook them in a single layer for the crispiest results. Always check for a golden brown color and listen for a faint sizzling sound to stop. Your specific air fryer’s wattage and the fry brand will cause your time to vary.
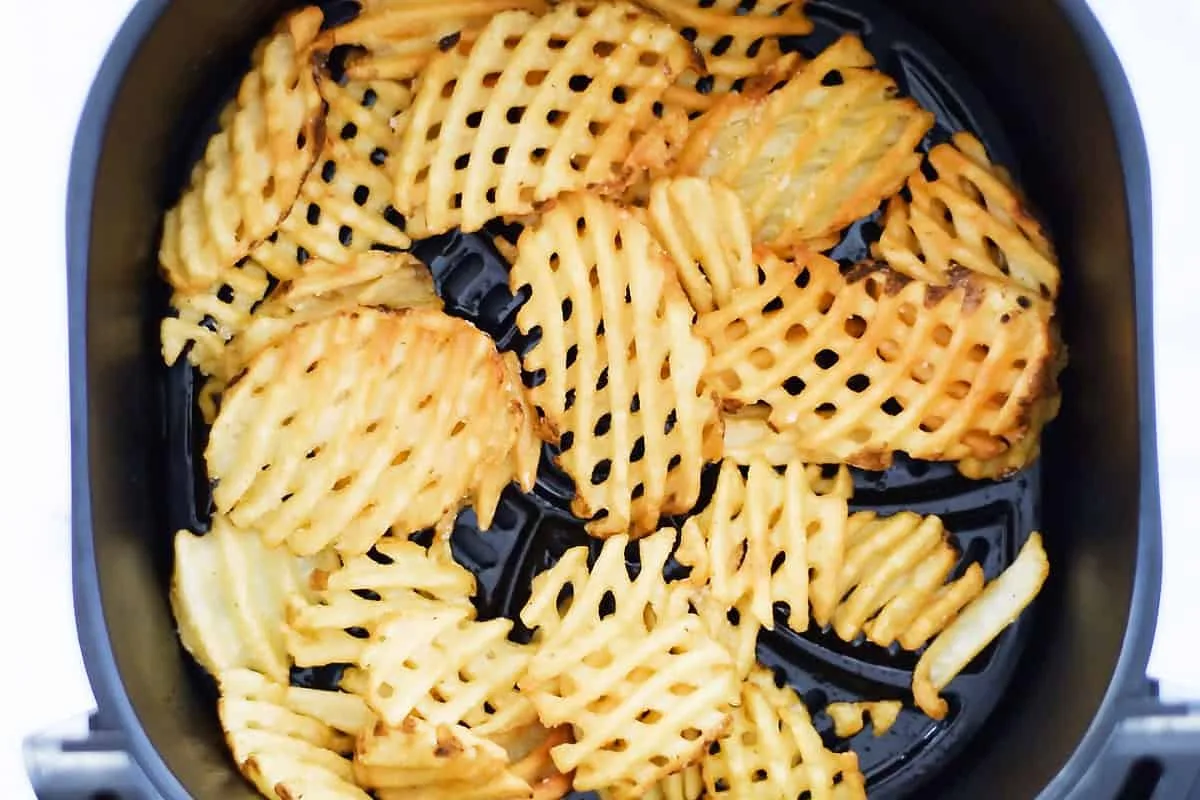
Image source: Web (Bing) / airfryerdinners.com (Web image (fair-use with source credit))
Why Your Frozen Waffle Fries Aren't Crispy (And How to Fix It)
The most common complaint we see is a lack of that satisfying crunch. This usually boils down to one of three issues: overcrowding, insufficient air flow, or misjudging the cooking time. Overcrowding is the biggest culprit.
When fries are piled on top of each other, the hot air can’t circulate properly. Steam gets trapped, and instead of getting crispy, the fries steam each other, resulting in a soft, mushy texture.
Another factor is your air fryer’s wattage. A higher-wattage model (often around 1700W or more) will heat up faster and cook more aggressively than a basic 1400W unit. If you use a time meant for a powerful machine in a less powerful one, you’ll end up with warm but pale fries.
Conversely, using a lower-wattage time in a high-heat machine is a fast track to burnt edges. The brand of fry itself also matters. A thick, battered fry will take longer to crisp than a thin, lightly coated one.
The fix isn’t complicated. It’s about adopting a flexible approach. You must become the conductor of your kitchen, not just a timer-setter.
This means sacrificing quantity for quality by cooking in batches, learning to judge doneness by sight and sound, and not being afraid to pull the basket early if they look perfect. This methodical approach is the secret to nailing other air fryer favorites that also rely on even heat distribution.
The Golden Rule of Air Frying Waffle Fries: It's Not About a Timer
If you take one thing away from this guide, let it be this: the timer on your air fryer is a suggestion, not a command. Relying on it alone is the surest way to inconsistent results. The printed time on your bag of fries is a generic guideline designed for a standard oven’s gentle, ambient heat.
Your air fryer is a concentrated convection hurricane, and it works much faster.
Your true guides are your eyes and ears. You’re looking for a uniform golden-brown color across the waffle fries’ ridges and valleys. You’re listening for the active, faint sizzling sound of moisture rapidly evaporating from the surface.
When that sizzle starts to quiet down and the color is right, your fries are done. This sensory feedback loop is what separates okay fries from fantastic ones.
This principle applies to almost anything you cook with intense, direct heat. Whether you’re making crispy chicken sandwiches or perfect chicken skewers in air fryer, visual doneness is always your most reliable metric. Manufacturer specifications for appliances are tested in lab conditions, but your kitchen is unique.
Embrace that and cook accordingly.
Your Quick-Start Air Fryer Workflow
This is your foundational, no-fail process. Think of it as your baseline recipe that you’ll later learn to tweak based on the decision tree in the next section. Follow these steps exactly for your first batch to establish a benchmark for your machine.
Step 1: Check Your Basket & Preheat
First, ensure your air fryer basket is clean and dry. Any leftover grease or debris can smoke at high heat. For the crispiest start, preheating is recommended.
Set your air fryer to 380°F and let it run for 2 to 3 minutes. This gets the heating element and walls hot before the food even goes in, promoting immediate crisping.
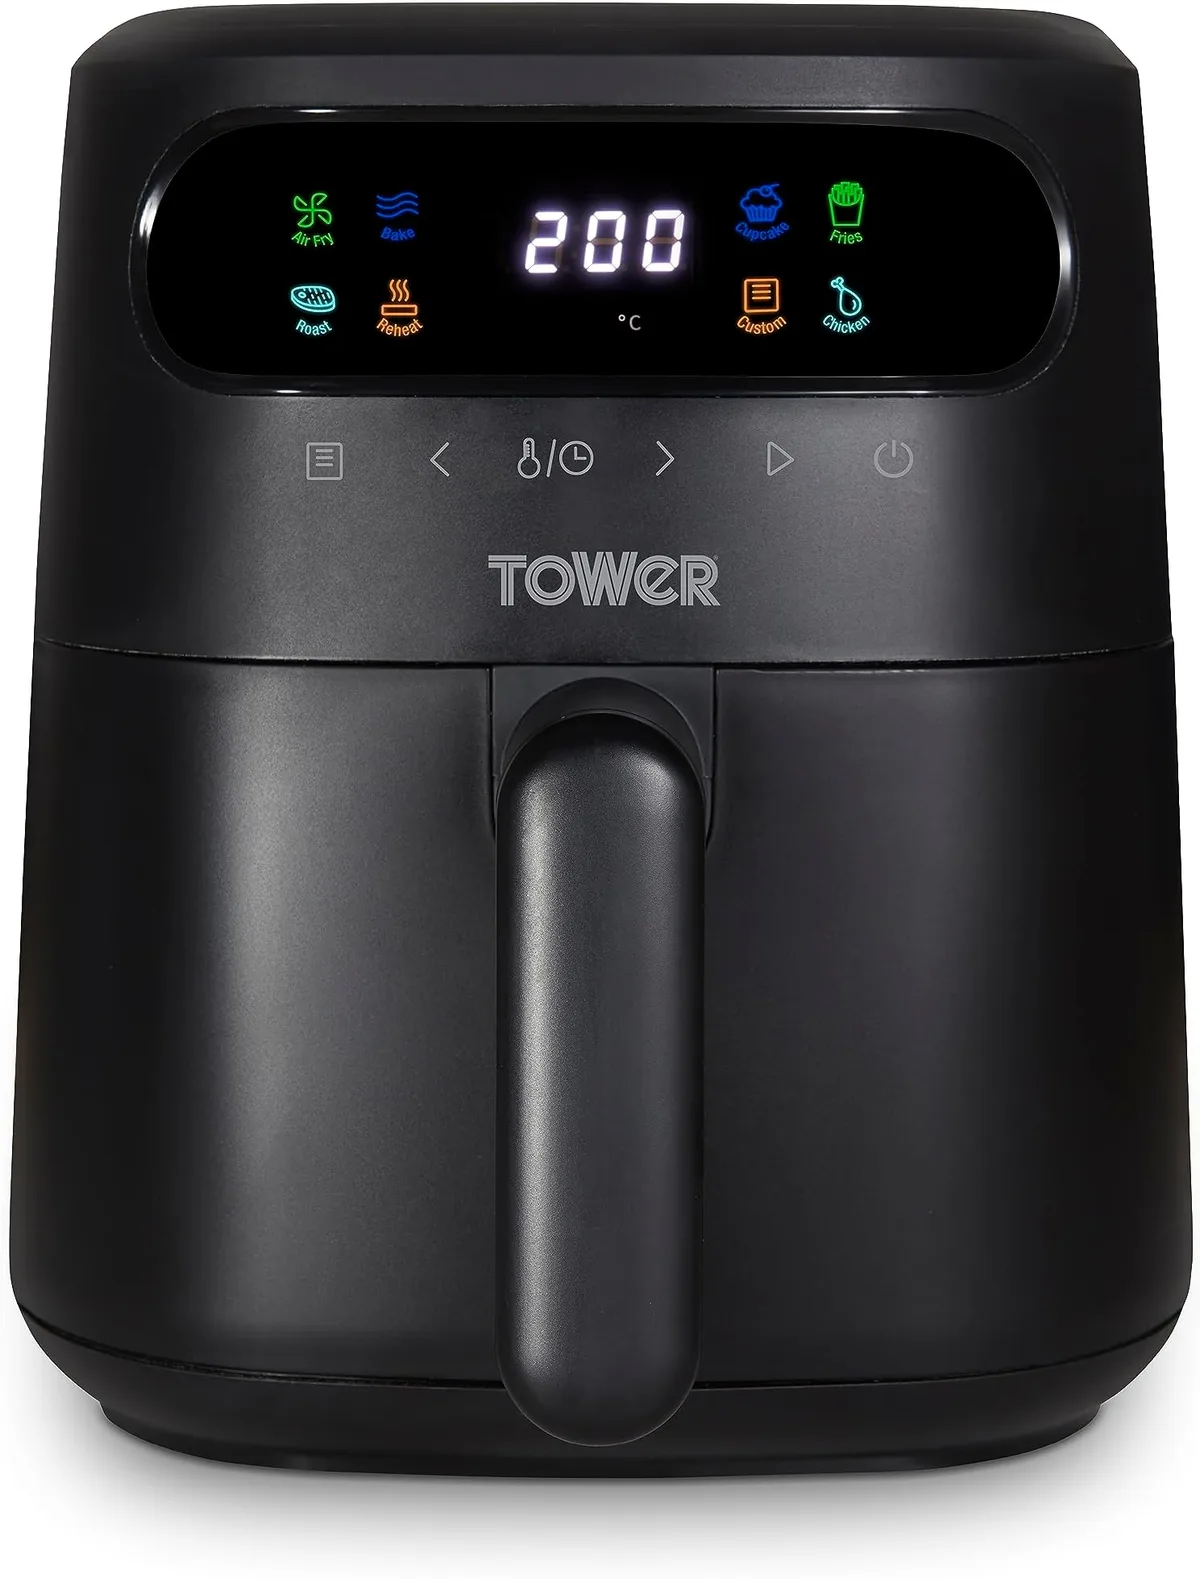
Image source: Web (Bing) / amazon.co.uk (Web image (fair-use with source credit))
Step 2: Toss, Don't Crowd
Take your frozen waffle fries straight from the freezer. Do not thaw them. Place them in the basket and spread them out into a single, even layer.
This is non-negotiable. If you have to stack them, cook in batches. A crowded basket is a steamed basket.
For an extra crispy finish, you can give them a very light spritz of cooking oil, but it’s not strictly necessary.
Step 3: The Magic Middle Shake
Set your timer for 6 minutes at 380°F. When the timer goes off, pull the basket out. This is your first check-in.
Shake the basket vigorously or use tongs to toss and redistribute the fries. The ones on the outside will have started to brown, while those in the center will be paler. This shake ensures every fry gets equal time in the hot air stream.
Return the basket to cook for another 4 to 8 minutes, now watching closely.
The Decision Tree: Finding Your Perfect Time & Temperature
This is where you move from following a recipe to mastering a technique. Use this flowchart logic to dial in your results based on your specific circumstances. Your first batch is a test run to gather intel.
Branch 1: Are Your Waffle Fries Thick-Cut or Thin?
- If they are THICK-CUT or heavily BATTERED (e.g., some name-brand fries): They need more time to cook through without burning. Start at a slightly lower temperature, around 375°F, to allow the interior to heat up. They will likely need the full 14-16 minute range. Their doneness is confirmed when they are firm to the touch and deeply golden.
- If they are THIN or LIGHTLY COATED (e.g., most store brands): They cook very quickly and can burn. Stick with 380°F-400°F but be prepared for them to be done sooner, often between 10-12 minutes. Their doneness is confirmed by a light golden color and a very crisp texture.
Branch 2: Is Your Air Fryer High-Wattage or Basic?
- If you have a HIGH-WATTAGE model (over 1700W): These machines are powerful. They can handle 400°F and will cook fries faster. Be vigilant after the first shake. Your total time will likely be on the shorter end of the range (10-12 minutes).
- If you have a STANDARD or SMALLER model (around 1400-1500W): Your machine needs more time to deliver the same heat. Use 380°F as your anchor temperature and expect to need the longer end of the time range (14-16 minutes). Peek once more after the shake if you’re unsure.
Branch 3: Do You Want Just Hot or Extra Crispy?
- If you just want them HOT (for a quick snack): The baseline 380°F for 10-14 minutes is fine. Pull them when they are hot throughout and lightly golden.
- If you want them EXTRA CRISPY (for a side dish or dipping): Crank the heat to 400°F for the last 2-3 minutes of cooking. Keep a very close eye on them to prevent burning. This blast of high heat drives out the last bit of moisture from the surface.
The Visual & Sound Cues You Should Rely On (Not the Clock)
This is the most important skill to develop. Reliable results come from interpreting the signals your food is sending you.
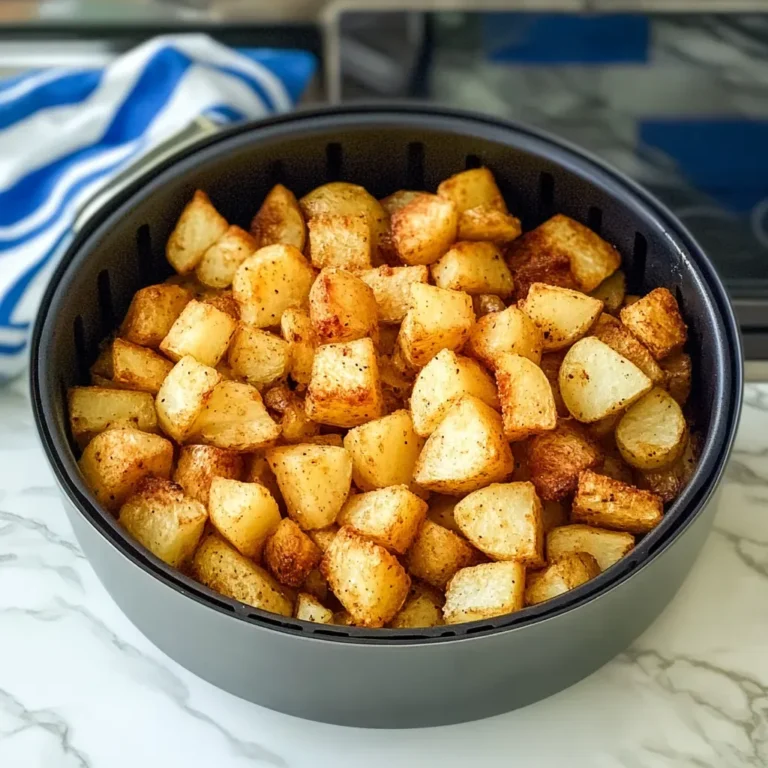
Look for color first. Waffle fries go from a pale, frozen yellow to a vibrant, appetizing golden brown. The ridges should be slightly darker than the valleys, but there should be no pale, frozen spots left.
If you see a few fries that are much darker than the rest, that’s your cue to pull them out and let the rest keep cooking.
Listen for the sound. When you first start cooking, you’ll hear a pronounced sizzle as the surface moisture rapidly evaporates. As the cooking progresses, that sizzle will become quieter and more subdued.
When it’s down to a faint whisper, your fries are likely perfectly crisp and most of the water has been driven out. This is a great indicator, especially if you’re cooking a simple side to go with a main dish.
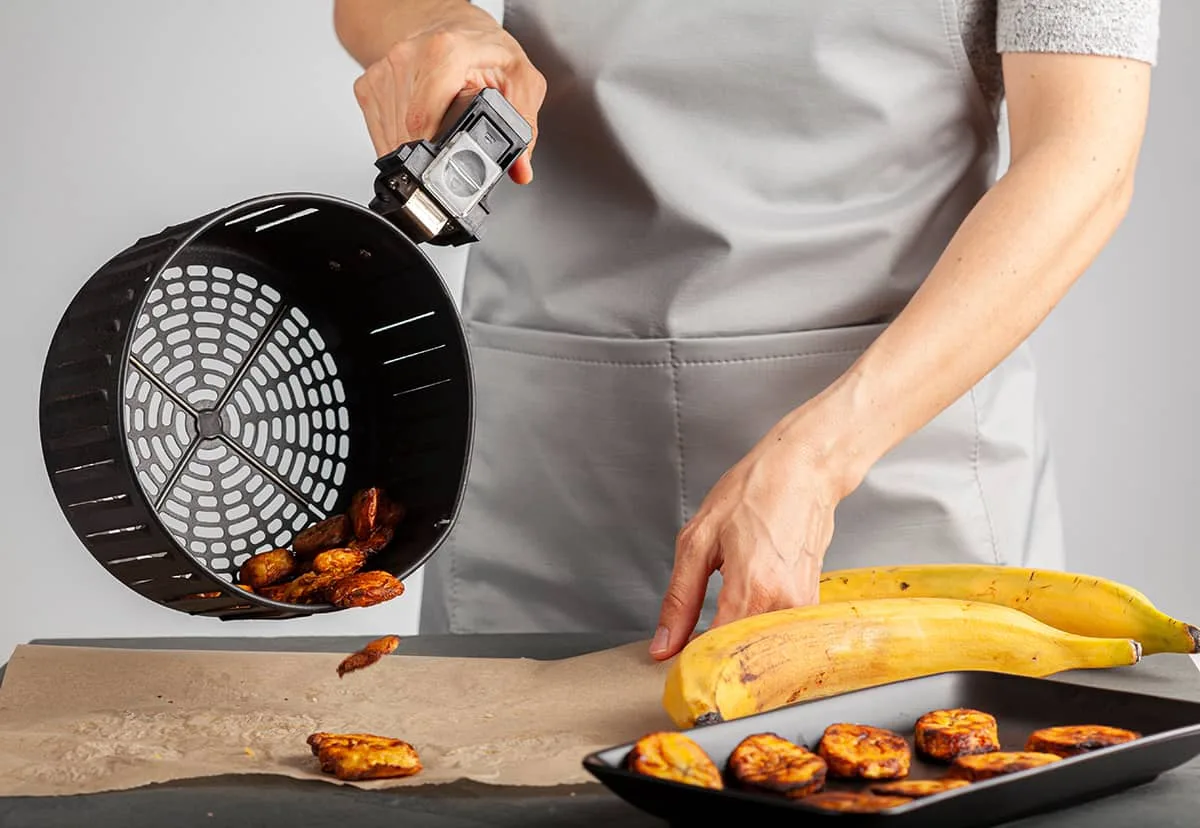
Image source: Web (Bing) / howdykitchen.com (Web image (fair-use with source credit))
The texture test is the final confirmation. Carefully remove one fry and let it cool for a few seconds. Tap it on a plate.
It should sound hollow and feel rigid. If it bends easily or feels soft, it needs more time. If it snaps, it’s done.
This hands-on check is foolproof and ensures you never serve a soggy fry again.
Common Mistakes That Lead to Soggy or Burnt Fries
Even with the best intentions, it's easy to slip up. Here are the most frequent errors we see and how to avoid them completely.
Mistake 1: The Frozen Block Dump
The worst thing you can do is empty the entire frozen brick of fries directly into the basket. They'll freeze together into an impenetrable mass that cooks unevenly. Instead, break up the block while it's still in the bag.
Give it a few good taps on the counter to separate the fries before you pour them out. This simple step ensures every fry gets exposed to the hot air from the start.
Mistake 2: Skipping the Mid-Cook Shake
We've mentioned it, but it's worth repeating. Forgetting to shake the basket is the primary cause of inconsistent results. The fries on the outer edges get blasted with direct heat and burn, while those in the center stay pale and soggy.
Set a timer for the halfway point as a hard reminder. This one action is more important than your starting temperature.
Mistake 3: Using the Wrong Oil Spray
Many aerosol cooking sprays contain lecithin or propellants that can damage the non-stick coating of your air fryer basket over time. If you want to add a light coat of oil for extra crispiness, use a refillable oil mister filled with a high-heat oil like avocado or canola oil. A light spritz is all you need.
Over-oiling will make the fries greasy and can cause smoking.
Another common error is not accounting for carryover cooking. When you pull the basket out, the fries are still incredibly hot and will continue to cook for a minute or two on their own tray. If you wait for them to look perfect in the basket, they might be overdone by the time you eat them.
It's better to pull them when they're almost perfect, knowing they'll crisp up that last little bit as they cool. This is the same principle used for getting the perfect crust on a roasted chicken sandwich.
Air Fryer vs. Oven: When to Choose Which
Both appliances can cook frozen waffle fries, but they serve different purposes. Your choice should depend on the outcome you want and how much time you have.
The air fryer is your champion for speed and texture. It preheats in minutes and cooks fries in 10 to 16 minutes total. The intense, circulating air creates a uniquely crispy exterior that's hard to match.
It's the undisputed winner for small to medium batches where crunch is the top priority. It's also more energy-efficient for cooking a single sheet pan's worth of food.
The conventional oven is better suited for feeding a crowd. You can spread multiple bags of fries across two large baking sheets. While it takes longer, about 20 to 25 minutes including preheating, the total output is much higher.
The oven's heat is gentler and less direct, resulting in a fry that is cooked through and pleasantly warm, but often less shatteringly crisp than an air fryer version.
Here’s a quick breakdown to help you decide:
| Scenario | Best Appliance | Why |
|---|---|---|
| Quick snack for 1-2 people | Air Fryer | Unbeatable speed and crispiness. |
| Feeding 4+ people | Oven | Larger capacity to cook everything at once. |
| Ultimate crispy texture | Air Fryer | Superior air circulation dries the surface faster. |
| You're already using the oven | Oven | No need to dirty another appliance. |
If you're using the oven, follow the package directions but place the fries on a parchment-lined sheet. For extra crispiness, use a preheated sheet pan and avoid overcrowding, just like in the air fryer. This method is great when you're preparing a larger spread, like a build-your-own Mexican chicken taco salad bar.
Pro Tips for Next-Level Waffle Fries
Once you've mastered the basics, these small tweaks can elevate your fries from great to exceptional.
The Single-Layer Sacrifice
We've said it before, but it's the ultimate pro tip. Cooking in a single layer is the single biggest factor influencing crispiness. It feels like a hassle, but the result is a perfectly cooked batch every time.
If you're cooking for a group, cook in batches and keep the finished fries warm on a wire rack in a 200°F oven. This prevents them from getting soggy while you finish the rest.
The Seasoning Shake
Add your seasoning after cooking. Salt and spices can burn or inhibit crisping if applied before. As soon as the fries come out of the air fryer, transfer them to a bowl.
While they're still piping hot, toss them with salt, garlic powder, paprika, or any other seasonings you like. The residual heat will help the seasoning adhere perfectly.
The "Keep Warm" Trick
Most modern air fryers have a "keep warm" function. If you're juggling multiple dishes, use it. Transfer the cooked fries to a plate or bowl and let the air fryer hold them at a warm temperature.
This is far better than letting them sit and steam themselves soft on a plate. It keeps them hot and crisp until you're ready to serve.
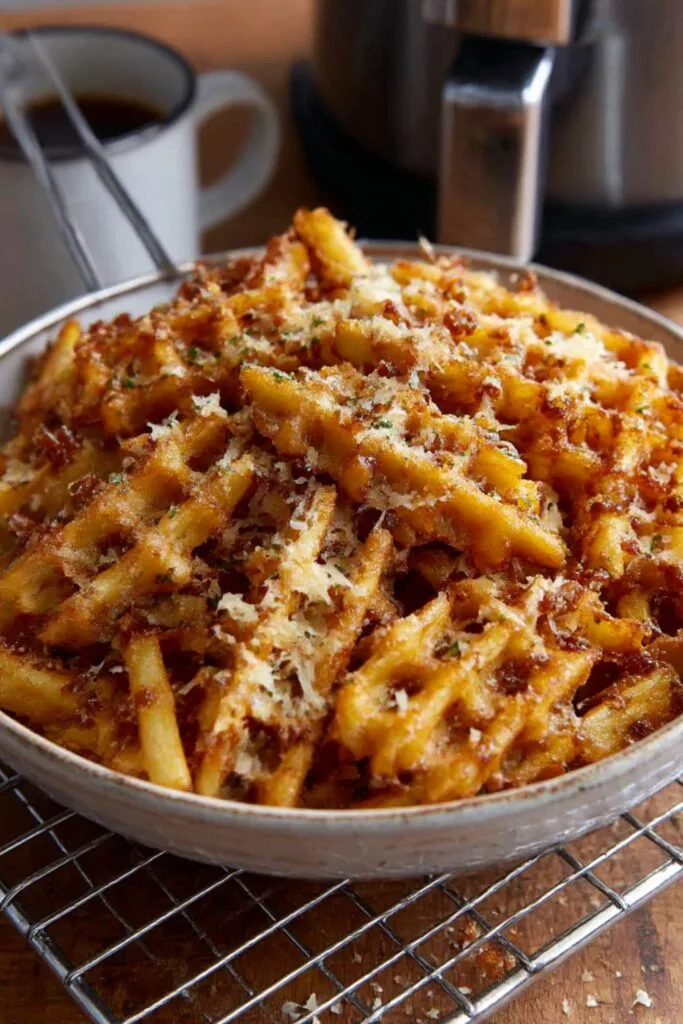
Image source: Web (Bing) / wellcookedmeal.com (Web image (fair-use with source credit))
For a truly restaurant-style treat, serve them with a great dipping sauce. They're the perfect vehicle for everything from classic ketchup to a creamy ranch dressing perfect for a classic chicken salad. The contrast of the hot, salty fry with a cool, creamy dip is what makes them so irresistible.
Safety & Care: Handling the Hot Stuff
An air fryer gets extremely hot, and a moment of carelessness can lead to a nasty burn. Always use oven mitts or a thick kitchen towel when handling the basket, especially when shaking it. The basket handle itself can heat up significantly during a long cook cycle.
Be mindful of the steam that rushes out when you pull the basket open.
Always place your air fryer on a stable, heat-resistant countertop. Give it plenty of space around the sides and back for ventilation, at least 5 inches. The exhaust vent releases very hot air, so keep it clear of cabinets, curtains, and walls.
Never place anything on top of the unit while it's operating.
Cleaning is also a part of safety. Allowing grease and food debris to build up inside the appliance can become a fire hazard. According to the USDA Food Safety guidelines, regular cleaning is essential for safe appliance operation.
After each use and once the unit has completely cooled, wipe out the basket and interior with a soft sponge, warm soapy water, or a dishwasher-safe basket.
Never use abrasive scouring pads or harsh chemicals on the non-stick coating. If you use an aerosol cooking spray against our recommendation and notice a sticky residue, a paste of baking soda and water can help gently remove it without damaging the surface. Proper care ensures your appliance lasts for years and operates safely.
Your Final Decision Guide: A Simple Checklist
Before you start your next batch, quickly run through this list. It consolidates everything we've covered into a foolproof pre-flight check.
- Basket Check: Is the air fryer basket clean, dry, and free of old grease?
- Preheat: For optimum crisp, preheat to 380°F for 2-3 minutes.
- Portion: Pour out a portion that will fit in a single layer. Put the rest of the bag back in the freezer.
- Arrange: Spread the frozen fries evenly. No stacking.
- Set Temp & Time: Start with 380°F for 6 minutes as your first checkpoint.
- Shake: At the halfway mark, shake the basket vigorously to redistribute.
- Observe: For the second half of cooking, watch for color and listen for the sizzle.
- Test: Use the snap test on one fry to confirm doneness.
- Season & Serve: Toss with salt and seasoning in a bowl immediately after cooking.
This checklist turns the decision tree into a simple, actionable routine. After a few batches, you'll do it on autopilot. The goal is to make perfectly crispy waffle fries a reliable result, not a lucky accident.
This methodical approach to cooking translates to other dishes, helping you master everything from easy weeknight tacos to more involved family meals.
Frequently Asked Questions
Can I cook them straight from the freezer?
Absolutely. You always want to cook frozen waffle fries directly from frozen. Thawing them first will make them mushy and they will steam instead of crisp up in the air fryer.
The frozen state is key to achieving that perfect texture.
Do I really need to use any oil?
Not necessarily. Most frozen waffle fries are already pre-treated with a light coating of oil. They will crisp up fine on their own.
However, a very light spritz of additional oil can enhance browning and take the crispiness to the next level, especially if you're using a thinner-cut fry.
My fries are cooking unevenly. What's wrong?
This is almost always caused by overcrowding the basket. If the fries are piled on top of each other, the hot air can't circulate. Cook in smaller batches to ensure a single layer.
Also, make sure you are shaking the basket at the midway point to move the center fries to the outside.
Can I reheat leftover waffle fries in the air fryer?
Yes, it's the best way to bring them back to life. Reheat them at 350°F for 2 to 4 minutes. This will re-crisp the exterior without burning them.
The microwave will only make them soft and chewy, so the air fryer is your only good option for leftovers.