How to Label Air Fryer Containers for Easy Meal Prep
If you’ve ever pulled a foggy, unlabeled container from the fridge and guessed whether it’s pre-cooked chicken or leftover fries, you know exactly why learning how to label air fryer containers for meal prep is a total game-changer for busy home cooks. Standard permanent markers smudge on greasy surfaces. Cheap paper stickers melt during high-heat reheating.
Illegible handwriting leads to avoidable food waste every single week.
Per USDA food safety guidelines, pre-cooked air fryer meals stay safe in the fridge for just 3 to 7 days, so clear dating on labels isn’t just a convenience, it’s a way to avoid spoiled food. The right labeling system cuts down on guesswork and keeps your meal prep running smoothly. Let’s start with why most off-the-shelf labels fail for air fryer containers.
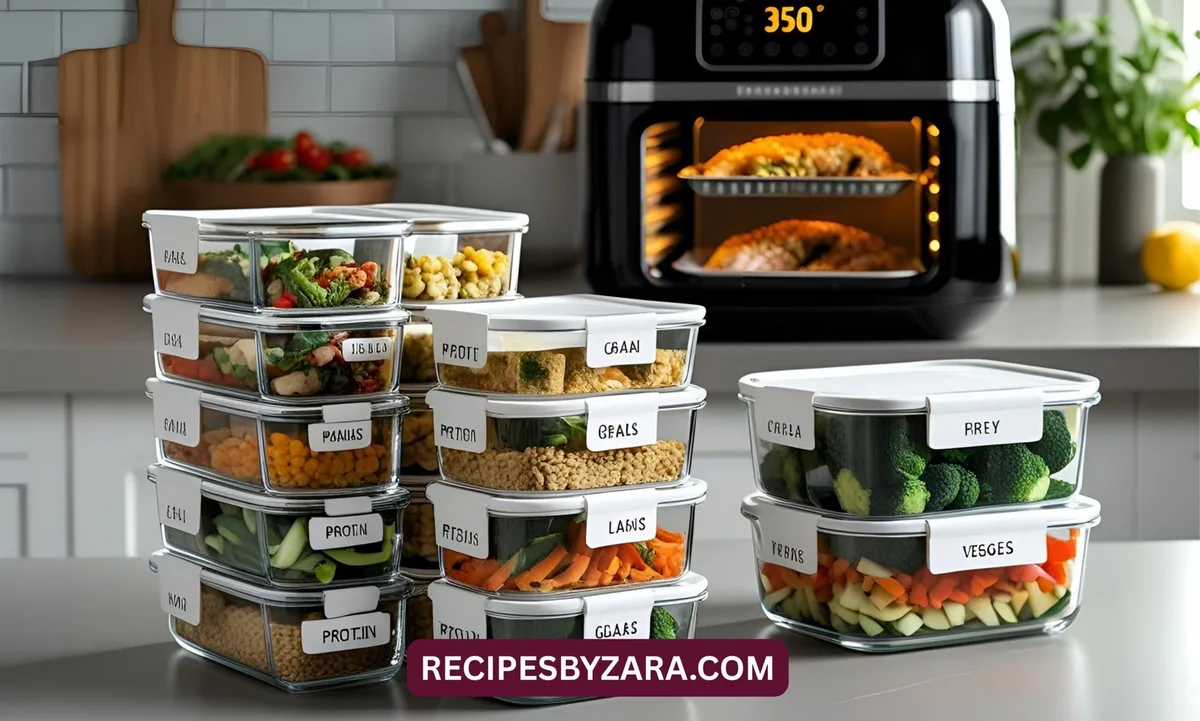
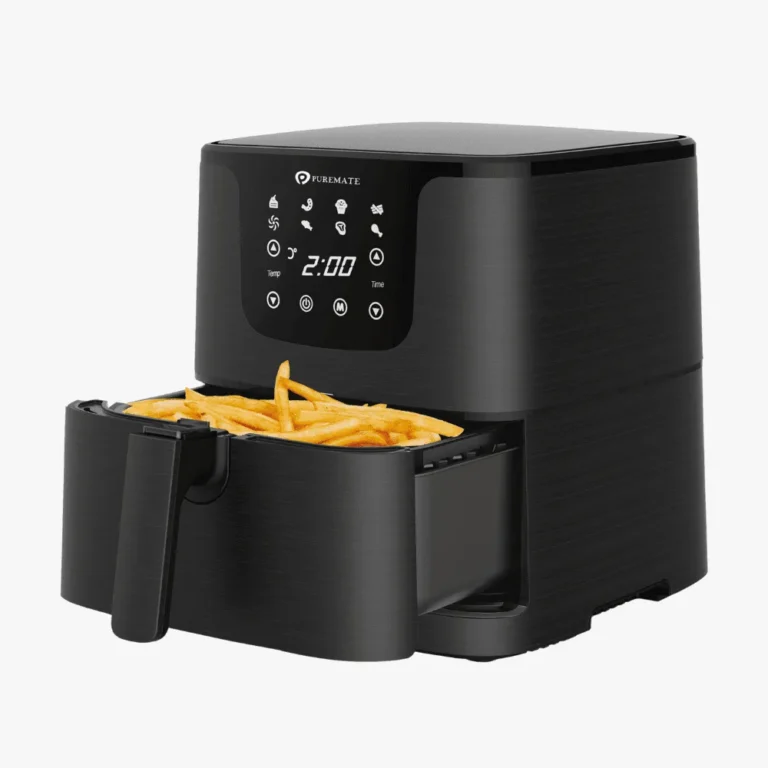
Image source: Bing (Web (fair-use with source credit))
Quick Answer
Label air fryer meal prep containers with heat-resistant vinyl labels, food-safe permanent markers, or dry-erase reusable labels designed for high-heat use. Avoid standard paper stickers and masking tape, which melt at air fryer reheating temperatures. Always write use-by dates on labels to follow USDA food safety storage timelines.
Stick labels to the exterior of containers only, never the interior food-contact surface.
Why Standard Labels Fail for Air Fryer Meal Prep Containers (And What To Use Instead)
Most generic food storage labels work fine for the fridge, but they’re not built to withstand the high heat of air fryer reheating, which regularly hits 300 to 400°F. Even labels marked as heat-resistant often fail under direct air fryer airflow and greasy residue from fried foods.
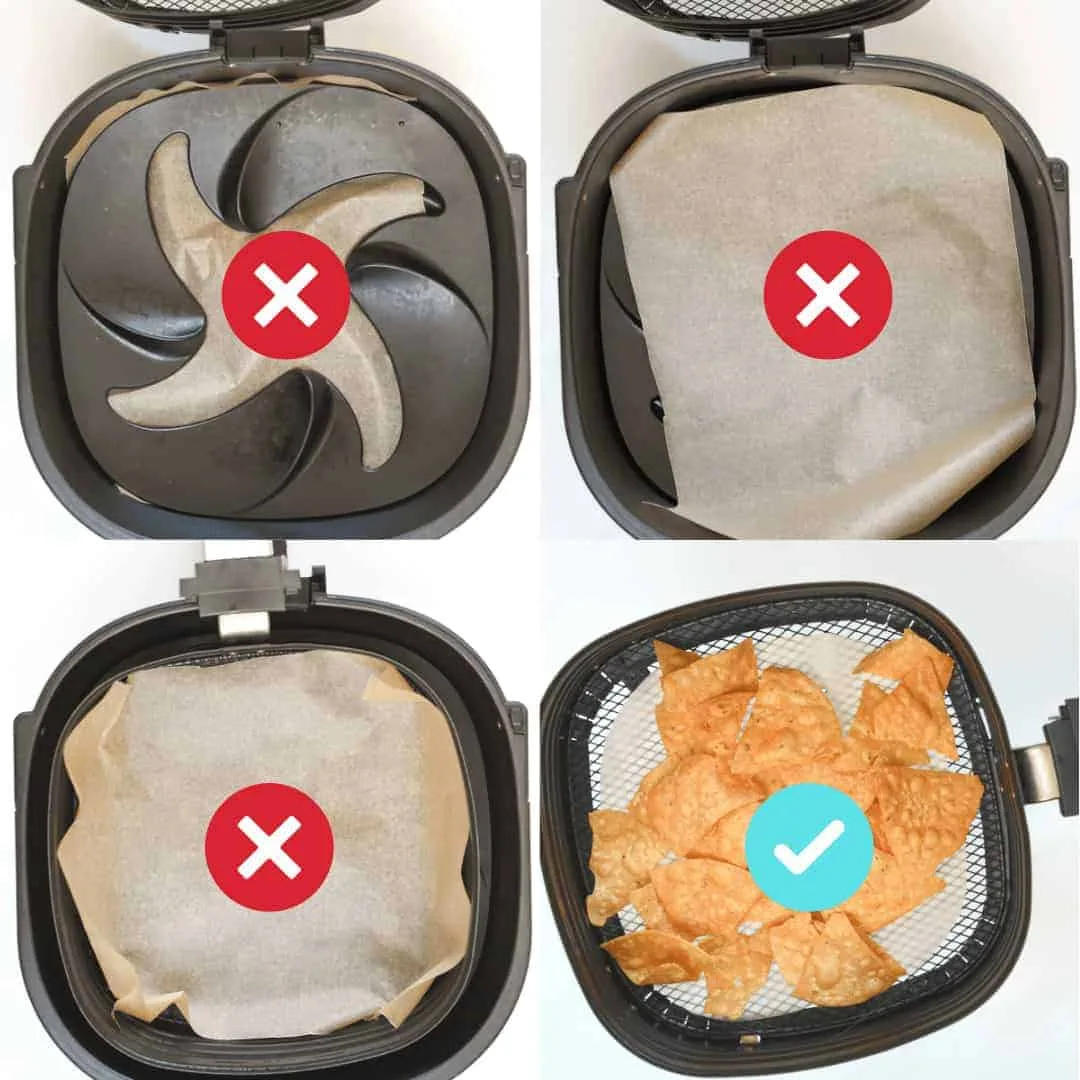
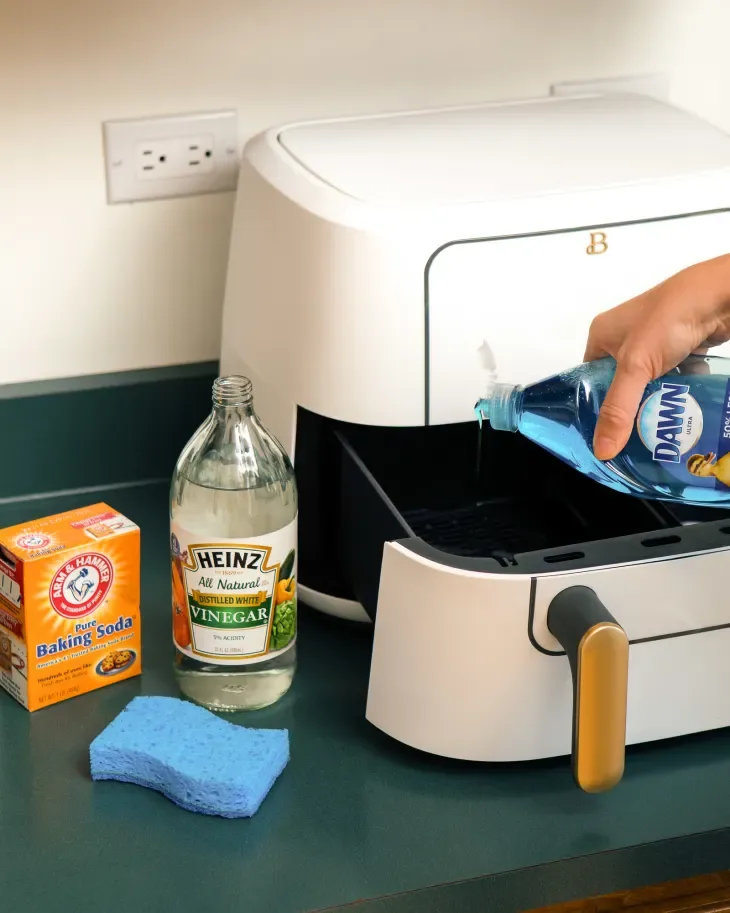
Image source: Web (Bing) / airfryerattiffanys.com (Web image (fair-use with source credit))
Standard permanent marker ink bleeds through grease and fades after one wash cycle. Cheap paper sticker adhesives dissolve in hot, greasy air fryer conditions, leaving residue on containers. Low-grade vinyl labels melt or warp at temperatures above 250°F, which is common during 10-minute reheating cycles.
Dry-erase labels designed for fridge use ghost after 20 to 30 erases, making them useless for repeated meal prep use. Labels that melt or leach chemicals during reheating also pose a food safety risk, per FDA food contact material guidelines. For more on what’s safe to use at high air fryer temperatures, check out our guide to high-heat air fryer safety.
Before committing to a labeling method, test a sample label on your container by reheating it at your typical air fryer temperature for 5 minutes to check for melting or peeling.
The 4 Most Popular Air Fryer Meal Prep Labeling Methods, With Pros and Cons
There are four labeling methods that hold up to air fryer use, each with distinct tradeoffs for different meal prep routines. The right choice depends on how often you reheat meals, what type of containers you use, and how much time you want to spend re-labeling.
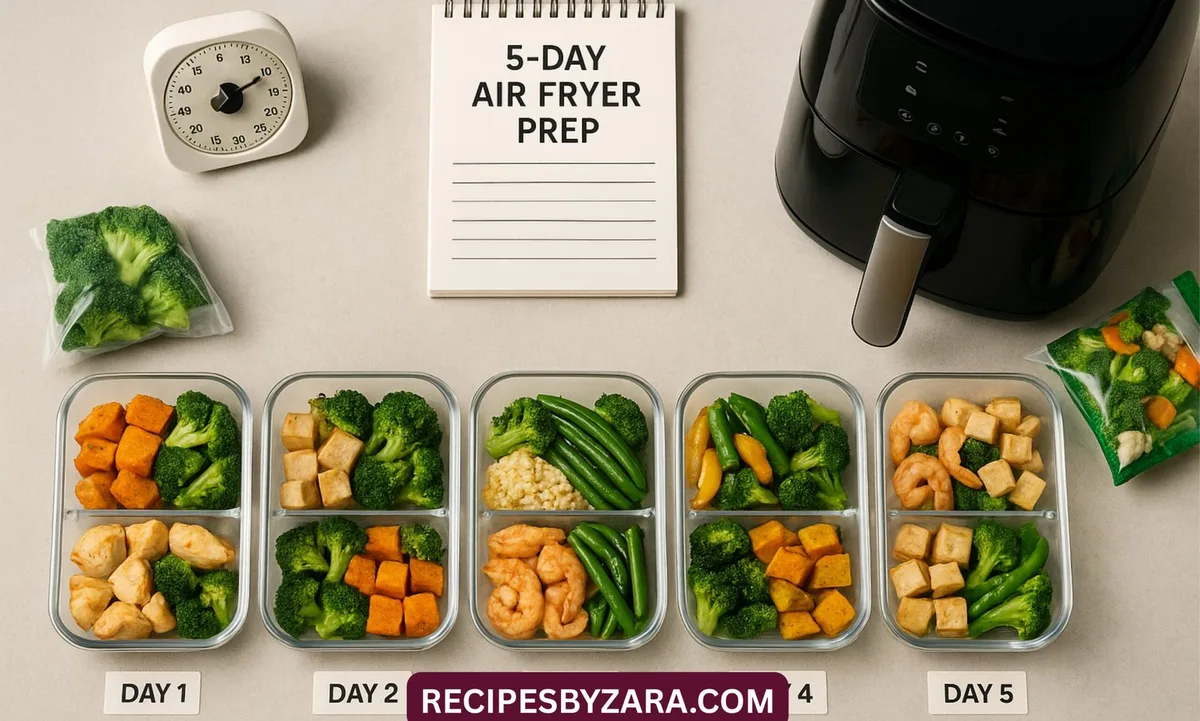
Image source: Bing (Web (fair-use with source credit))
Heat-Resistant Vinyl Food Labels
These are thick, adhesive-backed labels designed to withstand temperatures up to 450°F, with grease-proof coatings that stop smudging.
- Pros: Last through 50+ reheating cycles, no residue when removed, compatible with glass, plastic, and silicone containers.
- Cons: Higher upfront cost, handwriting can smudge if you write on them before the ink dries.
Food-Safe Permanent Markers
Ink formulated to adhere to non-porous container surfaces and resist fading from heat and grease.
- Pros: Zero upfront cost beyond a single marker, fully customizable for portion sizes and dietary notes, no extra materials needed.
- Cons: Ink smudges on greasy leftover surfaces, labels fade after 3 to 5 washes, not ideal for shared households where multiple people handle containers. If you struggle with grease buildup on your containers after cooking, our tips for preventing food from sticking to air fryer liners will help keep surfaces cleaner for labeling.
Dry-Erase Reusable Meal Prep Labels
Smooth, laminated surfaces designed for repeated writing and erasing, usually with adhesive backing or lid tags.
- Pros: Fully reusable for 50 to 100 uses, no recurring costs, easy to update dates when you rotate meal prep stock.
- Cons: Ghosting after repeated erasing, adhesive can peel off during dishwasher cycles, not suitable for direct air fryer heating if placed on the container side.
Silicone Adhesive Food Labels
Flexible, food-safe silicone strips with writable surfaces, designed to stick to textured silicone containers.
- Pros: Conform to curved container surfaces, dishwasher and freezer safe, no residue when removed.
- Cons: Higher cost than vinyl labels, writable surface wears down after 30 to 40 uses.
As of 2026, aggregate buyer reviews report that heat-resistant vinyl labels and food-safe permanent markers are the most widely used options for home air fryer meal prep, with dry-erase labels gaining popularity for users who rotate prepped meals weekly.
Side-by-Side Comparison of Air Fryer Meal Prep Labels
No single labeling method works for every meal prep routine. This side-by-side breakdown of core features will help you match a label type to your specific needs.
| Feature | Heat-Resistant Vinyl | Food-Safe Permanent Marker | Dry-Erase Labels | Silicone Adhesive Labels |
|---|---|---|---|---|
| Max heat tolerance | 450°F | 300°F | 250°F (avoid direct air fryer heat) | 400°F |
| Grease resistance | High (coated surface) | Low (smudges on greasy residue) | Medium (ghosts if not wiped clean) | High (non-porous silicone) |
| Reusability | 50+ uses | 3-5 washes | 50-100 erases | 30-40 uses |
| Upfront cost | $5-$12 for a 50-pack | $3-$8 for a single marker | $8-$15 for a 10-pack | $6-$10 for a 5-pack |
| Best use case | Long-term weekly meal prep, shared households | Quick single-use labeling, macro tracking notes | Rotating weekly meal prep, fridge-only storage | Textured silicone containers, freezer-to-air fryer use |
All options listed use food-safe adhesives or inks that meet FDA food contact material guidelines, so you won’t have to worry about chemical leaching during storage or reheating. If you’re unsure what temperature your air fryer reaches during reheating, our guide to stopping frozen fries from burning before cooking through includes tips for calibrating your unit’s heat output.
Best Air Fryer Labeling Method for Every Meal Prep Scenario
Your ideal labeling method depends entirely on your specific meal prep routine, container type, and how often you reheat meals in your air fryer. Below are the most common scenarios and the labeling choice that performs best for each.
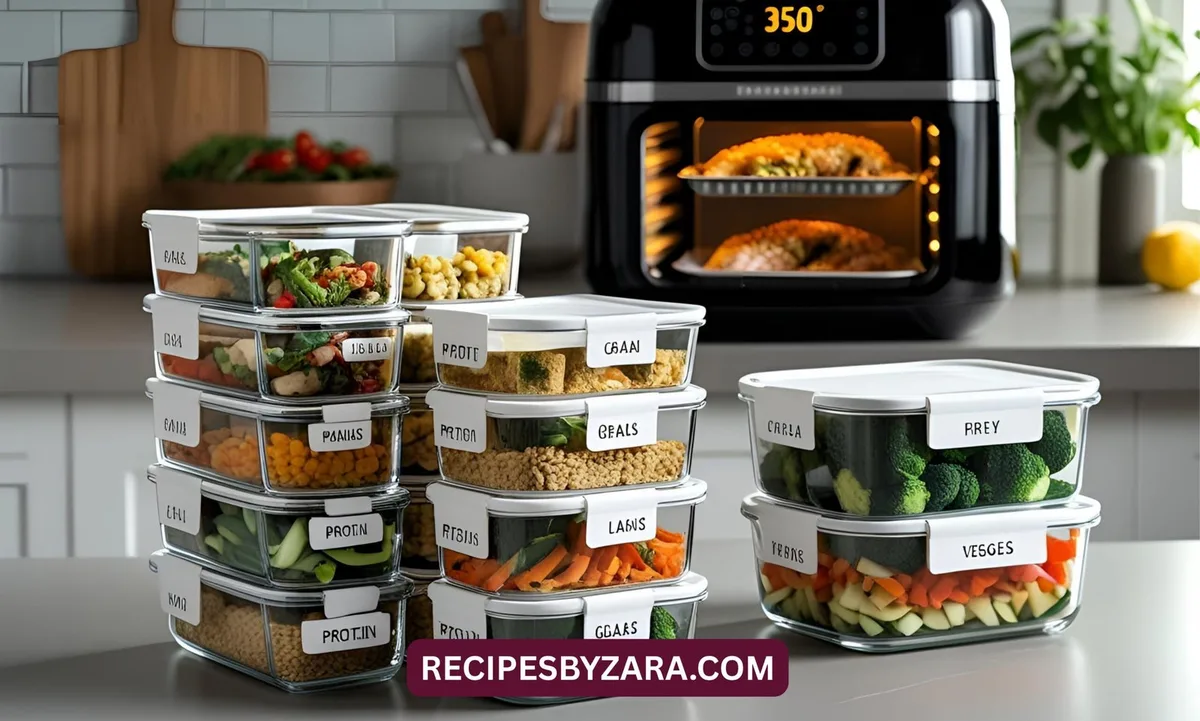
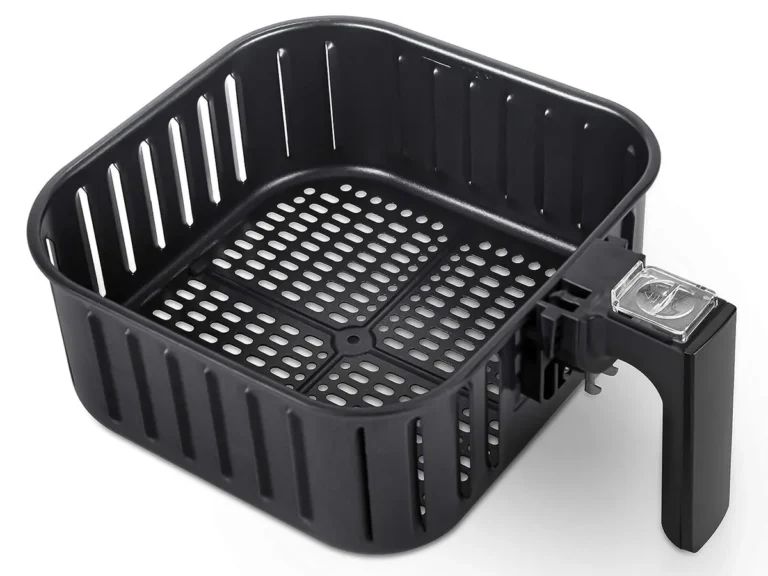
Image source: Bing (Web (fair-use with source credit))
Weekly meal prep for a family of 4+
Use heat-resistant vinyl labels. They hold up to frequent handling, multiple reheating cycles, and dishwasher washes, so you won’t have to re-label containers every week. You can also color-code labels by family member or dietary restriction to avoid mixups.
Single-person meal prep with 1-2 reheated meals per week
A food-safe permanent marker works perfectly here. You’ll write directly on the container, throw it in the dishwasher, and replace the label with a quick rewrite when needed. It’s the lowest-cost option for low-volume use.
Rotating weekly meal prep (3-4 days of meals in the fridge)
Dry-erase labels are ideal for this scenario. You can easily update the prep or use-by date as you rotate through meals, no need to peel off old sticker residue. Just avoid placing them on the side of the container that goes directly in the air fryer, as high heat can damage the writable surface.
Freezer-to-air fryer meal prep (meals stored 1-3 months)
Silicone adhesive labels are the only reliable option here. They stay stuck to containers through freezer temperatures as low as -20°F, and won’t peel or warp when you transfer containers directly from the freezer to the air fryer for reheating. For long-term freezer meal prep, our guide to fixing ice buildup on frozen air fryer food will help you avoid freezer burn that makes labels hard to read.
Macro/calorie tracking for fitness goals
Heat-resistant vinyl labels or a permanent marker both work well here, as you can write portion size and macro counts directly on the container. If you use portion control containers with lids, small lid tags made of heat-resistant vinyl are a great space-saving option. For glass containers, stick labels to the lid or upper side only.
Direct air fryer heat can crack glass and damage labels placed on the bottom.
5 Costly Air Fryer Labeling Mistakes To Avoid
Even with the right labeling supplies, small mistakes can lead to wasted food, damaged containers, or even food safety risks. Avoid these five common errors to keep your meal prep running smoothly.
- Using standard masking tape or paper stickers for air fryer reheating. These melt at temperatures above 250°F, leaving sticky residue on your containers and potentially leaching chemicals into your food. Always use labels rated for at least 400°F if you’ll reheat meals in the air fryer.
- Writing labels on warm, damp containers right after washing. Moisture prevents adhesive from sticking, so labels peel off during storage or reheating. Let containers air dry 2 to 3 minutes before applying labels.
- Placing labels on the interior food-contact surface of the container. Air fryer heat can cause ink or adhesive to leach into your food. Stick labels to the exterior lid or side only.
- Using permanent markers on porous silicone containers. Ink bleeds into the silicone surface, making labels illegible after one wash. Use a heat-resistant vinyl label or a silicone-specific writable marker for silicone containers. If you’re using silicone containers for meal prep, our guide to whether silicone molds block air fryer airflow will help you avoid cooking issues while labeling.
- Skipping use-by dates on labels. Per USDA food safety storage timelines, pre-cooked air fryer meals spoil after 3 to 7 days in the fridge and 1 to 3 months in the freezer. Unlabeled meals often get thrown away uneaten.
Air Fryer Container Labeling FAQs
Can I use regular permanent marker on air fryer meal prep containers?
Regular permanent marker smudges on greasy leftover surfaces and fades after 3 to 5 dishwasher washes. Use a food-safe permanent marker formulated for non-porous surfaces, or opt for heat-resistant vinyl labels for longer-lasting results. Always test ink on a small hidden area of the container first if you’re unsure of compatibility.
Do air fryer safe labels work in the freezer?
Yes, most heat-resistant vinyl and silicone adhesive labels are rated for freezer temperatures as low as -20°F. They stay stuck to glass, plastic, or silicone containers through 1 to 3 months of frozen storage without peeling or warping. Avoid dry-erase labels for freezer use, as cold temperatures can crack the writable surface over time.
How do I remove label residue from air fryer containers?
Soak the container in warm, soapy water for 5 minutes, then rub the residue with a small amount of cooking oil or rubbing alcohol. For stubborn adhesive, use a plastic scraper instead of metal to avoid scratching glass or plastic container surfaces. Most heat-resistant vinyl labels peel off cleanly with no residue when removed correctly.
Can I put labeled air fryer containers in the dishwasher?
It depends on the label type. Heat-resistant vinyl and silicone adhesive labels are dishwasher-safe on the top rack. Dry-erase labels often peel off during hot wash cycles, and permanent marker ink will fade after repeated runs.
If you use a dishwasher regularly, stick to heat-resistant vinyl labels for the longest lifespan.
Do I need to label the inside or outside of air fryer containers?
Always label the exterior lid or side of the container only. Placing labels on interior food-contact surfaces can cause ink or adhesive to leach into food during reheating, per FDA food contact material guidelines. Exterior labeling also keeps labels away from direct air fryer heat and greasy food splatter.
30-Second Decision Guide: Pick The Right Air Fryer Label For Your Setup
Follow these 4 quick checks to pick the right labeling method for your routine in 30 seconds flat. If you’re still unsure after matching your use case, test a sample label on your container by reheating it at your typical air fryer temperature for 5 minutes to check for melting or peeling.
- If you reheat meals in the air fryer 2 or more times per week: Pick heat-resistant vinyl labels. They withstand 450°F reheating temperatures and last 50 or more uses, even with frequent dishwasher washes.
- If you rotate weekly meal prep and update use-by dates often: Pick dry-erase reusable labels. They erase cleanly for 50 to 100 uses, so you never have to peel off old sticker residue or rewrite full labels every week.
- If you store meals in the freezer for 1 to 3 months: Pick silicone adhesive labels. They stay stuck at -20°F and won’t warp when moved directly from the freezer to the air fryer for reheating.
- If you only prep 1 to 2 meals per week and don’t mind rewriting labels: Pick a food-safe permanent marker. It’s the lowest-cost option for low-volume use, no extra supplies needed beyond a single marker.