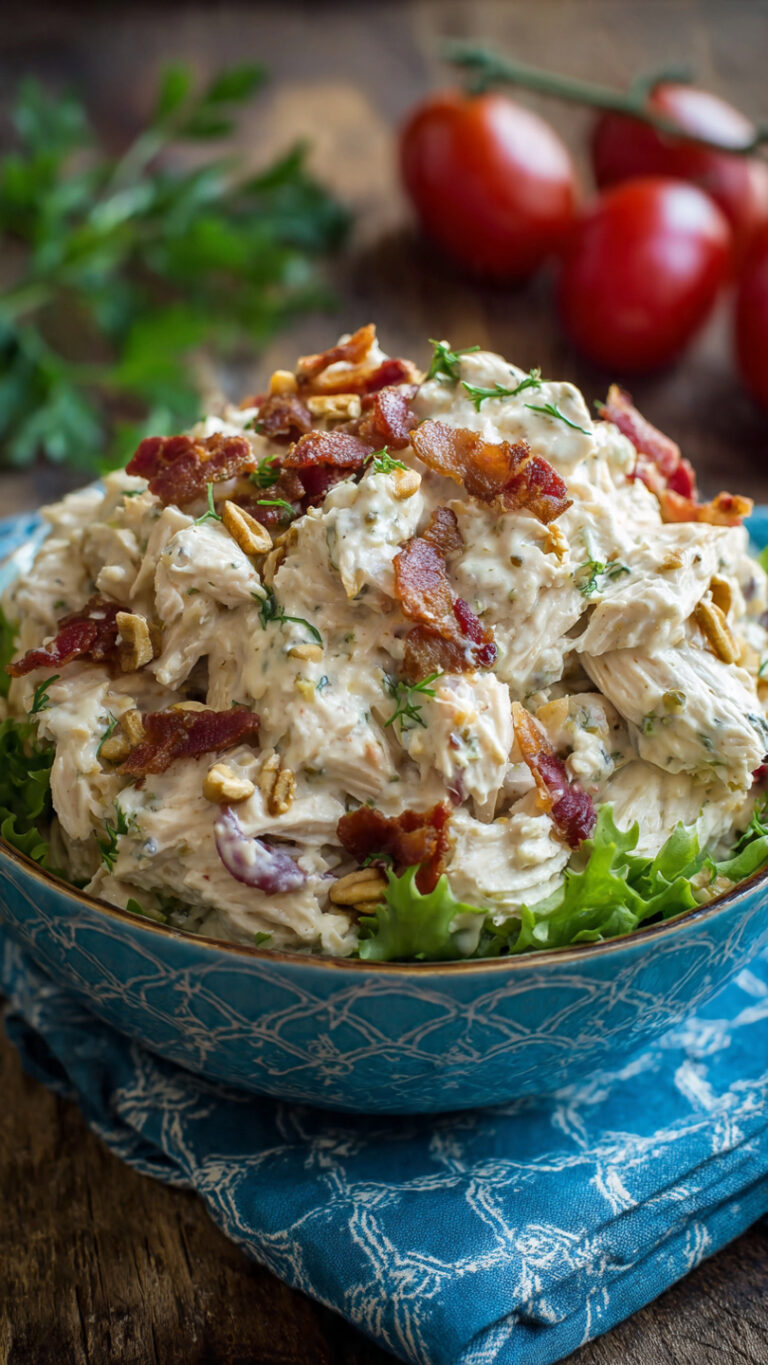
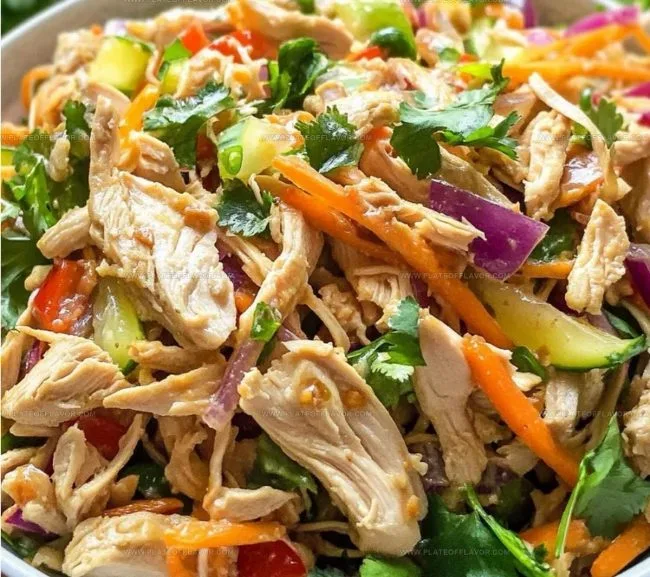
Flavor-Packed Mexican Chicken Taco Salad
You know the disappointment. You order a Mexican chicken taco salad expecting crunch and flavor, and instead you get a soggy pile of wilted lettuce and bland chicken. That's the exact problem we're solving today.
A great Mexican chicken taco salad isn't complicated, but it does require attention to timing, temperature, and layering order.
The difference between a memorable taco salad and a sad one comes down to technique. In our research, the most common failures trace back to three specific mistakes: overdressing, mixing warm ingredients with cold greens too early, and skipping the crucial step of thoroughly drying your lettuce. As of 2026, USDA guidelines still recommend cooking chicken to a safe internal temperature of 165°F (74°C), which we'll factor into our cooking method.
Let's build a taco salad worth photographing.
Quick Answer
A Mexican chicken taco salad combines seasoned grilled or shredded chicken, crisp lettuce, tortilla chips, beans, corn, cheese, avocado, and a zesty dressing. Layer ingredients carefully to prevent sogginess. Dry your lettuce completely.
Dress the salad right before serving. Cook chicken to 165°F. Warm chicken goes on top of chips, never directly on greens.
What Makes a Great Mexican Chicken Taco Salad
A great taco salad hits multiple textures and temperatures at once. You want the crunch of tortilla chips, the crispness of cold lettuce, the warmth of freshly cooked chicken, and the creaminess of avocado or sour cream. Every bite should offer contrast.
The visual appeal matters just as much as the flavor. A properly assembled taco salad looks vibrant and layered, with distinct components visible rather than one mixed-up pile. This is why the order of assembly and the size of your chop matter.
Think of it as building a dish, not tossing a salad.
The five pillars of a great taco salad:
- Crunch: Tortilla chips or a fried bowl provide the structural base
- Crisp greens: Iceberg or romaine, washed and thoroughly dried
- Warm protein: Seasoned chicken, grilled or shredded
- Creamy element: Avocado, sour cream, or a creamy dressing
- Bright finish: Pico de gallo, cilantro, lime juice
When these elements work together, you get a balanced forkful every time. When they don't, you end up with something that tastes flat and looks worse.
Many home cooks skip the visual side of things, but presentation directly affects how much you enjoy the meal. A salad that looks like a pile of mush will taste like one too.
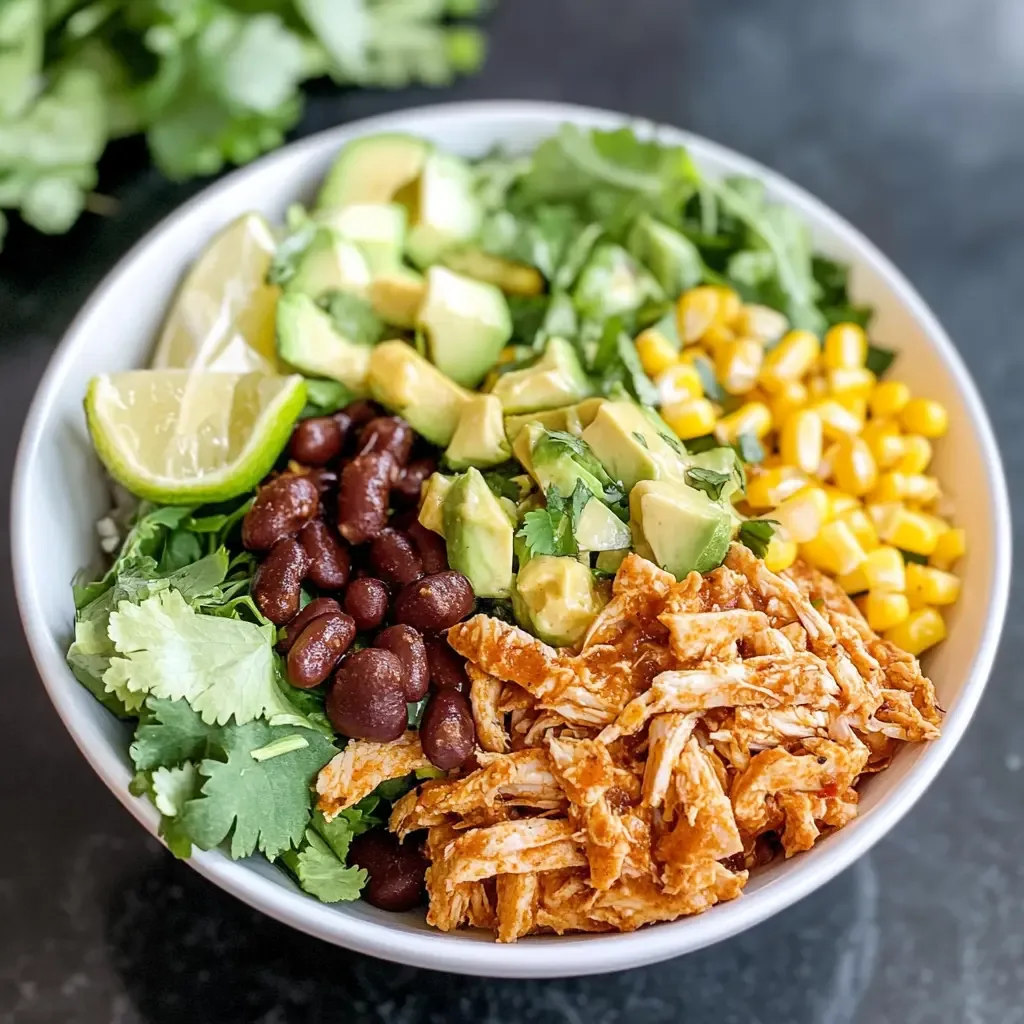
Image source: Web (Bing) / familytablevibes.com (Web image (fair-use with source credit))
The Essential Ingredients and Why Each One Matters
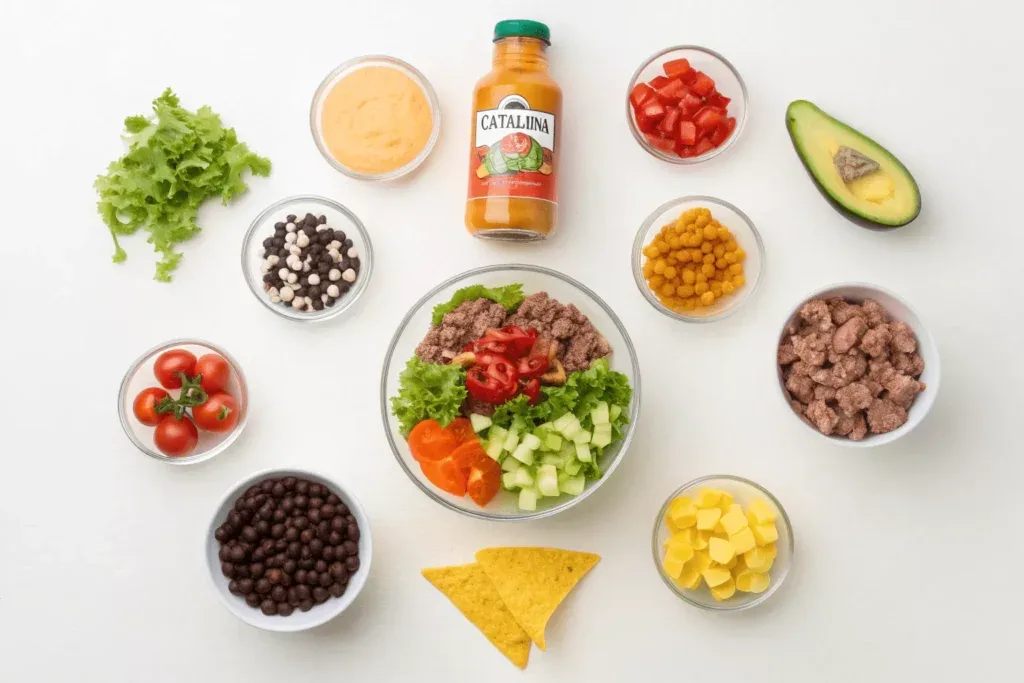
Image source: Bing (Web (fair-use with source credit))
Every ingredient in a taco salad earns its place. Skip the wrong one and the whole thing falls flat. Let's break down the non-negotiables.
The Chicken: Grilled vs. Shredded
Your protein choice sets the tone. Grilled chicken breast gives you firm, meaty slices with a slightly charred edge. Shredded chicken, often from a slow cooker or rotisserie bird, soaks up seasoning better and mixes more evenly into each bite.
For a taco salad, grilled chicken works best when you want distinct pieces you can bite through. Shredded works better for that "mixed in" feel where every forkful gets a little protein. Both are excellent options.
Rotisserie chicken also works beautifully if you're short on time, and it's a natural fit for a quick rotisserie salad variation.
The Greens: Romaine vs. Iceberg vs. Spring Mix
Iceberg lettuce is the classic choice. It's crisp, holds up well to dressing, and has that satisfying watery crunch. Romaine is a close second, offering more nutrients and a slightly earthier flavor.
Spring mix leans too delicate here and wilts fast.
Here's the non-negotiable rule: dry your lettuce completely. Water on the leaves dilutes your dressing and makes chips soggy quickly. Use a salad spinner, then pat the leaves with a clean towel for good measure.
The Crunch: Chips, Tortilla Bowls, and Texture Layers
Tortilla chips are the backbone. Restaurant-style or restaurant-style yellow corn chips work best. They're sturdy enough to hold up under toppings.
If you're building a bowl, the fried tortilla shell becomes the showpiece.
You have options here:
- Regular tortilla chips: Crushed over the top or layered underneath
- Restaurant-style chips: Big, sturdy, and perfect for scooping
- Fried tortilla bowl: The full restaurant experience
- Tortilla strips: Fried or baked, lighter than chips
The Dressing: Creamy vs. Salsa-Based
Your dressing choice changes the whole character of the salad. A creamy cilantro-lime dressing gives it that restaurant vibe. A salsa-based vinaigrette keeps things lighter and more acidic.
Both work, but they behave differently.
Creamy dressings coat everything heavily and can weigh things down if overused. Salsa-based dressings are thinner and spread more evenly without drowning the ingredients. We'll dive into specific recipes later in the dressing section.
How to Cook and Season the Chicken for Maximum Flavor
Bland chicken ruins a taco salad faster than anything else. The seasoning needs to be bold enough to stand up to the other ingredients. You're not eating chicken alone here, you're eating it alongside cheese, avocado, and a tangy dressing.
Building a Simple Taco Seasoning Blend
Store-bought packets work in a pinch, but homemade seasoning tastes fresher and lets you control the heat. Here's a solid base blend:
- 1 tablespoon chili powder
- 1 teaspoon ground cumin
- 1 teaspoon smoked paprika
- 1 teaspoon garlic powder
- 1 teaspoon onion powder
- 1/2 teaspoon dried oregano
- 1/2 teaspoon salt
- 1/4 teaspoon black pepper
- Optional: 1/4 teaspoon cayenne for heat
This makes enough for about a pound of chicken. Whisk it together and store leftovers in an airtight jar.
Grilling vs. Pan-Searing
Both methods work well. Grilling adds a smoky char that pairs beautifully with the fresh toppings. Pan-searing is faster and works year-round indoors.
The pan-searing method:
- Season both sides of your chicken breasts generously
- Heat a cast-iron or heavy skillet over medium-high heat
- Add a tablespoon of olive oil
- Cook 6 to 7 minutes per side, depending on thickness
- Check that the thickest part reaches 165°F
A meat thermometer is non-negotiable here. The difference between juicy chicken and dry cardboard is about five degrees. Pull the chicken off the heat at 160°F and let it rest; carryover cooking will push it to 165°F while it sits.
Resting and Slicing or Shredding
Let the chicken rest for at least five minutes before cutting. This lets the juices redistribute throughout the meat. If you slice immediately, all those juices end up on your cutting board, not in your salad.
For sliced chicken, cut against the grain into thin strips. For shredded chicken, use two forks and pull apart while the meat is still warm.
If you're using a different cooking method altogether, you can also try a crispy air-fried version that keeps the exterior crunchy while staying juicy inside.
The Layering Order: Step-by-Step Visual Assembly Guide
The order matters. This is where most homemade taco salads go wrong. The goal is a salad that stays crisp from the first forkful to the last, not a soggy mess by minute five.
Step 1: Build the base with greens and chips
Start with a layer of dry, crisp lettuce in your bowl. Add a handful of tortilla chips on top. Some people crush them, others leave them whole.
Both work, just make sure they're underneath the heavy toppings rather than buried at the very bottom where they get wet quickly.
Step 2: Add the warm protein
Place the warm chicken on top of the chips, not directly on the lettuce. The heat from the chicken will soften the chips slightly, which is fine. The key is keeping it away from the greens, which would wilt fast under direct heat.
Step 3: Distribute toppings evenly
Now add your beans, corn, cheese, and any other dry toppings. Spread them out so every bite gets a bit of everything. Nobody wants to hit a pocket of pure black beans at the end.
Step 4: Add creamy elements
Sour cream and avocado go on next. If using guacamole, add it just before serving to prevent browning. These creamy elements create a barrier that helps keep the layers below them from getting soggy.
Step 5: Dressing and garnishing last
Drizzle your dressing over the top right before serving. Never dress the whole salad ahead of time. Finish with fresh cilantro and a squeeze of lime juice.
The acidity brightens everything up.
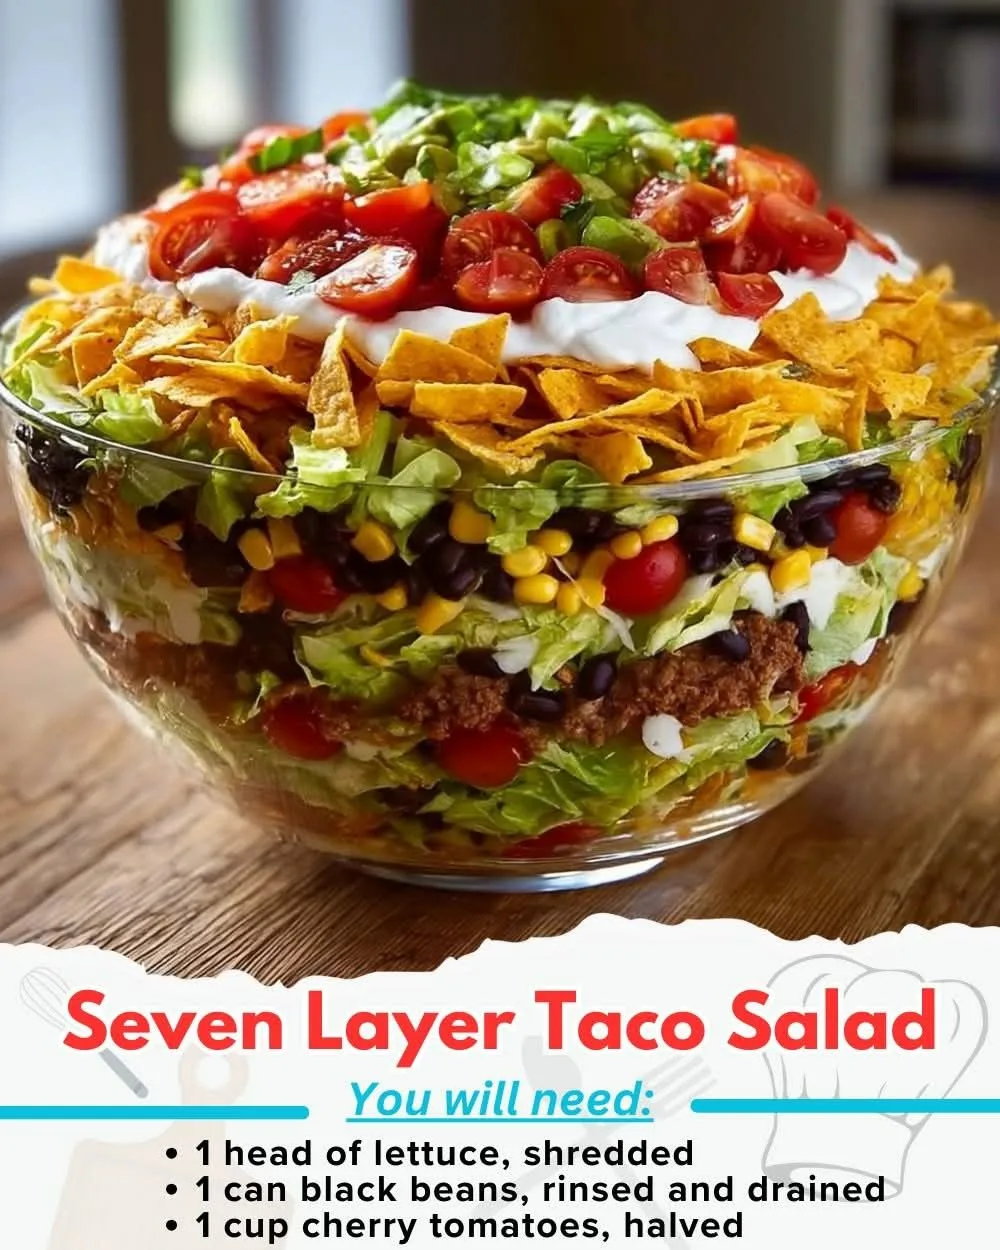
Image source: Web (Bing) / pinterest.com (Web image (fair-use with source credit))
This layered approach keeps the structural integrity of your salad intact. If you want a lighter version that skips the chips entirely, a healthy chicken pasta salad might be more your speed.
Photographing and Plating: Visual Cues for a Restaurant-Quality Look
You eat with your eyes first, and that's doubly true for a taco salad. A stunning presentation makes the dish feel more satisfying, even before the first bite. Here's how to plate it like you'd get at a good taqueria.
Build in a Wide, Shallow Bowl
Deep bowls hide all your beautiful layers. Use a wide, shallow bowl or a large plate with a slight rim. This lets the ingredients spread out and show off their colors.
The visual appeal comes from seeing distinct components, not a monolithic pile.
Arrange Toppings in Sections
Instead of scattering everything randomly, arrange toppings in small sections or concentric circles. A wedge of avocado here, a cluster of black beans there, a sprinkle of cheese over the center. This looks intentional and gives you better control over portioning too.
Keep Avocado Green and Fresh
The moment you cut an avocado, oxidation begins. The flesh turns brown within an hour. To keep it vibrant, brush the cut surface with lime juice immediately.
The citric acid slows down the browning process significantly.
For guacamole, press plastic wrap directly against the surface before refrigerating. That minimizes oxygen exposure and keeps it green for a few hours. For the salad itself, always add avocado right before serving.
Choose the Right Bowl
If you're using a tortilla bowl, the bowl becomes the dish. A deep, sturdy fried shell holds everything beautifully. If you're using a regular bowl, choose one with a contrasting color.
A bright white bowl makes the colorful ingredients pop. Dark ceramic can make the salad look heavier than it is.
The Height Trick
Don't pack everything down flat. Pile the greens loosely and let the toppings stack naturally. A little height makes the salad look more abundant and inviting.
You can achieve this by using tongs to lift and fluff the greens rather than pressing them down.
For a heartier presentation that still photographs well, consider adding a high-protein chicken salad as a side option for guests who want extra satisfaction.