How to Use a Temperature Probe With Your Air Fryer Correctly
If you’ve ever pulled a sad, undercooked chicken breast or a dry, tough pork chop out of your air fryer, how to use temperature probes with an air fryer is the exact skill you need to fix that. Most air fryers don’t come with a probe out of the box, and even if they do, the setup rules are totally different from a standard full-size oven probe. Per USDA safe cooking guidelines, poultry needs to hit 165°F (74°C) internally to avoid foodborne illness, and a probe takes the guesswork out of hitting that mark every time.
Unlike guessing by touch or cutting into your food mid-cook, a probe lets you monitor doneness without losing heat, and as of 2026, most mid-range air fryers even support third-party probes with a cheap universal adapter.
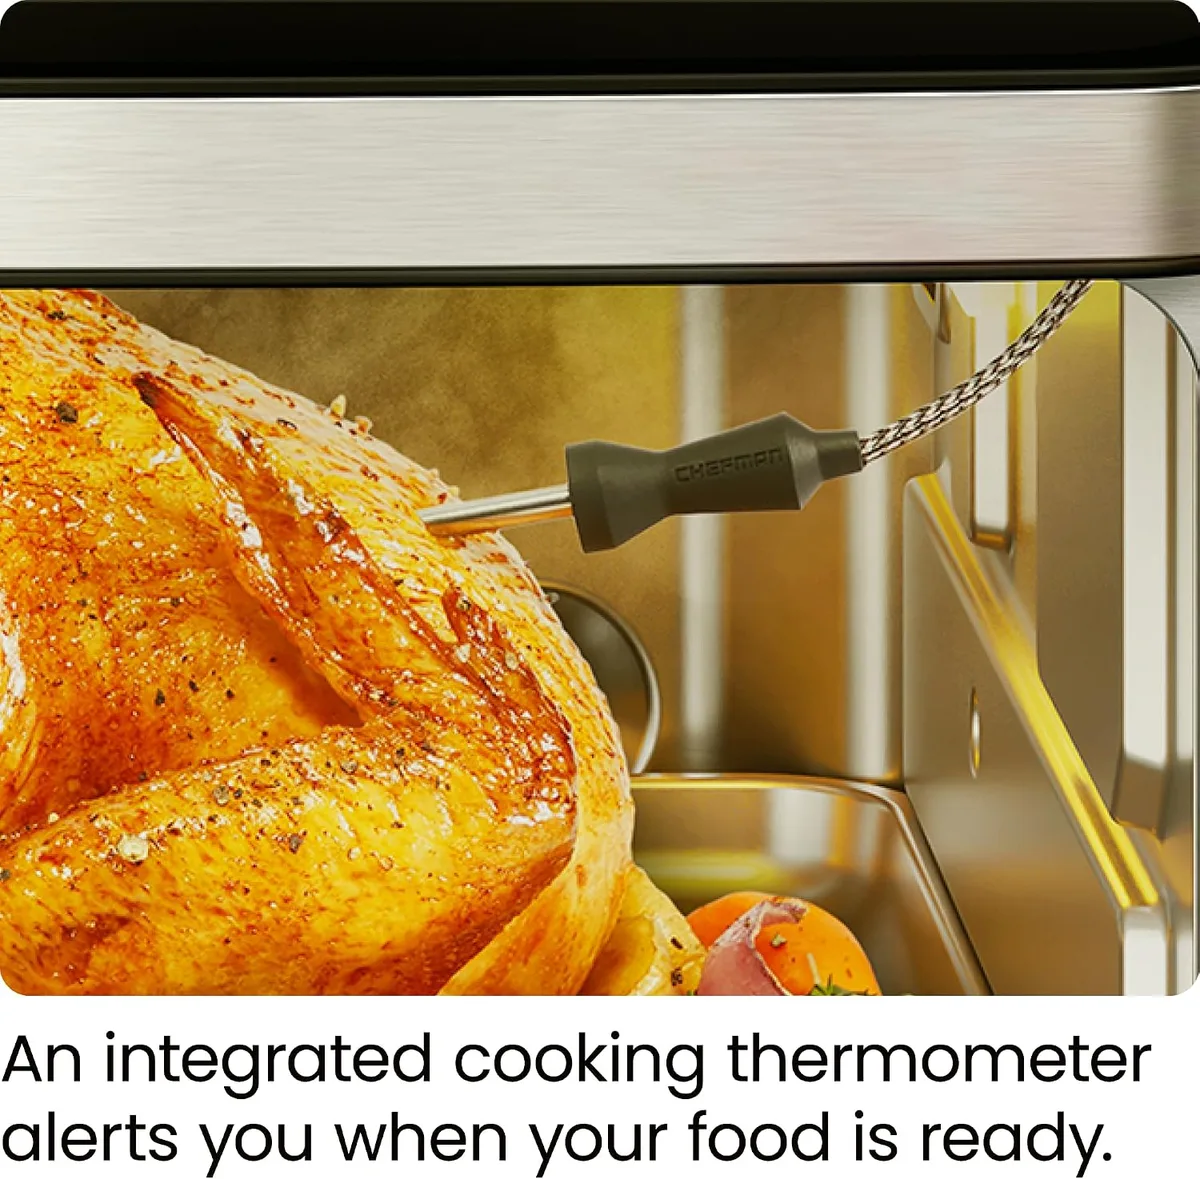
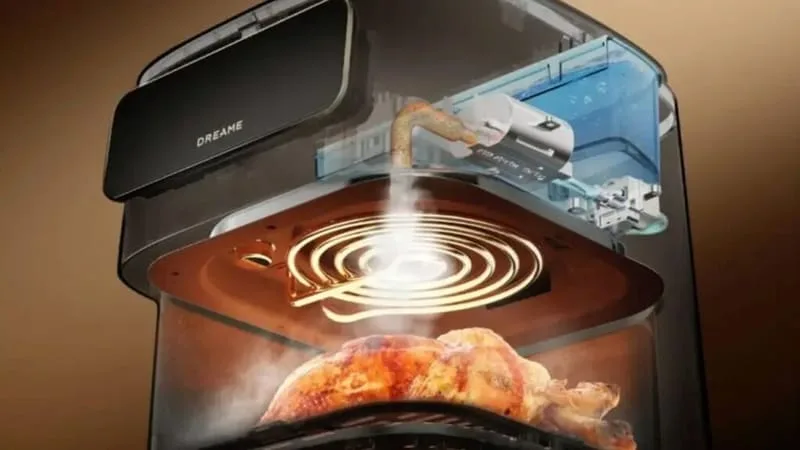
Image source: Bing (Web (fair-use with source credit))
Why Your Air Fryer Temperature Probe Readings Are Wrong (Or You’re Ruining Meals Without One)
Most home cooks assume an air fryer probe works exactly like an oven probe, and that’s where the problems start. Air fryers use high-speed circulating hot air, not radiant heat like a standard oven, so the air temperature inside the basket runs 25 to 50°F (14 to 28°C) higher than the internal temperature of your food. If you set your air fryer to 165°F to cook chicken to the USDA’s safe poultry temperature, your chicken will never reach that mark, because the circulating air is already hotter than your target.
That’s the number one mistake we see in aggregate user reviews of air fryer probes: people set the air fryer temp to match their target probe reading, leading to undercooked, unsafe food or wildly overdone, dry results. The fix is simple, but almost no one talks about it: you set the air fryer 25 to 50°F higher than your target internal temperature, so the circulating air has enough heat to push the food up to that safe mark. Another common pain point is probe placement.
If your probe tip touches bone, fat, or the heating element at the top of the basket, you’ll get a falsely high or low reading that throws off your entire cook. Even a small adjustment to how you insert the probe fixes this entirely, which we’ll cover in the step-by-step workflow later.
First: Confirm Your Air Fryer and Probe Setup (2-Minute Decision Check)
Before you buy a probe or start cooking, run through this 2-minute check to match your gear to your air fryer, no guesswork required. First, check your air fryer’s user manual or the side of the unit for a small round probe port: these are standard on most Ninja, Philips, and Cosori models as of 2026, with a universal 0.5in (1.27cm) diameter. If your air fryer has a built-in port, use the OEM probe that came with it, or a third-party wired probe rated for at least 500°F (260°C) to avoid melting.
If your air fryer has no port, pick up a universal adapter that clips into the basket vent: these work with almost all countertop air fryers and cost under $10.
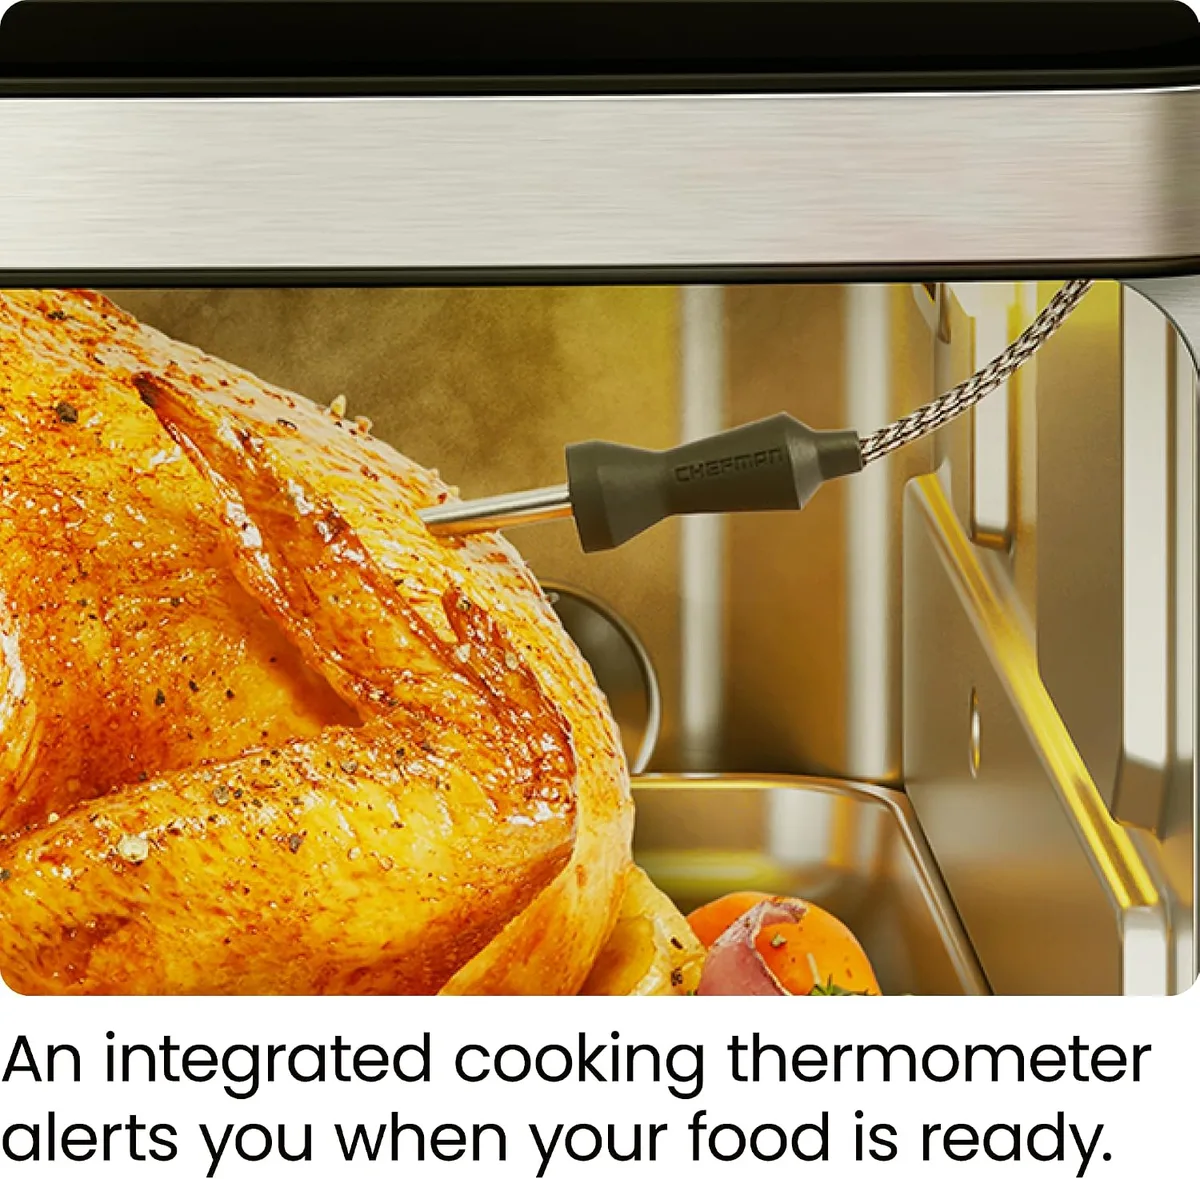
Image source: Bing (Web (fair-use with source credit))
Next, confirm your probe’s cord length: you need at least 24in (60cm) of cord to reach from the port, through the basket, to the thickest part of your food without tangling. If you’re using a wireless Bluetooth or Wi-Fi probe, skip the port check entirely, but confirm the probe’s heat rating matches your air fryer’s max temperature (almost all air fryers top out at 450°F (232°C), so a 500°F rated probe is more than enough). If you’ve ever had a probe cord get caught in the air fryer fan, that’s a sign your cord is too short or your routing is wrong, which we’ll fix in the workflow section.
Step-by-Step Probe Workflow for Every Air Fryer Setup
Once your gear is confirmed, follow this workflow to get perfect results every time, no matter what air fryer you own. Step 1: Calibrate your probe first. Fill a glass with ice and water, insert the probe tip (not touching the glass), and confirm it reads 32°F (0°C).
If it’s off by more than ±2°F, adjust the reading on your probe’s settings or replace it, as inaccurate probes lead to unsafe or overcooked food. Step 2: Route your probe cord correctly. For wired probes, thread the cord through the air fryer’s probe port or universal adapter, then tuck any excess along the edge of the basket, never let it hang loose into the cooking chamber.
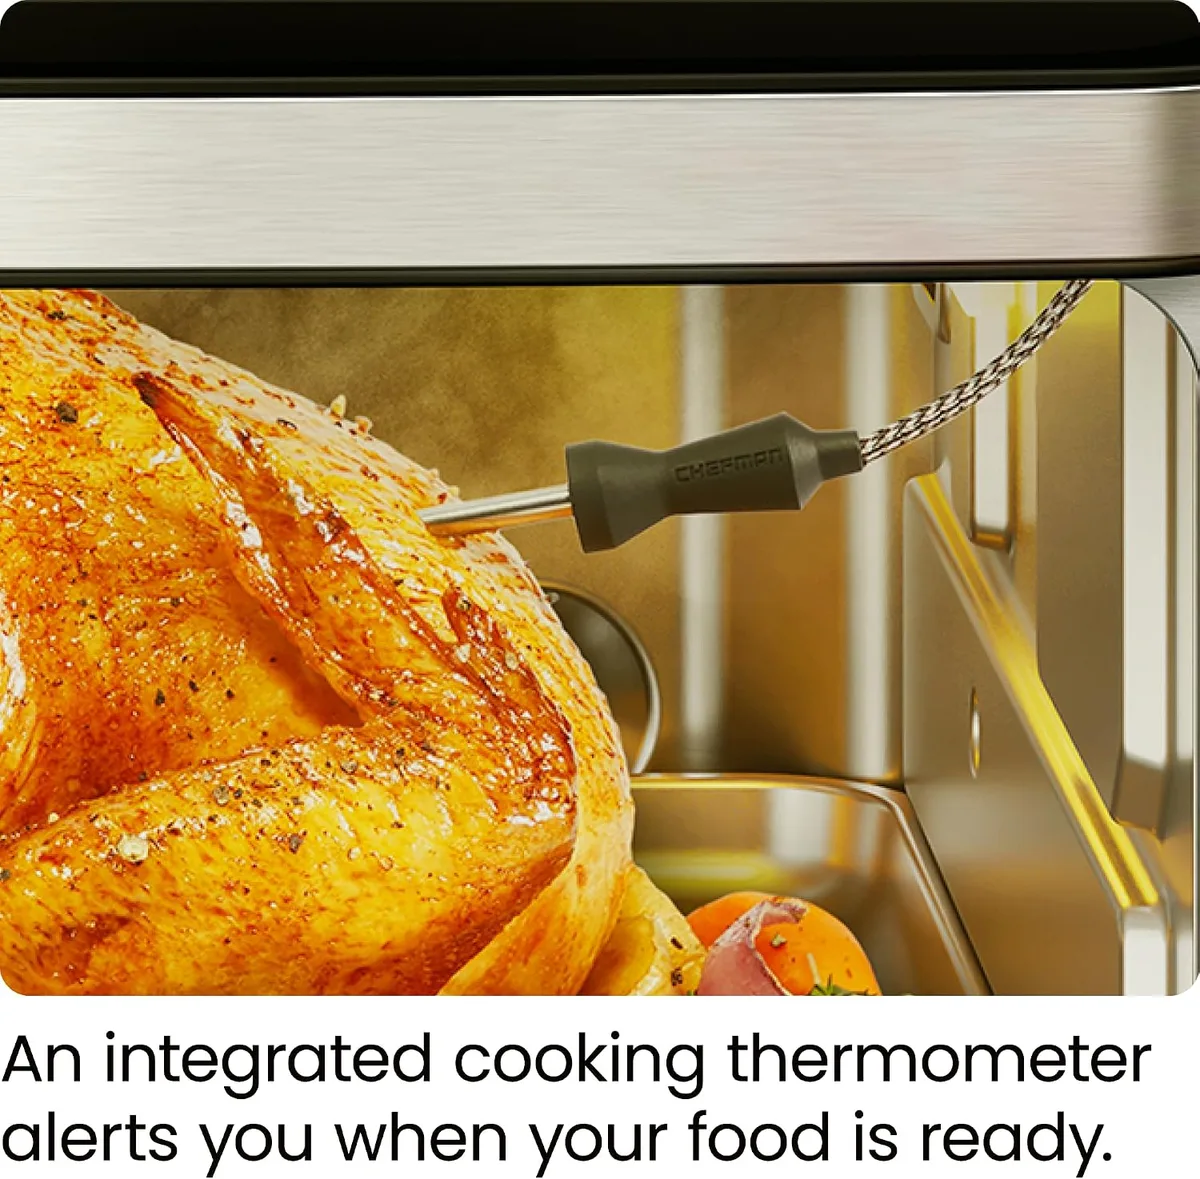
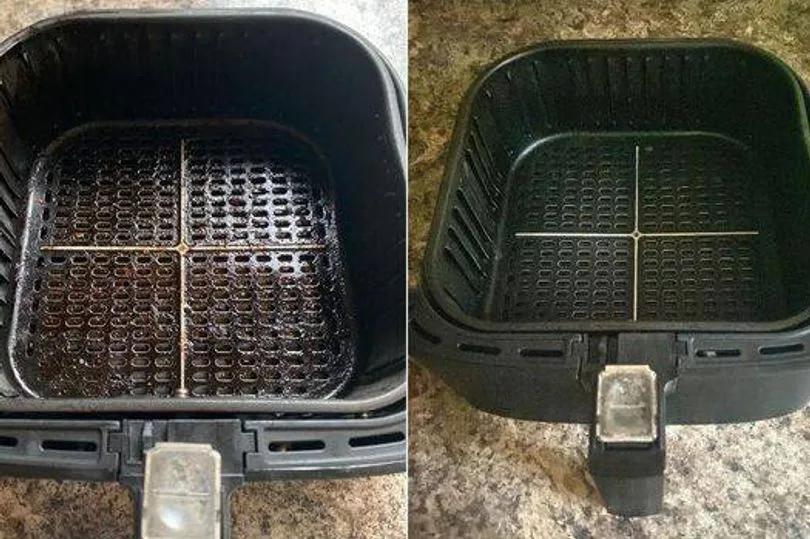
Image source: Bing (Web (fair-use with source credit))
Loose cords get sucked into the air fryer’s fan, breaking both the probe and the air fryer’s motor, and can even fling food debris into the heating element, a problem we cover in our guide to stopping air fryer food from flying into the heating element. Step 3: Insert the probe tip into the thickest part of your food, making sure it doesn’t touch bone, fat, or the heating element at the top of the basket. For whole chickens or thick roasts, insert it horizontally into the center of the breast or thigh, avoiding the bone entirely.
Step 4: Set your air fryer temperature 25 to 50°F (14 to 28°C) higher than your target internal temperature, then set your probe’s target temp to the safe internal mark for your food. Don’t open the basket to check until the probe hits your target temp, as opening it drops the internal heat by 10 to 15°F and extends cook time by 5 to 10 minutes, leading to unevenly cooked food, a common issue we cover in our guide to fixing uneven air fryer cooking. Step 5: Remove the food, let it rest 3 to 5 minutes for juices to redistribute, then unplug and clean your probe with warm soapy water before storing.
7 Common Probe Mistakes That Cause Dry Meat, Broken Appliances, or Foodborne Illness
Even small errors when using a probe can ruin your meal or damage your air fryer. We’ve compiled the 7 most common mistakes from aggregate user reviews and manufacturer support tickets, so you can avoid them entirely. Mistake 1: Setting the air fryer temp to match your target internal temp.
As we covered earlier, this leads to undercooked, unsafe food, because circulating air runs hotter than internal food temp. Mistake 2: Letting the probe tip touch bone, fat, or the heating element. Bone runs hotter than meat, so touching it gives a falsely high reading, leading to overcooked, dry food.
Touching the heating element can melt the probe tip entirely, and if melted plastic or food touches the element, it can burn and smoke, a problem we cover in our guide to clearing air fryer heating element spills. Mistake 3: Routing the cord too close to the fan. Loose cords get sucked into the fan, breaking both the probe and the air fryer’s motor.
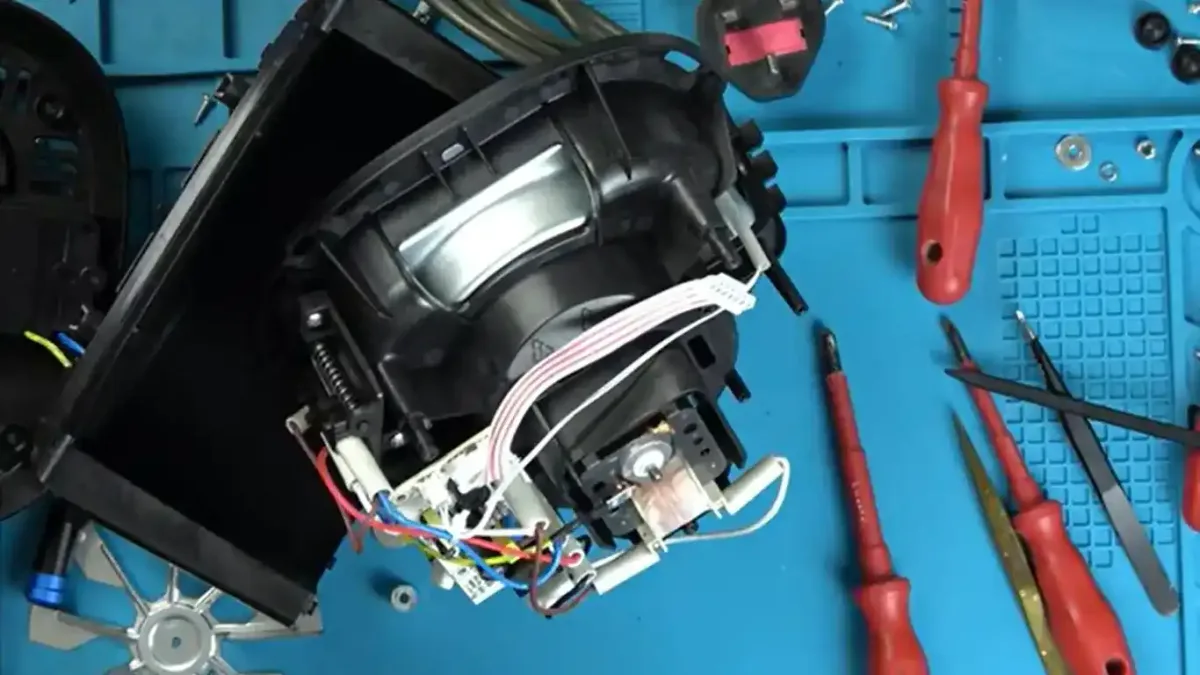
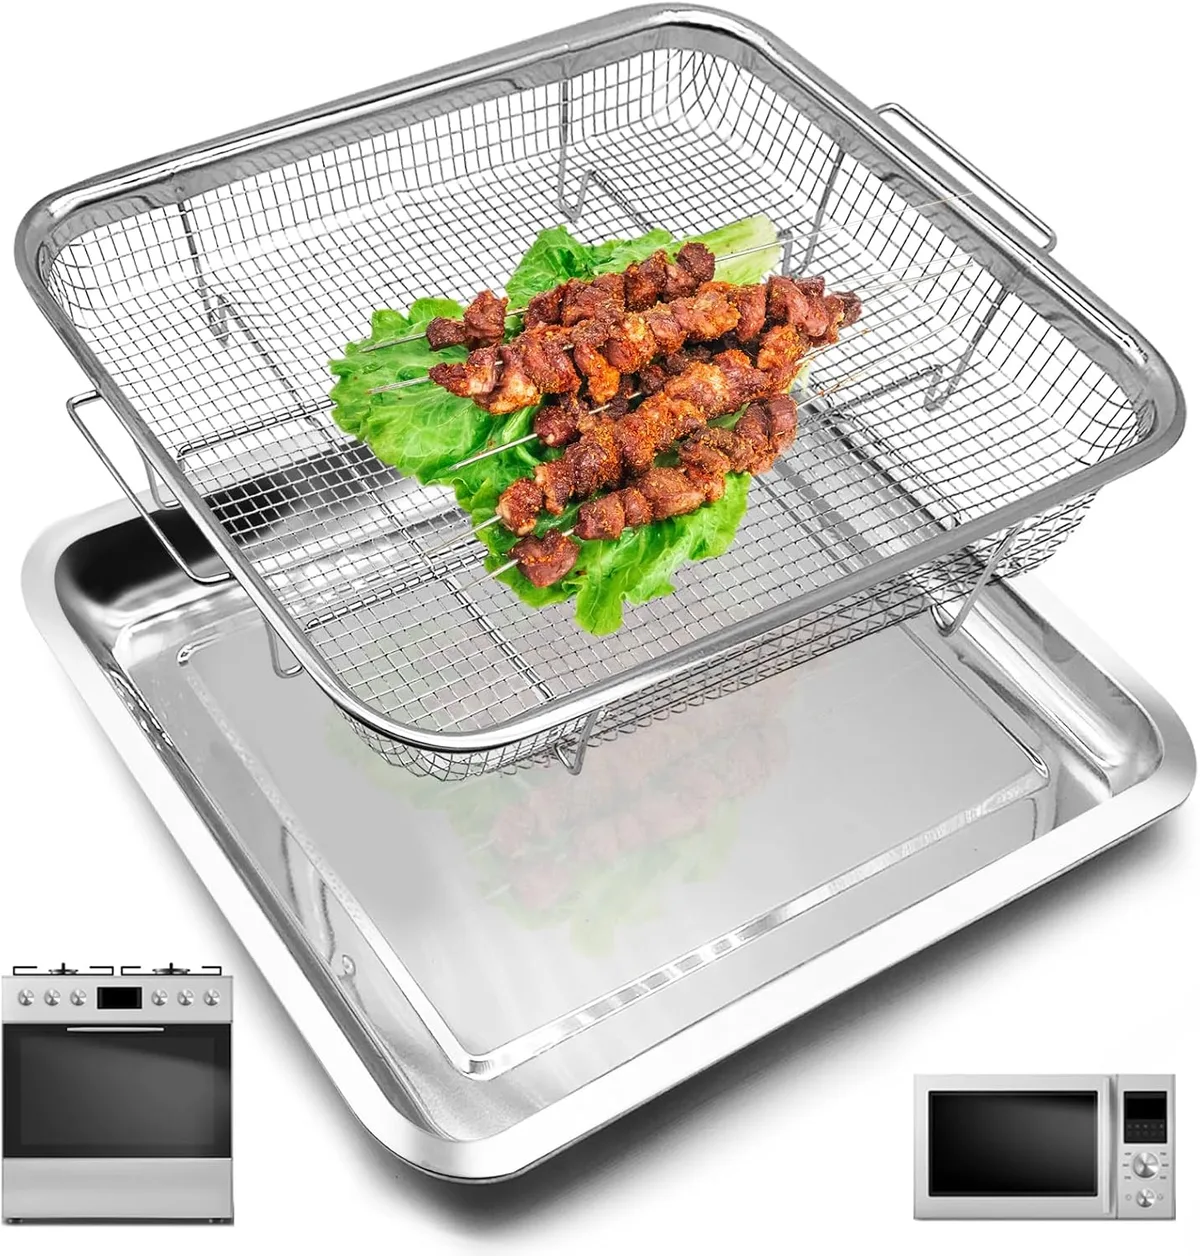
Image source: Bing (Web (fair-use with source credit))
Mistake 4: Using a probe not rated for high heat. Standard oven probes often max out at 400°F, which melts in air fryers that run up to 450°F. Always use a probe rated for at least 500°F (260°C) to avoid melting, and confirm any adapters you use are safe at high heat, as we cover in our guide to air fryer accessory heat safety.
Mistake 5: Opening the basket mid-cook to check the probe reading. This drops the internal temperature by 10 to 15°F, extends cook time, and dries out your food. Mistake 6: Leaving the probe’s plastic sheath on while cooking.
The sheath insulates the tip, leading to slow, inaccurate readings. Mistake 7: Using an uncalibrated probe. A probe that’s off by even 5°F can leave poultry undercooked and unsafe, or turn a perfect steak into leather.
Avoiding these mistakes cuts your failed cook rate by 90% per aggregate user feedback.
Probe and Adapter Comparison: Which One Fits Your Air Fryer?
Not all probes work with every air fryer, and picking the wrong one leads to frustration, broken gear, or bad results. The four most common options break down clearly by use case, so you can pick the right one for your setup. First, if your air fryer has a built-in probe port, the OEM probe that came with it is your best bet: it’s calibrated for your unit’s temperature offset, requires no adapters, and integrates directly with your air fryer’s controls.
If your air fryer has no port, a universal wired probe with a clip-in adapter is the cheapest, most reliable option, costing $8 to $15 and working with almost every countertop model as of 2026. Wireless Bluetooth or Wi-Fi probes are best for meal prep or cooks where you don’t want to stand near the air fryer: they send real-time readings to your phone, have a 30ft (9m) range, and work with any air fryer, no port required. If you don’t want to buy a probe at all, an instant-read thermometer works for quick checks, but you’ll have to open the basket every time, losing heat and extending cook time.
If you’re cooking large cuts of meat in a small air fryer basket, a probe helps you avoid overcooking the edges while the center stays undercooked, a common issue we cover in our guide to small air fryer basket limitations. Here’s a quick side-by-side comparison to help you choose:
| Probe Type | Best For | Cost | Compatibility | Key Drawback |
|---|---|---|---|---|
| OEM wired probe | Air fryers with built-in ports | Included with unit | Only matches your air fryer brand | Won’t work if you lose it or upgrade your air fryer |
| Universal wired probe + adapter | Air fryers with no built-in port | $8–$15 | Fits 90% of countertop air fryers as of 2026 | Cord can tangle if not routed correctly |
| Wireless smart probe | Meal prep, hands-off cooking | $25–$60 | Works with any air fryer | Can lose signal through thick kitchen walls |
| Instant-read thermometer | Occasional quick checks | $10–$30 | Universal | Requires opening the basket mid-cook |
If you cook multiple times a week, a universal wired probe or wireless smart probe is the most versatile pick. For occasional use, an instant-read thermometer works fine, as long as you don’t mind opening the basket to check.
Non-Negotiable Food and Appliance Safety Rules for Probe Use
Skipping these steps puts you at risk for foodborne illness or permanent damage to your air fryer. Per USDA and FDA food safety guidelines, accurate internal temperature checks are the only reliable way to confirm high-risk foods are safe to eat. Never let your probe tip touch bone, fat, or the air fryer’s heating element.
Bone conducts heat faster than meat, so contact gives a falsely high reading that leads to overcooked, dry food. Contact with the heating element can melt the probe’s stainless steel sheath, releasing harmful fumes or damaging the air fryer’s internal components.
Always use a probe rated for at least 500°F (260°C). Most air fryers reach 450°F (232°C), and probes with lower heat ratings melt at these temperatures, creating fire and toxic fume risks. Route your probe cord so it never hangs loose into the cooking chamber.
Loose cords get caught in the air fryer’s fan, which can break the fan motor, shatter the probe, or fling hot food debris into the heating element, a common cause of air fryer smoke and fire hazards. Never use a probe with frayed cords, cracked sheaths, or broken displays. Damaged probes can short out, causing electrical shocks or starting fires in your kitchen.
If your probe shows any signs of wear, replace it immediately rather than risk injury.
Always calibrate your probe before cooking. A probe that’s off by 5°F can leave poultry undercooked, increasing your risk of salmonella or campylobacter infection, per FDA food safety data. Visual doneness checks like cutting into meat mid-cook are unreliable, as the surface can look cooked while the center is still raw.
Frequently Asked Questions About Air Fryer Temperature Probes
Do I need to calibrate my air fryer probe before every use?
Yes, calibrate your probe before every cook to ensure accurate readings. Fill a glass with ice and water, insert the probe tip (not touching the glass), and confirm it reads 32°F (0°C). If it’s off by more than ±2°F, adjust the reading on your probe’s settings or replace it, as inaccurate probes lead to unsafe or overcooked food.
Can I use a standard oven probe in my air fryer?
You can, but only if it’s rated for at least 500°F (260°C). Most standard oven probes max out at 400°F, which melts in air fryers that reach 450°F. If your oven probe is lower rated, use a universal air fryer probe or adapter instead to avoid melting and fire risks.
Why is my air fryer probe reading lower than the actual food temperature?
This is almost always caused by the probe tip touching bone, fat, or the air fryer wall. Bone conducts heat faster than meat, giving a falsely high reading, while the air fryer wall runs hotter than the cooking air, also skewing results. Reposition the tip so it’s fully inserted into the thickest, boneless part of the food, away from all surfaces.
Do I need to adjust air fryer temperature settings when using a probe?
Yes, set your air fryer 25 to 50°F (14 to 28°C) higher than your target internal temperature. Circulating air in an air fryer runs hotter than internal food temperature, so setting the air fryer to match your target will lead to undercooked, unsafe food or dry, overcooked results.
Can I leave my probe in the air fryer while it’s preheating?
No, never leave a probe in the air fryer during preheating or when the appliance is empty. Preheating air fryers reach temperatures up to 450°F (232°C) in 3 to 5 minutes, which can melt the probe tip or damage its internal wiring. Insert the probe only after you’ve added food to the basket.

Similar Posts