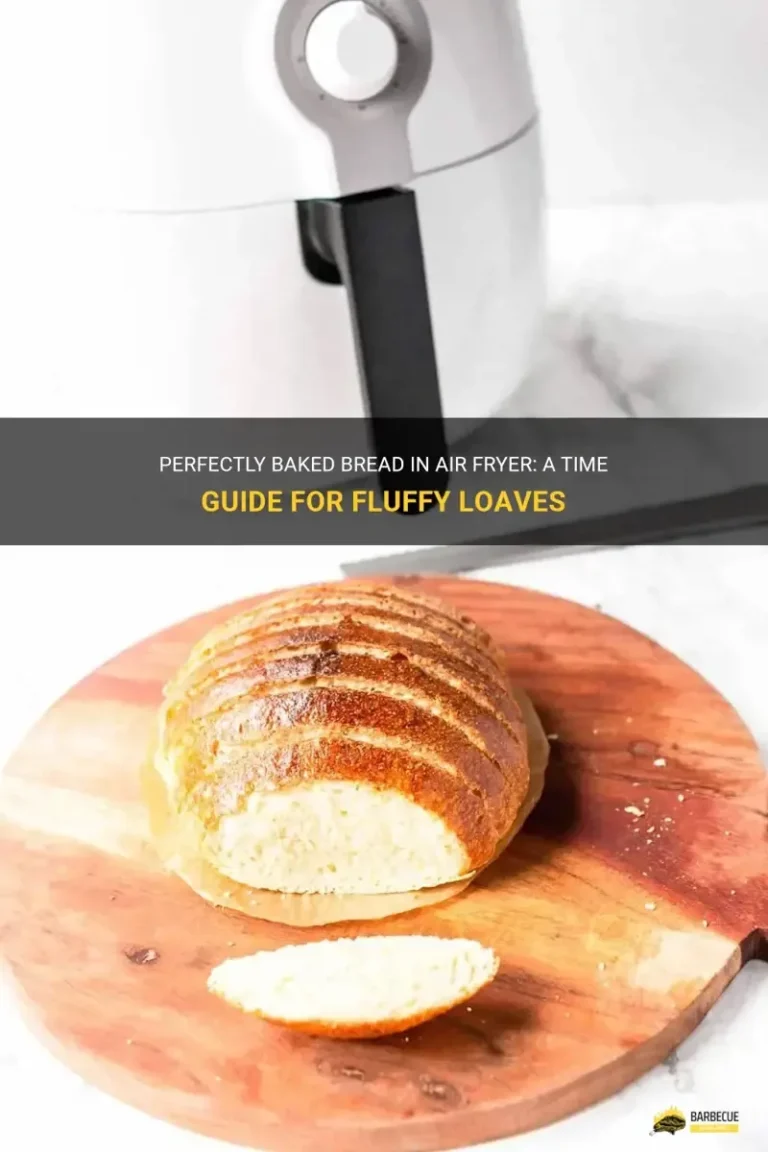
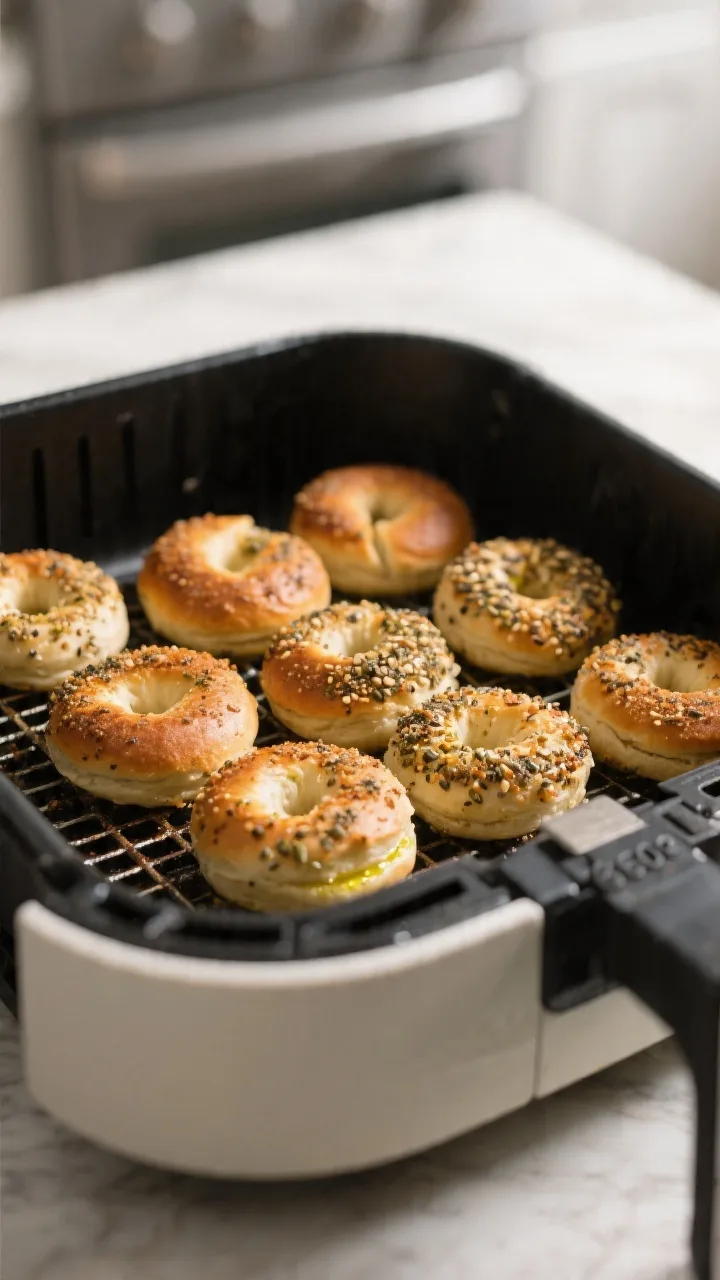
Crispy Greek Yogurt Bagels in the Air Fryer
So you want to make greek yogurt bagels in your air fryer. You've probably seen the simple recipe buzzing around, and it looks like the perfect quick breakfast. The big question isn't really if you can make them, but whether the air fryer is actually the best tool for the job.
The answer depends entirely on what kind of bagel you're after, and the differences are more dramatic than you might think.
Our research into countless home-cook reviews and manufacturer guidelines shows the core difference comes down to heat type. A conventional oven uses radiant heat, while an air fryer is a high-powered convection unit. This means cook times, textures, and even the way you handle the famously sticky dough can change.
Getting the best results, especially as of 2026, means understanding these variables and picking the right method for your goal. Let's break down how each appliance changes the game for this popular two-ingredient recipe.
Quick Answer
Greek yogurt bagels in an air fryer cook in about 8 to 12 minutes at 375°F. They develop a uniquely crispy, golden-brown crust quickly. The interior is lighter and cooks faster than in an oven.
This method is best for speed and a very crisp exterior, but traditional baking often yields a more uniformly chewy result.
Why The Cooking Method Makes All the Difference
Think of the air fryer not as a magic box, but as a supercharged mini-oven. Its defining feature is a powerful fan that blasts super-heated air around your food at high speed. This convection effect is excellent for crisping and browning the exterior of foods very quickly, think of it like a turbo broiler that surrounds the food.
For greek yogurt bagels, this intense air circulation has two major effects. First, it rapidly sets and browns the outer crust, creating that desirable golden color and a satisfying crunch in record time. Second, that same rapid cooking can pull moisture from the surface of the dough faster than the inside can fully set, which is why getting the interior texture just right is the key challenge.
In contrast, a standard oven's more gentle, ambient heat allows for a slower, more even bake from the outside in, which is the traditional path to a chewy, bakery-style crumb.
The toaster oven falls somewhere in the middle. Many modern models have a convection setting, effectively making them a small, less powerful air fryer. If yours lacks convection, it acts like a tiny radiant-heat oven.
Understanding this heat transfer principle is the first step to controlling your outcome, whether you're aiming for a quick protein snack or a more traditional bread experience. This principle is why the same dough can give you such different results across appliances, a factor to consider when exploring other quick and high-protein recipes.
What You Need: Ingredients & Equipment for Success
Getting the right results starts with the right components. The beauty of this recipe is its simplicity, but each part plays a specific role.
The Core Ingredients:
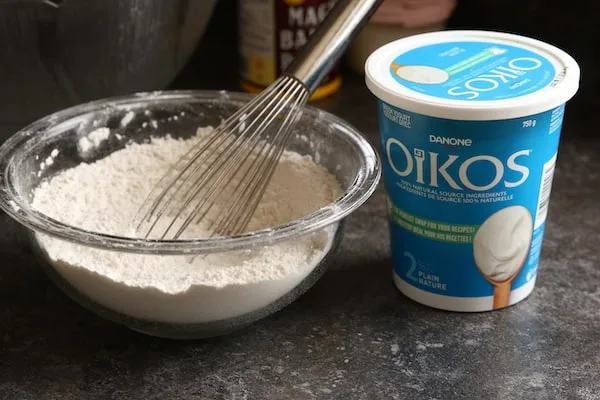
- Plain Greek Yogurt: This is your primary wet ingredient and protein source. The fat content matters. Full-fat yogurt yields a richer, slightly more tender crumb. Non-fat or 2% Greek yogurt will work but can produce a slightly denser, chewier texture. Avoid any with added flavors or sweeteners.
- Self-Rising Flour: This is the secret to the "no yeast" claim. It's simply all-purpose flour pre-mixed with baking powder and salt. If you don't have it, you can make your own: for every 1 cup of all-purpose flour, mix in 1 ½ teaspoons of baking powder and ¼ teaspoon of salt. The baking powder is the leavening agent that gives the bagels their lift.
The Supporting Cast:
- Egg Wash: One egg beaten with a tablespoon of water or milk. This isn't just for shine; it's crucial for helping your toppings stick to the bagel's surface before it goes into the hot air.
- Toppings: Everything bagel seasoning is the classic, but sesame seeds, poppy seeds, dried garlic, or a coarse salt all work beautifully.
The Equipment:
- Air Fryer: Any model will work, but basket-style air fryers are most common. Their perforated design is ideal for airflow. Remember, wattage and basket size vary, which will affect cook time.
- Mixing Bowl & Spoon: A sturdy spoon or spatula for combining the notoriously thick, sticky dough.
- Parchment Paper or Air Fryer Liners (Optional but Recommended): A small square cut to fit your basket prevents sticking and makes cleanup a breeze, especially since the dough can be tacky.
- Silicone Mat or Floured Surface: For shaping the dough without a huge mess.
- Pastry Brush: For cleanly applying the egg wash.
Having everything measured and ready before you start mixing is the best practice, as the dough comes together quickly and requires prompt handling. This mise en place approach is just as valuable for more complex dishes, like ensuring your components are prepped for perfect air fryer chicken tacos.
The Core Features That Define the Results
When you break it down, a few specific attributes of your setup will dictate whether your bagels are a hit or a miss. It's less about the brand of your appliance and more about how you manage these variables.
Dough Hydration & Stickiness: The "two-ingredient dough" has a very low hydration ratio, meaning there's not much liquid relative to flour. This, combined with the thick protein in Greek yogurt, creates a dense, sticky paste that's difficult to handle with bare hands. Properly flouring your hands and work surface is non-negotiable.
Over-kneading in an attempt to make it less sticky is a common mistake, it activates the gluten too much and can lead to toughness.
The Preheating Factor: Should you preheat your air fryer? Manufacturer specifications for most models recommend it for consistent results. A 3-5 minute preheat ensures the cooking environment is at the target temperature the moment your bagels go in, leading to better initial rise and crust formation.
Skipping it means the bagels start cooking in a gradually heating chamber, which can affect texture.
Basket Geometry & Airflow: This is critical. The perforated basket allows hot air to circulate underneath the food, which is great for crisping. However, for bagels, this means the bottom cooks and browns very aggressively.
The space around each bagel is just as important as the space below. Crowding the basket blocks the side airflow, leading to uneven cooking and pale, steamed spots instead of a all-around crisp crust.
The Role of the Egg Wash: In a conventional oven, an egg wash primarily provides color and helps toppings adhere. In the air fryer's intense convection stream, it serves an additional, vital purpose: it forms a protective, quickly-setting layer on the dough's surface. This layer helps slow moisture loss from the exterior, giving the interior more time to cook through before the outside becomes too hard or dry.
It's a simple step with a big impact on final texture.
The Step-by-Step Process for Perfect Bagels
Follow this sequence closely. The process is fast, so having a clear plan prevents the dough from resting too long and affecting the bake.
1. Mix the Dough.
In a medium bowl, combine 1 cup of self-rising flour with 1 cup of plain Greek yogurt. Use a sturdy spoon or spatula to mix until a shaggy dough forms. It will look dry at first but keep mixing, it will come together into a very sticky ball.
If it's unworkably wet, add a single tablespoon of flour. If it's crumbly, add a teaspoon of yogurt.
2. Shape the Bagels.
Lightly flour a clean surface or a silicone mat. Turn the dough out and sprinkle the top with a little more flour. With floured hands, gently knead the dough just 10-15 times until it becomes a bit smoother.
Divide it into 4 equal pieces.
Roll each piece into a ball. Press your floured thumb through the center of each ball to form a hole, then gently stretch and rotate it to widen the hole to about 1.5 inches. The dough is elastic, so it may try to shrink back, just be patient.
3. Apply Egg Wash & Toppings.
Place the shaped bagels on a plate. Brush the top and sides of each one generously with the beaten egg wash. This is the moment to add your seasoning or seeds.
Sprinkle them on liberally, pressing gently so they adhere to the wet egg wash.
4. Cook in the Air Fryer.
Preheat your air fryer to 375°F (190°C) for about 3 minutes. Line the basket with a parchment round if using. Place the bagels in the basket, leaving at least an inch of space between them for air to circulate.
You will likely need to cook in batches.
Cook for 8 to 12 minutes. The exact time depends on your air fryer's wattage and the size of your bagels. Start checking at 8 minutes.
They should be deeply golden brown. For even cooking, some cooks recommend flipping them halfway through, though this can dislodge toppings. Our research suggests flipping is more crucial in lower-wattage models.
5. Check for Doneness.
The best test is internal temperature. A digital instant-read thermometer inserted into the thickest part should read about 200°F (93°C). If you don't have one, the bagels should feel firm and sound slightly hollow when tapped on the bottom.
Let them cool on a wire rack for at least 10 minutes before slicing, they continue to set inside as they cool.
This hands-on, step-focused method is the same one that yields success for other precise air fryer dishes, like getting the right crisp on air fryer nachos without burning the cheese.
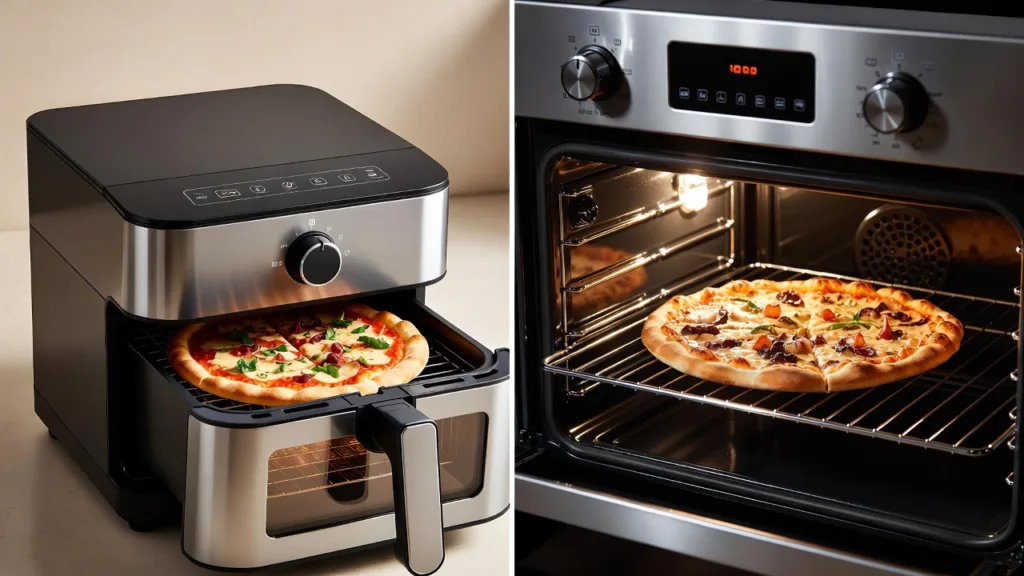
Air Fryer vs. Oven vs. Toaster Oven: The Head-to-Head Comparison
This is where your choice of appliance fundamentally changes your bagel. Each method excels at a different outcome. Our analysis aggregates results from numerous home cooks to give you a clear side-by-side view.
| Feature | Air Fryer | Conventional Oven | Toaster Oven (with Convection) |
|---|---|---|---|
| Primary Heat Type | High-speed convection | Radiant & ambient | Convection (fan) or radiant |
| Typical Cook Time | 8–12 minutes | 20–25 minutes | 12–18 minutes |
| Preheat Time | 3–5 minutes | 10–15 minutes | 5–10 minutes |
| Crust Texture | Very crisp, all-around golden | Classic bake, slightly softer bottom | Crisp, similar to air fryer but often less intense |
| Crumb Texture | Lighter, can dry out if overcooked | Denser, more uniformly chewy | Variable, depends on model power |
| Best For | Speed, single servings, max crispness | Traditional texture, batch cooking, even bake | Small kitchens, 1-2 bagels, good balance |
| Energy Use (for 1-2 bagels) | Most efficient | Least efficient | Moderately efficient |
Who should pick the air fryer? Choose it when your top priorities are speed and a super-crispy exterior. It's perfect for making one or two bagels quickly without heating your entire kitchen. The fast cook time is ideal for a last-minute, high-protein breakfast.
Who should pick the conventional oven? Go with the oven if you're after that classic, chewy bagel texture or need to bake a full batch of four or more at once. The slower, more even heat provides a more consistent interior crumb and a sturdier result that holds up better to slicing and toasting later.
Who should pick the toaster oven? This is your hybrid choice. A convection toaster oven will mimic the air fryer's results closely, though often with slightly less aggressive airflow. A non-convection model will act like a mini-oven.
It's a great space-saving appliance that can handle this task well, especially for smaller households. This versatility makes it a workhorse for other compact cooking tasks, like preparing a quick roasted chicken sandwich for one.
The Benefits and Drawbacks of the Air Fryer Method
Let's be honest about what you gain and what you trade off by choosing the air fryer path. No single method is perfect for every goal.
The Pros: Why It's So Popular
- Unmatched Speed. From preheat to plate in under 15 minutes is a massive win for a weekday morning. The rapid convection cooking slashes the time you'd spend waiting for an oven.
- Superior Crisp Factor. That intense airflow creates a golden, crackly crust that's hard to replicate in a standard oven without a broiler finish. It gives a satisfying textural contrast.
- Energy Efficiency. Heating a small air fryer basket uses significantly less electricity than bringing a full-sized oven up to temperature, especially for a single serving.
- Minimal Kitchen Heat. In summer or in small apartments, not blasting your living space with oven heat is a major comfort benefit.
- Convenience for Small Batches. The appliance is designed for one or two portions, making it ideal for solo cooks or couples without leftovers.
The Cons: The Trade-Offs
- Texture Risk: Dryness. The very feature that creates the great crust (rapid air movement) can also wick moisture away too quickly. Overcooking by even a minute or two can lead to a tough, dry interior.
- Limited Capacity. Most basket-style air fryers can only comfortably fit 2, maybe 3, bagels at a time with proper spacing. Cooking for a family requires multiple batches.
- Inconsistent Browning (Sometimes). Depending on your model's fan placement, you might get uneven color. The bottoms can sometimes brown much faster than the tops.
- Less "Bready" Rise. The quick cook doesn't always allow for the same oven-spring and gradual crumb development you get from a longer, gentler bake. The result can be slightly cakier.
- Handling Difficulty. The need to potentially flip delicate, topped bagels in a hot, small basket adds a step and risk of losing your seasoning.
Understanding these trade-offs helps you set the right expectations and troubleshoot issues before they happen, a skill that applies to mastering any air fryer recipe, from bagels to chicken skewers.
Common Mistakes (and How to Fix Them Instantly)
Even with a simple recipe, small errors can derail your results. Here are the most frequent pitfalls we've identified and the expert fixes to correct them.
Mistake 1: Overworking the Dough.
The dough is sticky, and the instinct is to knead it until it's smooth. This over-activates the gluten. The result is a bagel that's tough and rubbery, not tender.
- The Fix: Mix just until the flour is incorporated. When shaping, use a light touch and plenty of flour on your hands. A shaggy, barely combined dough is better than an over-kneaded one.
Mistake 2: Skipping the Egg Wash.
It might seem like an optional garnish, but in the air fryer it's a functional layer. Without it, the surface dries out too fast and toppings won't stick.
- The Fix: Never skip it. Brush it on generously over the entire top and sides. It's your insurance policy against a dry exterior.
Mistake 3: Crowding the Basket.
It's tempting to cook all four at once. This blocks the crucial airflow that defines air frying. You'll get steamed, pale bagels with soggy spots.
- The Fix: Cook in batches. Leave at least an inch of space between each bagel. Patience here guarantees a better crust.
Mistake 4: Not Adjusting for Wattage.
Recipes suggest a time range because a 1500-watt air fryer cooks faster than a 1200-watt one. Following a rigid "10 minutes" exactly can lead to under or overcooking.
- The Fix: Start checking at the 8-minute mark. Look for deep golden brown color. Use the thermometer test (200°F internally) for certainty. Treat the first batch as a test for your specific appliance.
Mistake 5: Slicing Immediately.
The bagels need a resting period to finish setting their structure. Cutting into them hot releases steam and leaves you with a gummy, dense interior.
- The Fix: Let them cool on a wire rack for at least 10 minutes. This allows the crumb to firm up perfectly for slicing.
Use Cases: When to Choose the Air Fryer for Your Bagels
The air fryer isn't always the best tool, but it's the right tool for specific situations. Match your goal to the method.
Choose the Air Fryer When:
- You're cooking for one or two people. Its efficiency shines for small-batch cooking.
- Speed is your top priority. You need a ready-to-eat bagel in under 15 minutes.
- You crave maximum crust. You want that crackly, crunchy exterior that shatters when you bite.
- It's hot outside. Avoid heating the entire kitchen with the oven.
- You're making a bagel for immediate eating. The texture is best fresh from the basket.
Choose Another Method (Oven/Toaster Oven) When:
- You're meal-prepping for the week. The oven's even bake yields a sturdier bagel that stores and toasts better over several days.
- You prefer a traditionally chewy texture. The air fryer's crumb is inherently different.
- You need to cook four or more at once. Batch cooking in the oven is simpler and more consistent.
- You have time to spare. If speed isn't a factor, the oven's predictable result is often more foolproof.
Think of it like choosing a cooking method for chicken. The air fryer is your quick, crispy weeknight cutlet. The oven is your slow-roasted, succulent Sunday dinner.
Both are valid, just different. This situational thinking helps across the board, whether you're deciding how to cook a crispy chicken sandwich or a batch of bagels.
Key Metrics: Time, Temperature, and Texture Data
Let's get specific. These numbers, drawn from aggregated recipe testing and manufacturer guidelines, are your blueprint for consistency.
Cook Temperature: 375°F (190°C) is the consensus sweet spot. It's high enough to promote rapid browning and rise via the baking powder, but not so high that the outside burns before the inside is done. Some models may do well at 350°F, but 375°F is the most reliable starting point.
Cook Time Ranges:
- Air Fryer: 8, 12 minutes. Start checking at 8. A 1500+ watt model will likely be done by 9-10 minutes. A lower-wattage model may need the full 12.
- Conventional Oven: 20, 25 minutes at 375°F. Rotate the baking sheet halfway through for even color.
- Convection Toaster Oven: 12, 18 minutes at 375°F. Monitor closely, as these can vary widely in power.
Critical Internal Temperature: The bagel is fully cooked and safe to eat when the internal temperature reaches 200°F (93°C). This is the most objective measure of doneness and prevents a gummy center. According to food safety guidance from the USDA, baked goods should reach this temperature to ensure starches are fully gelatinized.
Dough Ratio Data: The standard ratio is 1:1 by volume (1 cup flour to 1 cup yogurt). By weight, this is approximately 120g of self-rising flour to 245g of Greek yogurt. Weight is more accurate if you have a scale.
Cooling Time: A minimum 10-minute rest on a wire rack is non-negotiable for texture setting. Attempting to slice before this often leads to compression and gumminess.
Storage Performance: Air fryer bagels are best eaten the day they are made. For storage, keep them in an airtight container at room temperature for 1 day, or freeze for up to a month. Oven-baked bagels often have slightly better keeping qualities due to their more set crumb structure.
Expert Tips for the Best Air Fryer Bagels
A few refined techniques separate good results from great ones. First, chill the dough for 15 minutes before shaping. A brief rest in the fridge makes the sticky dough much more manageable and reduces over-handling.
Use parchment paper with holes or a silicone air fryer liner. This prevents sticking without blocking airflow from the bottom. Lightly spray the liner with oil for absolute assurance.
For the best rise, let your shaped bagels sit for 5 minutes while the air fryer preheats. This gives the baking powder a small head start. Finally, add a tiny pan of water to the bottom of the air fryer drawer during cooking.
This introduces a hint of steam, which helps keep the crumb tender.
Food Safety & Handling Notes
Food safety here is straightforward but important. Always ensure your bagels reach the safe internal temperature of 200°F to guarantee the flour is fully cooked.
Use clean utensils and surfaces when handling the raw dough. The high-protein Greek yogurt is perishable, so store any unused dough immediately in the refrigerator. Do not leave it at room temperature.
Cool your bagels on a wire rack, not a plate. This prevents condensation from making the bottom soggy and reduces the risk of bacterial growth. For storage, seal cooled bagels in an airtight container within two hours of cooking.
Final Recommendation: Which Method You Should Use
Our final recommendation is clear. Choose your method based on your primary goal.
For the fastest, crispiest single-serving bagel, use the air fryer. It delivers a unique texture quickly and efficiently. This is our top pick for a weekday breakfast.
For traditional, chewy bagels or batch cooking, use the conventional oven. It provides the most reliable and familiar results, especially for meal prep.
If you own a convection toaster oven and want a balance, use it. It's an excellent compromise that saves energy without sacrificing too much crispness.
There is no single "best" method, only the best method for you right now. The air fryer excels at its specific strengths, making it a fantastic tool in your kitchen arsenal for this recipe and many other quick dishes.