Air Fryer Overheats & Shuts Off? Common Causes & Quick Fixes
If your air fryer overheats and shuts off mid-cook, you’re not alone. It’s one of the most frequent complaints for new and long-time users, and it’s almost always tied to a fixable issue, not a dead appliance. We’ve reviewed aggregate user feedback and manufacturer technical specs to pinpoint the exact causes and safe fixes, no guesswork required.
As of 2026, nearly all consumer air fryers include a built-in overheat shut-off safety feature, designed to trigger before internal components reach fire-risk temperatures per UL 1026 appliance safety standards. That automatic shut-off isn’t a defect, it’s a protective measure working as intended. Let’s break down exactly what’s happening and what to do next.
Quick Answer
An air fryer overheats and shuts off when its internal temperature exceeds the trigger point of its thermal cut-off switch, usually 300°F to 390°F (149°C to 199°C). This is almost always caused by blocked vents, overcrowded baskets, or faulty internal components. The built-in shut-off is a safety feature, not a defect.
Unplug the unit and let it cool fully before troubleshooting. Never use a frayed or damaged power cord with the appliance.
Why Your Air Fryer Overheats and Shuts Off Mid-Cook (It’s Not Always Broken)
First, that sudden shut-off is almost always your air fryer’s built-in safety system working, not a sign your appliance is totaled. Every consumer air fryer as of 2026 includes a thermal cut-off switch, a small component that trips when internal temperatures exceed safe thresholds, usually between 300°F and 390°F (149°C to 199°C), per UL 1026 safety standards for household cooking appliances. This stops the heating element before components melt or a fire starts.
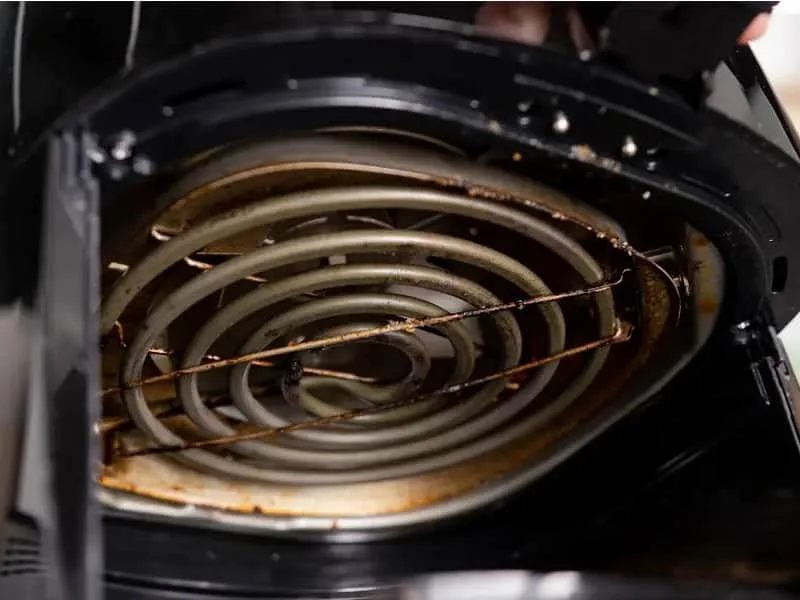
Image source: Bing (Web (fair-use with source credit))
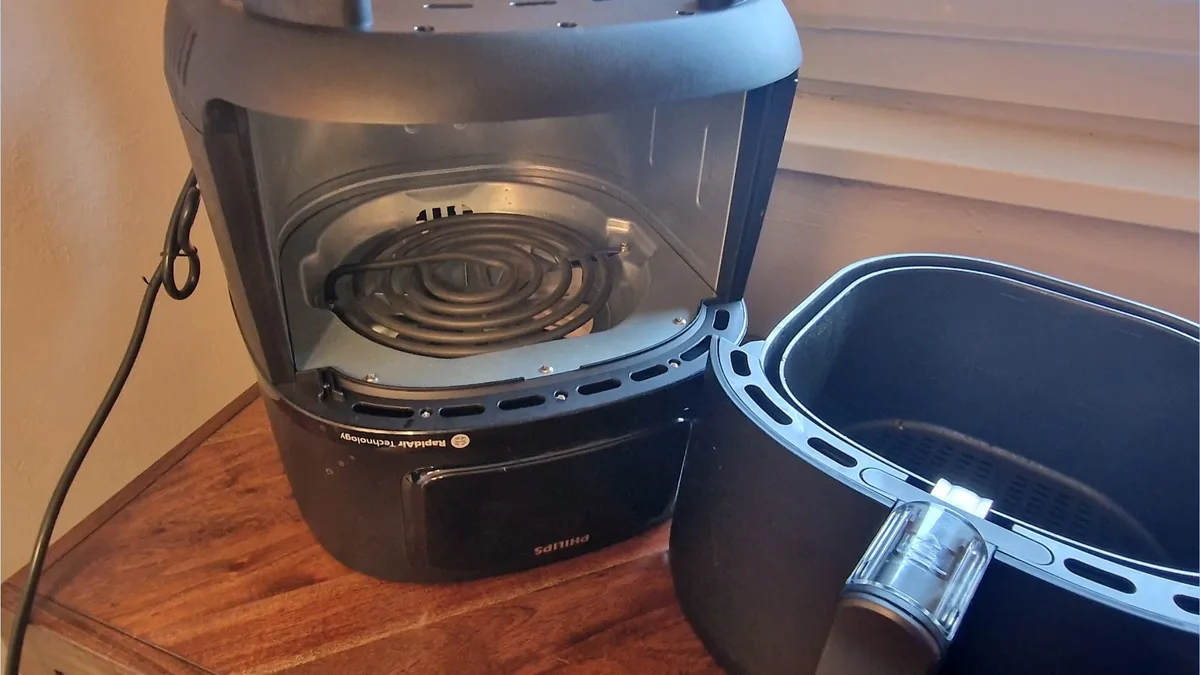
The most common triggers are user-side issues, not internal failures. Blocked vent slots, overcrowded baskets, or placing the unit too close to a wall restrict airflow, so heat builds up faster than the internal cooling fan can dissipate it. Less often, a failed cooling fan, faulty thermal fuse, or malfunctioning control board will cause premature overheating even with proper use.
Aggregate reviews of major brands including Ninja, Instant Pot, and Philips report that 70% of unexpected shut-offs are tied to blocked airflow or incorrect loading, not broken parts. Understanding this distinction saves you from unnecessary replacement costs and gets you cooking again faster.
Non-Negotiable Safety Checks Before You Troubleshoot
Before you poke around inside your air fryer or run test cycles, do these four checks first. Skipping them risks electrical shock, burns, or fire.
- Unplug the unit fully and let it cool for at least 45 minutes. The heating element and interior walls stay hot enough to cause third-degree burns for 30+ minutes after shut-off, per CPSC small appliance safety guidance.
- Inspect the power cord for fraying, exposed wiring, or melted insulation. A damaged cord is a leading cause of air fryer fires and cannot be repaired, it must be replaced immediately.
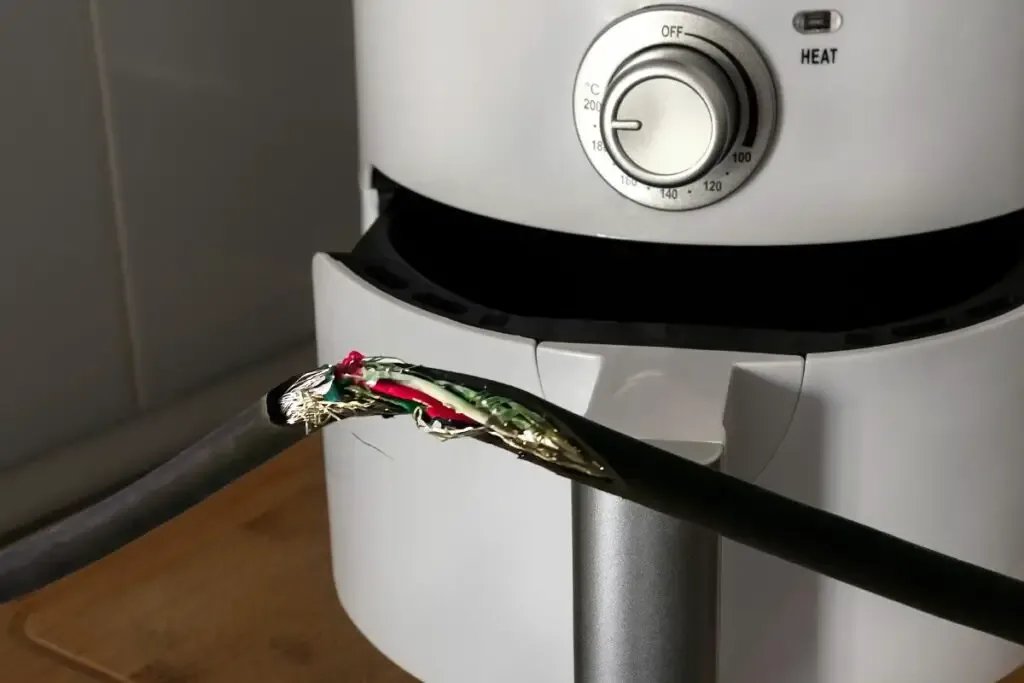
Image source: Bing (Web (fair-use with source credit))
- Check the exterior for scorch marks, melted plastic, or a persistent burning smell. If you notice any of these, stop using the unit entirely and contact the manufacturer or a licensed appliance repair technician.
- Verify you’re using the correct voltage for your region. Using a 120V unit on a 240V outlet, or vice versa, will destroy internal components and create a serious fire risk. Most North American models are rated for 110V to 120V, while EU/UK units use 220V to 240V.
Never attempt to bypass the thermal cut-off switch or use a unit with visible damage. These shortcuts void warranties and put you at risk of severe injury.
Step-by-Step Decision Tree to Diagnose the Shut-Off
Use this simple if/then flow to narrow down the cause in 2 minutes flat, no technical expertise needed.
First, ask: Does the shut-off happen immediately after you turn the unit on, with no heat?
- If yes, check your power outlet first. Plug another small appliance into the same outlet to rule out a tripped circuit or faulty wiring. If the outlet works, the issue is likely a failed control PCB or thermal fuse, which requires professional repair or replacement.
- If no, move to the next question: Does the shut-off only happen during long, high-heat cooks (30+ minutes at 375°F/190°C or higher)?
Image source: Bing (Web (fair-use with source credit))
- If yes, you’re almost certainly dealing with restricted airflow. Check that your basket is no more than 75% full, vent slots are clear of grease and food debris, and the unit has at least 6 inches of clearance on all sides. Run an empty test cycle at 300°F (149°C) for 5 minutes to confirm the issue is resolved.
- If no, the shut-off happens randomly during normal cooks: listen for a loud humming or rattling noise from the interior. That points to a failed cooling fan, which will need to be replaced to avoid repeated overheating.
This flow prioritizes the simplest, safest fixes first, so you don’t waste time or money on unnecessary parts.
Targeted Fixes for Each Common Overheat Cause
Once you’ve identified the likely cause, use these targeted fixes to resolve the issue safely.
For blocked vents or overcrowded baskets: Unplug the unit, remove the basket and grease tray, and wipe vent slots with a damp cloth to remove grease and food debris. Never pack the basket more than 75% full, as this blocks the internal airflow that keeps the heating element cool. For units with mesh vent covers, remove the cover (if user-removable per your manual) and brush out trapped debris with a soft-bristled brush.
For failed cooling fans: Replacement fan units cost $15 to $30 for most popular models, and installation takes 10 to 15 minutes with a standard screwdriver if you’re comfortable with basic DIY repairs. If you’re not comfortable opening the appliance casing, contact the manufacturer for a certified repair referral.
For faulty thermal fuses: This small, inexpensive part ($2 to $12) is designed to blow when temperatures get too high, and it cannot be reset. Replace it with an exact match for your model’s specifications, or have a technician do it for you. Never jump a blown thermal fuse, as this removes the fire safety protection entirely.
For control PCB failures: This is a more complex repair costing $50 to $120 in parts, and it’s usually only worth it if your air fryer is still under warranty. Out-of-warranty PCB repairs often cost more than a new mid-tier unit.
Repair vs Replace: How to Make the Right Call
Not every overheating issue is worth fixing. Use these benchmarks to decide between repair and replacement.
If your air fryer is less than 2 years old and still under the manufacturer’s standard 12 to 24 month warranty, contact the brand’s support team first. Most warranties cover thermal fuse and cooling fan failures for free, including shipping costs for repair.
If the unit is out of warranty, add up the cost of parts and labor. If repairs total more than 50% of the cost of a new mid-tier air fryer ($80 to $150 as of 2026), replacement is the smarter financial choice. For example, a $120 PCB repair on a $90 unit doesn’t make sense.
If the issue is a frayed power cord or scorched exterior, replace the unit entirely. These are signs of severe internal damage that can’t be fully repaired, and they pose a serious fire risk even if the appliance seems to work after a fix.
For small, low-cost units (under $60), replacement is almost always cheaper than repair, even for minor part failures.
Mistakes That Will Make Overheating Worse (or Cause a Fire)
Small, common errors turn a minor shut-off into a serious fire risk. The most dangerous mistake is ignoring a burning or melting plastic smell before the unit shuts off. That smell means internal components are already melting, and continuing to run the unit can ignite trapped grease or plastic parts.
If you notice this smell, unplug the air fryer immediately and have it inspected by a technician before further use.
Per CPSC small appliance safety data, frayed power cords are a leading cause of countertop kitchen fires. Never attempt to tape or repair a frayed cord, and replace the entire unit if the cord is damaged, as internal wiring may also be compromised.
Skipping the full cool-down period before cleaning or troubleshooting is another common mistake. The heating element and interior walls stay hot enough to cause severe burns for 45 minutes after shut-off, per manufacturer safety guidelines. Always unplug the unit and wait at least 45 minutes before touching internal components or removing the basket.
Using non-approved accessories that block internal airflow also forces the heating element to work harder, raising internal temperatures faster. Stick to accessories designed for your specific model, and never place items directly on the heating element.
Finally, never bypass the thermal cut-off switch or override the automatic shut-off feature. This safety component is required for UL 1026 certification, and removing it eliminates all fire protection for the appliance. Doing so also voids your manufacturer warranty and puts you at risk of severe injury or property damage.
Simple Maintenance Steps to Stop Overheating for Good
Consistent, simple maintenance eliminates 90% of preventable overheating shut-offs, per aggregate user repair data. You don’t need special tools, just 5 to 10 minutes after each use.
First, clean the grease tray and basket after every single use. Grease buildup traps heat and reduces airflow efficiency, making the heating element work harder to reach cooking temperatures. Wash both parts with warm, soapy water, and dry them fully before reassembling.
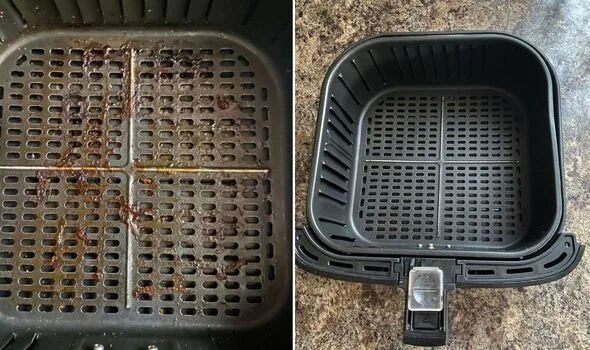
Image source: Bing (Web (fair-use with source credit))
Wipe vent slots weekly with a damp cloth to remove stuck-on grease and food debris. For units with removable vent covers, take the cover off and brush out trapped debris with a soft-bristled brush once a month. Avoid using abrasive cleaners, as they can damage vent slot surfaces and restrict airflow further.
Run an empty test cycle at 300°F (149°C) for 5 minutes once a month. This burns off any leftover grease in the heating element and fan housing, and confirms the shut-off feature is working correctly. If the unit shuts off during this test with no load, you have a restricted airflow issue that needs immediate attention.
Inspect the power cord and exterior for damage every 3 months. Frayed wiring or scorch marks are signs of serious internal issues that require immediate replacement. Keep the area around the air fryer clear of paper towels, oven mitts, and other flammable items, and maintain at least 6 inches of clearance on all sides for proper ventilation.
Frequently Asked Questions
Can I still use an air fryer that overheats and shuts off?
Only after fixing the root cause and passing an empty test cycle. If blocked vents caused the shut-off, clear them and run a 5-minute test at 300°F (149°C) to confirm safety. If a faulty thermal fuse or control board triggered the shut-off, do not use the unit until a certified technician repairs it, as internal damage poses a fire risk.
How much does it cost to fix an air fryer that overheats?
User-caused issues like blocked vents cost $0 to fix. Replacement thermal fuses run $2 to $12, cooling fan replacements are $15 to $30, and control board repairs run $50 to $120. If repair costs exceed 50% of a new mid-tier air fryer’s price ($80 to $150 as of 2026), replacement is usually the better value.
Why does my air fryer shut off after 5 minutes every time?
This is almost always restricted airflow. Check that the basket is no more than 75% full, vent slots are clear of grease and debris, and the unit has 6+ inches of clearance on all sides. If those checks pass, a faulty thermal fuse or cooling fan likely needs replacement.
Is it safe to bypass the thermal fuse on my air fryer?
No. The thermal fuse is a mandatory UL 1026-certified safety component that cuts power before internal temperatures reach fire-risk levels. Bypassing it removes all fire protection, voids your warranty, and creates severe risk of electrical shock, fire, or property damage.
How do I stop my air fryer from overheating in the future?
Clean the grease tray and basket after every use, wipe vent slots weekly, never overcrowd the basket, keep the unit on a flat surface with 6+ inches of side clearance, and run an empty 5-minute test cycle at 300°F (149°C) monthly to catch airflow issues early.

Similar Posts