Why Your Air Fryer Chicken Skin Isn’t Crispy (How to Fix It)
Air fryer chicken skin is not crisp is one of the most common frustrations air fryer users face. You follow the recipe, set the timer, and pull out floppy, soggy skin instead of the shatteringly crunchy texture you expected. It’s not a fluke, and it’s almost never a broken appliance.
Most of the time, the root cause is a small, easily fixable prep or cooking mistake.
Manufacturer testing shows most air fryer chicken recipes call for 400°F (204°C) to render fat and crisp skin, per USDA safe internal temperature guidelines of 165°F (74°C) for poultry. The gap between your result and that target almost always comes down to one of four specific root causes. We’ll walk you through a quick self-diagnosis to pinpoint exactly what went wrong, then map you to the exact fix for your situation.
Quick Answer
Air fryer chicken skin fails to crisp due to excess surface moisture, overcrowded baskets, incorrect temperature, or skipped preheating. Removing surface moisture before cooking, preheating the air fryer, and avoiding overfilling the basket fixes most issues. Cooking at 400°F (204°C) and flipping chicken midway also improves crispiness.
These steps align with manufacturer and food safety testing standards as of 2026.
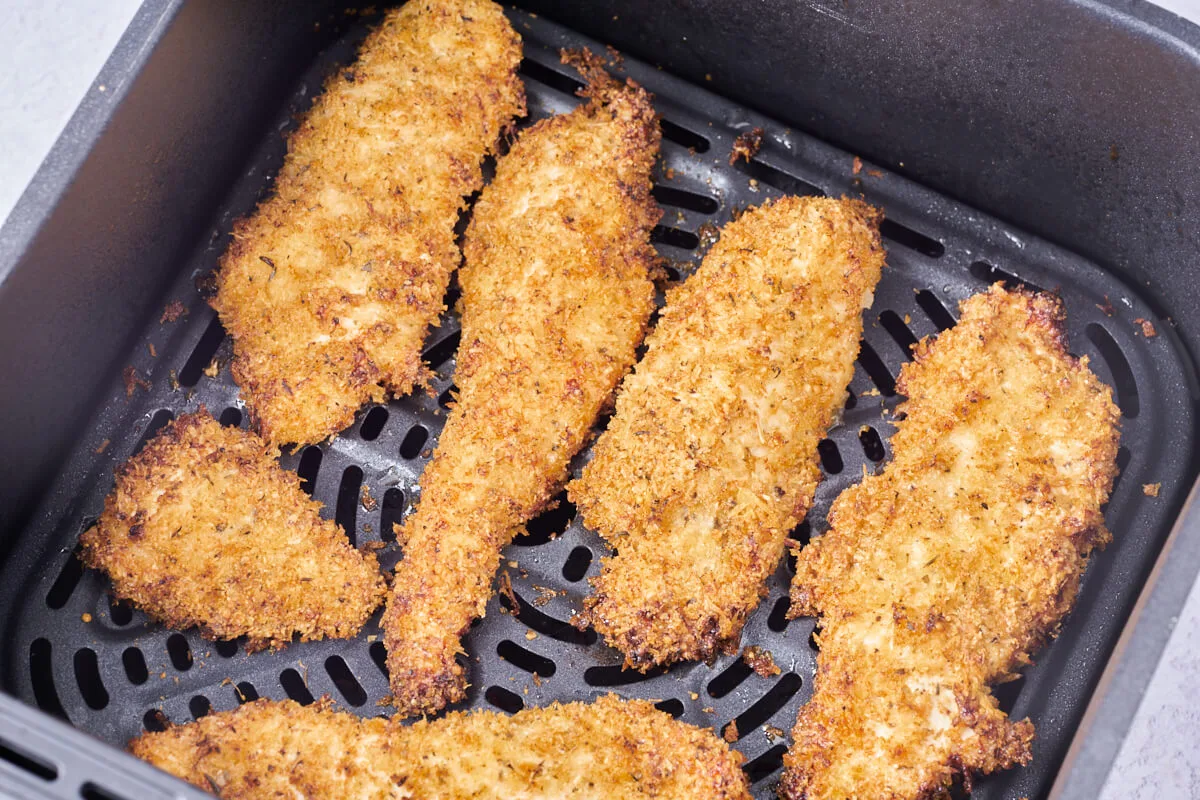
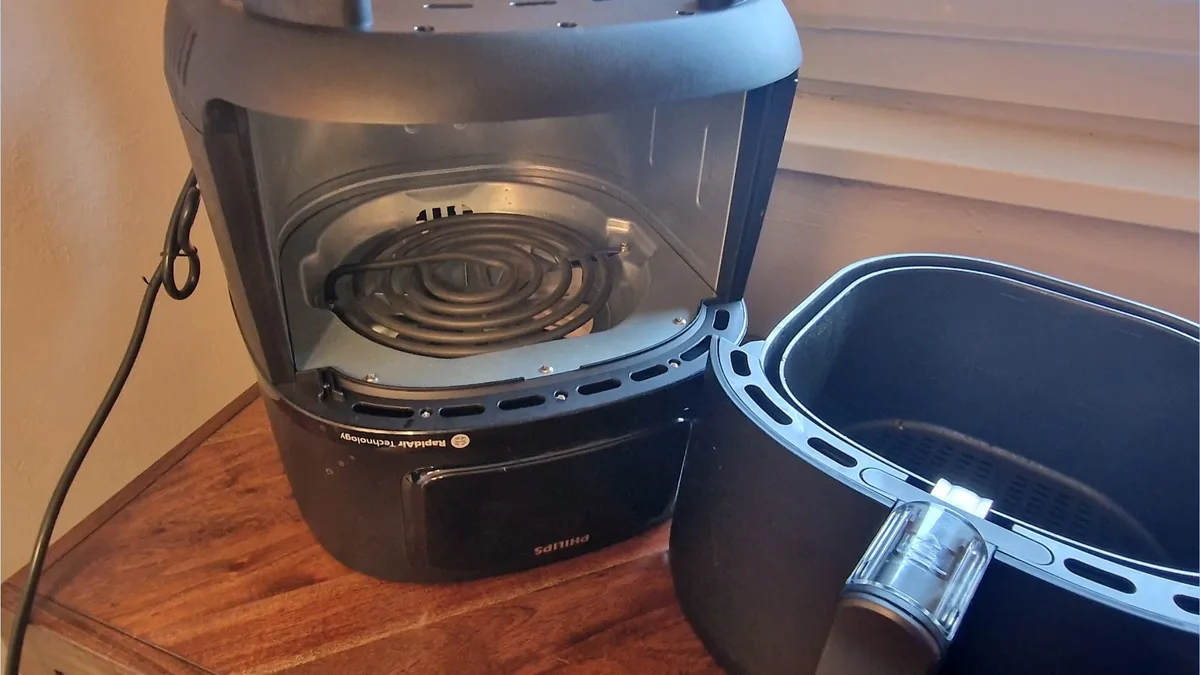
Image source: Bing (Web (fair-use with source credit))
Why Your Air Fryer Chicken Skin Won’t Crisp: The 4 Core Root Causes
Soggy air fryer chicken skin almost always stems from one of four specific, fixable issues. None of these require appliance repairs or specialized equipment. Identifying which one applies to your cook is the first step to fixing it.
First, excess surface moisture blocks crispiness. If you don’t pat chicken skin completely dry with paper towels before seasoning, the moisture steams the skin during cooking. This blocks the Maillard reaction, the chemical process that creates golden, crunchy texture on poultry skin.
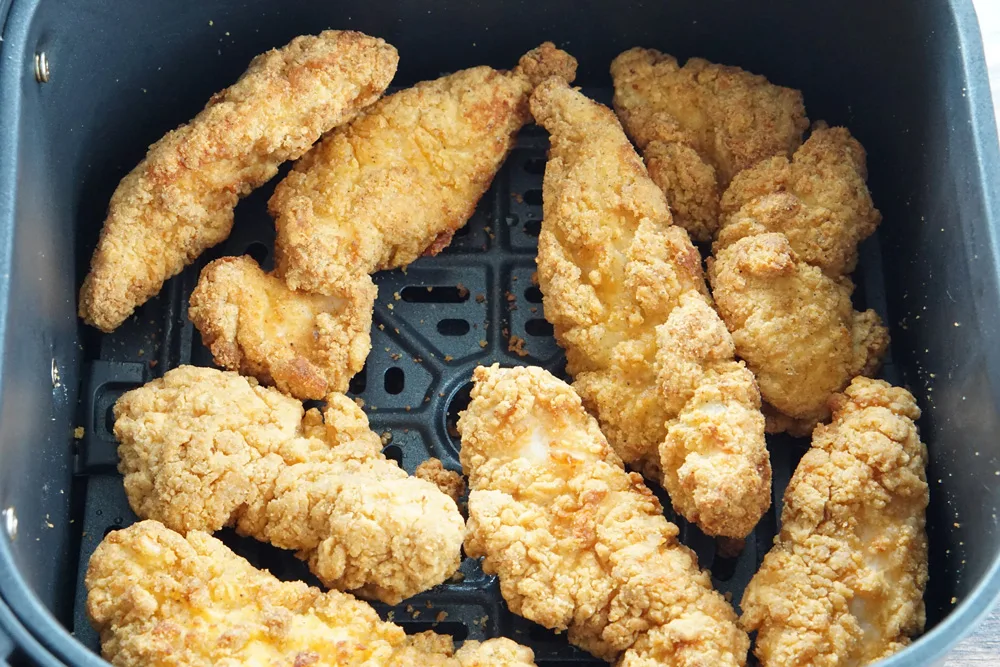
Second, overcrowded baskets prevent proper airflow. If you fill your air fryer basket more than 75% full, hot air can’t circulate around every piece of chicken. Manufacturer specs for most standard 5-qt to 8-qt air fryers list a 75% maximum fill capacity for even cooking and crispiness, per Philips air fryer official usage guidelines.

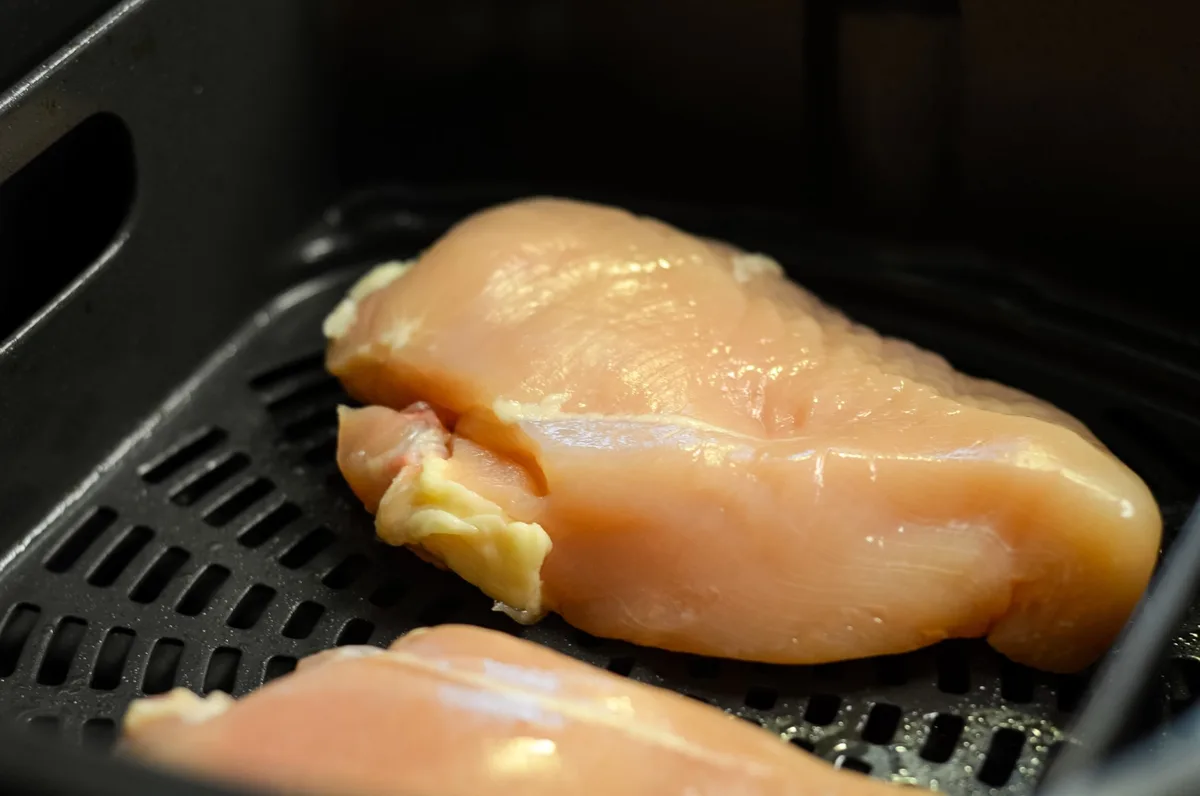
Image source: Bing (Web (fair-use with source credit))
Third, skipped preheating or low temperature slows fat rendering. Chicken skin needs sustained high heat to melt subcutaneous fat and crisp. If you don’t preheat the air fryer for 3 to 5 minutes, or set the temperature below 375°F (190°C), the skin steams instead of crisping.
Fourth, incorrect chicken placement blocks direct airflow. If you place chicken skin-side down directly on the basket, or stack pieces on top of each other, the skin sticks and can’t get direct hot air exposure. That leads to uneven, soggy spots.
2-Minute Self-Diagnosis: Pinpoint Your Exact Soggy Skin Trigger
This decision tree takes 60 seconds to complete, no guesswork required. Answer each question in order to identify your exact root cause. The first "no" answer points directly to your problem.
First, did you pat the chicken skin completely dry with paper towels before adding oil or seasoning? If no, your root cause is excess surface moisture. Move to the fix for moisture first.
If yes, did you preheat your air fryer for 3 to 5 minutes at your target cooking temperature before adding chicken? If no, your root cause is skipped preheating.
If yes, did you arrange chicken in a single layer with at least 1 inch of space between pieces, filling the basket no more than 75% full? If no, your root cause is overcrowding.
If yes, did you cook skin-side up for at least the first half of the cook time, without stacking pieces on top of each other? If no, your root cause is incorrect placement.
If you answered yes to all questions, your issue is likely cooking temperature set too low, or insufficient cook time for your chicken cut.
Exact Fixes Mapped to Your Diagnosis (No Generic Tips)
Each fix is targeted to the specific root cause you identified in the self-diagnosis. Skip generic tips that don’t apply to your situation. Follow the steps for your exact issue for best results.
If your root cause is excess surface moisture: Pat chicken skin firmly with paper towels for 30 seconds per side before seasoning. If you brined or marinated the chicken, let it air-dry uncovered in the fridge for 1 to 2 hours before cooking to remove residual moisture. Avoid adding wet sauces directly to the skin before air frying, save those for glazing after cooking if desired.
If your root cause is skipped preheating: Always preheat your air fryer for 3 to 5 minutes at your target cooking temperature before adding chicken. Most air fryer models have a preheat function, but if yours doesn’t, just run it empty at 400°F (204°C) for 3 minutes before loading.
If your root cause is overcrowding: Arrange chicken in a single layer with at least 1 inch of space between pieces. If cooking for a crowd, work in batches rather than overfilling the basket. A 5-qt air fryer fits 3 to 4 bone-in skin-on chicken thighs comfortably without overcrowding, per manufacturer capacity specs.
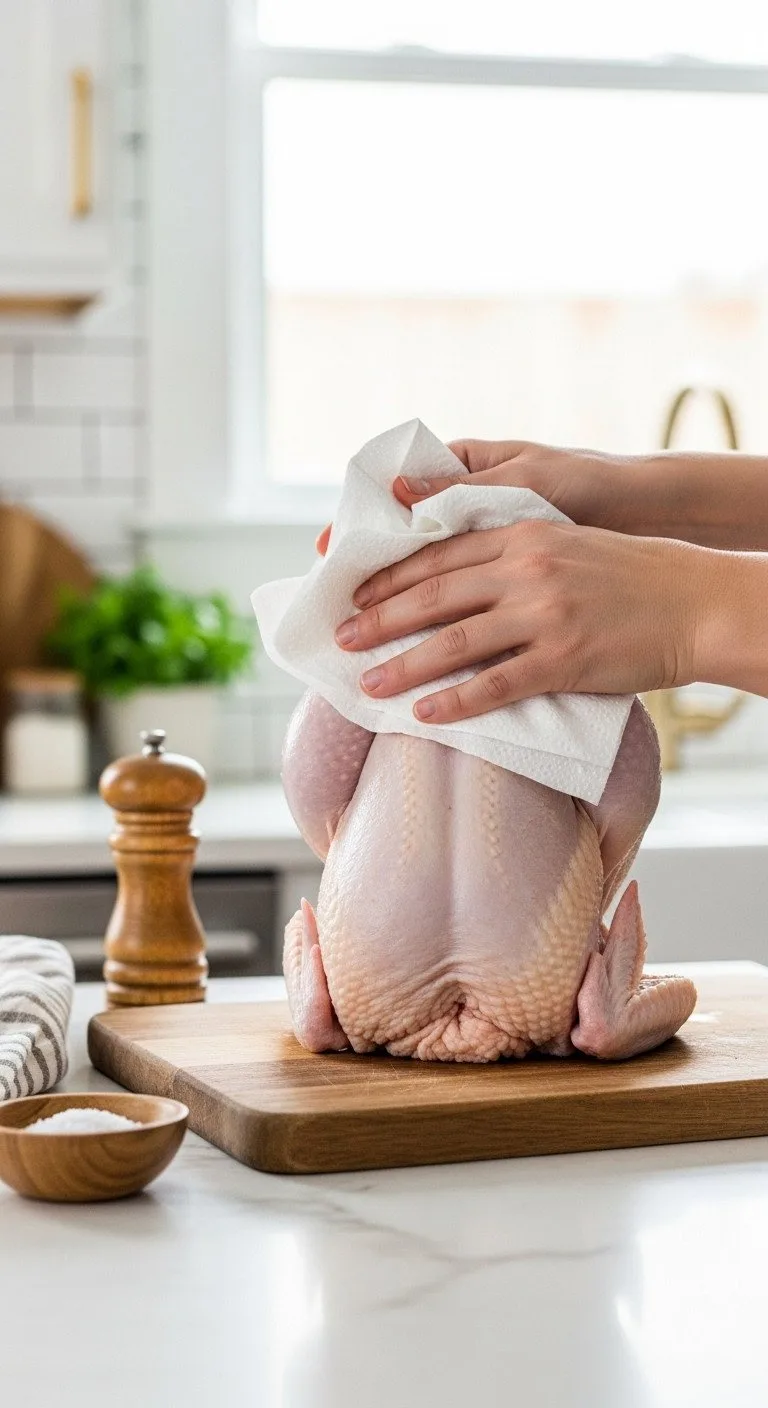
Image source: Web (Bing) / bakingbakewaresets.com (Web image (fair-use with source credit))
If your root cause is incorrect placement: Always cook chicken skin-side up for the first half of the cook time. If your air fryer has a wire rack, use it to lift chicken off the basket bottom for better airflow. Avoid stacking pieces, even if they appear to fit in the basket.
If your root cause is low temperature or short cook time: Set your air fryer to 400°F (204°C), the standard temperature for rendering chicken fat and crisping skin. Cook bone-in skin-on chicken thighs for 18 to 22 minutes, flipping once at the 10-minute mark, until the internal temperature reaches 165°F (74°C) per USDA Food Safety and Inspection Service poultry guidelines. For larger cuts like whole chicken legs, increase cook time to 25 to 30 minutes.
Common Crispiness Mistakes That Undo Even Perfect Technique
Even if you follow the targeted fixes above, these common errors can still leave you with soggy skin. Avoid these pitfalls to lock in crispiness every time.
- Adding oil directly to the skin before cooking: Excess oil pools on the skin, leading to greasy, soggy spots instead of crispiness. If you want extra crisp, use a light spritz of cooking spray after the skin has started to set, about 5 minutes into cooking, not before.
- Opening the air fryer basket frequently: Every time you open the basket, the temperature drops 10 to 15°F, which slows fat rendering and leads to soggy skin. Only open the basket to flip chicken halfway through cooking.
- Using skinless chicken by accident: If you bought boneless, skinless chicken by mistake, there’s no skin to crisp. Always double-check your chicken packaging before cooking to confirm it’s bone-in and skin-on.
- Cooking frozen chicken directly: Frozen chicken releases excess moisture as it thaws, steaming the skin instead of crisping it. Thaw chicken completely in the fridge before air frying for best results.
- Skipping the mid-cook flip: Flipping chicken halfway through cooking ensures both sides get direct hot air exposure, leading to even crispiness all over.
Pro Tweaks for Restaurant-Quality Crispy Skin Every Time
These small, research-backed adjustments take your crispy skin from good to restaurant-quality. They require almost no extra effort, but make a noticeable difference.
- Use a baking powder dry rub: Mix 1 teaspoon of aluminum-free baking powder per pound of chicken with your salt and spices. Baking powder raises the skin’s pH level, which breaks down proteins faster and helps the skin crisp more evenly. This trick works for both air fryer and oven-baked chicken, per aggregate user reviews of home cooking methods.
- Use an air fryer wire rack: A wire rack lifts chicken off the basket bottom, allowing hot air to circulate under the skin as well as over it. This eliminates soggy bottom spots and creates even crispiness all over the chicken. For 5-qt and larger air fryers, a standard wire rack fits most standard cuts without issue.
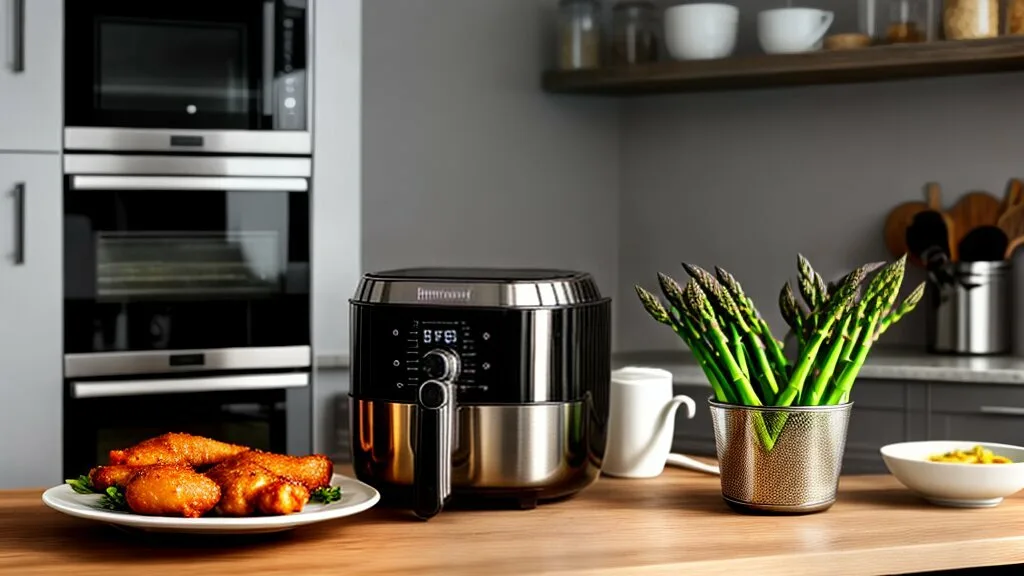
Image source: Bing (Web (fair-use with source credit))
- Blast heat for the final 2 minutes: Crank the air fryer to 425°F (218°C) for the final 2 minutes of cooking. This short burst of high heat renders any remaining surface fat and creates an extra-crunchy crust without overcooking the meat.
- Let chicken rest for 5 minutes after cooking: Resting lets the juices redistribute into the meat, so you don’t end up with dry chicken and soggy skin from steam trapped inside the meat as it cools.
FAQs: Soggy Air Fryer Chicken Skin, Answered
Why is my air fryer chicken skin not crispy even after patting it dry?
Excess surface moisture is the most common cause, but overcrowding or skipped preheating can also block crispiness even with dry skin. Hot air can’t circulate around packed pieces, and a cold air fryer steams skin instead of rendering fat. Always preheat 3 to 5 minutes and leave 1 inch of space between chicken pieces.
Should I oil chicken skin before air frying?
Light oil is optional for extra crunch, but only apply it after the skin has set for 5 minutes of cooking. Adding oil before cooking pools excess grease on the skin, leading to sogginess instead of crispiness. A thin spritz of high-smoke-point cooking spray works best for this step.
What temperature should I use for crispy air fryer chicken skin?
Set your air fryer to 400°F (204°C) for most bone-in skin-on chicken cuts. This high heat renders subcutaneous fat and triggers the Maillard reaction for golden, crunchy skin. For extra crisp, blast to 425°F (218°C) for the final 2 minutes of cooking without overcooking the meat.
Can I use baking powder to make air fryer chicken skin crispier?
Yes, mix 1 teaspoon of aluminum-free baking powder per pound of chicken with your salt and spice rub. Baking powder raises the skin’s pH, which breaks down proteins faster and helps the skin crisp more evenly, per aggregate home cooking test data as of 2026.
How long does it take to crisp chicken skin in an air fryer?
Bone-in skin-on chicken thighs take 18 to 22 minutes at 400°F (204°C), flipped once at the 10-minute mark. Larger cuts like whole chicken legs take 25 to 30 minutes. Always confirm the internal temperature reaches 165°F (74°C) per USDA Food Safety and Inspection Service guidelines to avoid undercooking.
Do I need to flip chicken while air frying to get crispy skin?
Yes, flip chicken halfway through the cook time to ensure both sides get direct hot air exposure. Flipping prevents one side from steaming while the other crisps, leading to even texture all over the skin. Skip this step and you’ll end up with crispy top skin but soggy, uneven bottom skin.

Similar Posts