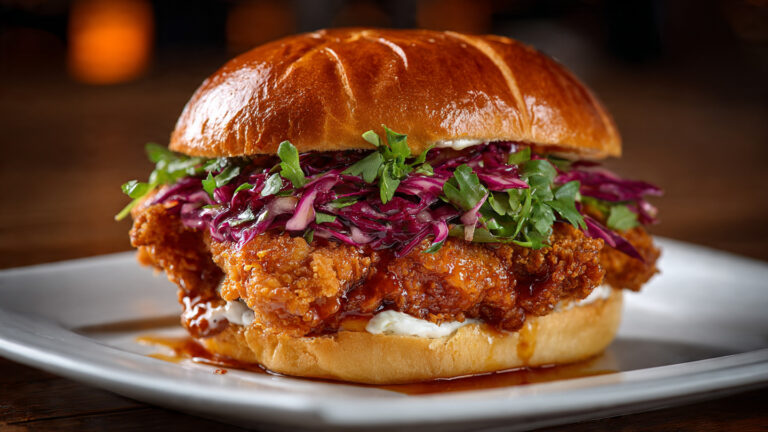
The Chick-fil-A Chicken Sandwich Copycat Recipe (Crispy, Juicy & Better Than the Drive-Thru)
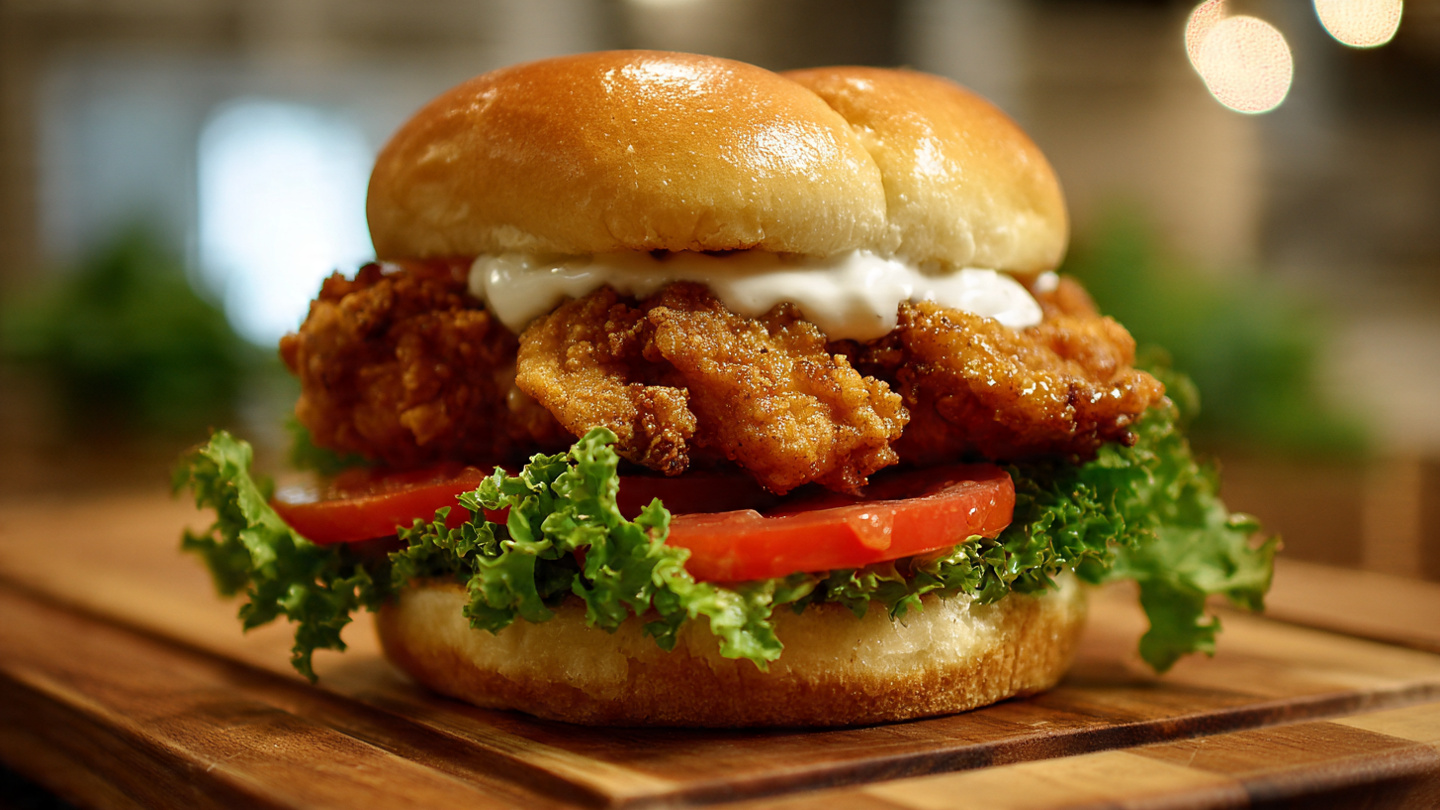
The Chick-fil-A chicken sandwich stands as one of America’s most beloved fast-food creations: a juicy, perfectly seasoned chicken breast with a thick, golden, craggy crust nestled in a soft buttered bun and topped with two crisp pickle slices. This copycat recipe captures that exact crave-worthy experience at home using straightforward techniques and accessible ingredients.
This version nails the signature flavor through a flavorful buttermilk brine packed with spices and a double-dredge coating that delivers the restaurant’s trademark crunch. The chicken stays incredibly moist inside while developing that light, peppery crust outside. Whether you deep-fry for the most authentic results or use an air fryer for a lighter option, this recipe delivers consistent, restaurant-quality sandwiches in your own kitchen.
In this comprehensive guide, you will learn the precise marinating method that replicates the Chick-fil-A taste, the dredging technique that creates the perfect crust, the ideal frying temperature for maximum crispiness, and the simple assembly that makes every bite taste like the real thing. The entire process takes about one hour, with most of the time being hands-off brining. Once you master these steps, you will be able to enjoy this iconic sandwich anytime the craving strikes without leaving home.
Essential Tools
- Large heavy-bottomed pot or Dutch oven for frying
- Deep-fry thermometer
- Wire rack set over a baking sheet
- Three shallow bowls for dredging
- Meat mallet
- Tongs and a slotted spoon
- Instant-read thermometer
- Sharp knife and cutting board
Quick Recipe Snapshot
- Prep Time: 15 minutes (plus 30–60 minutes brining)
- Cook Time: 25 minutes
- Total Time: 1 hour 10 minutes
- Servings: 4 sandwiches
- Difficulty: Intermediate
- Make-Ahead: Chicken can be brined up to 24 hours
Ingredients

For the chicken and brine
- 4 boneless, skinless chicken breasts (6–8 ounces each)
- 2 cups buttermilk
- 1 tablespoon hot sauce
- 2 teaspoons kosher salt
- 1 teaspoon garlic powder
- 1 teaspoon onion powder
- 1 teaspoon paprika
- ½ teaspoon black pepper
For the seasoned dredge
- 2 cups all-purpose flour
- ½ cup cornstarch
- 2 teaspoons kosher salt
- 2 teaspoons black pepper
- 2 teaspoons garlic powder
- 2 teaspoons onion powder
- 1 teaspoon paprika
- 1 teaspoon cayenne pepper
- 1 teaspoon baking powder
For frying
- 2–3 quarts peanut or canola oil
For assembly
- 4 Chick-fil-A style buns (or brioche buns), buttered and toasted
- 8–12 dill pickle slices
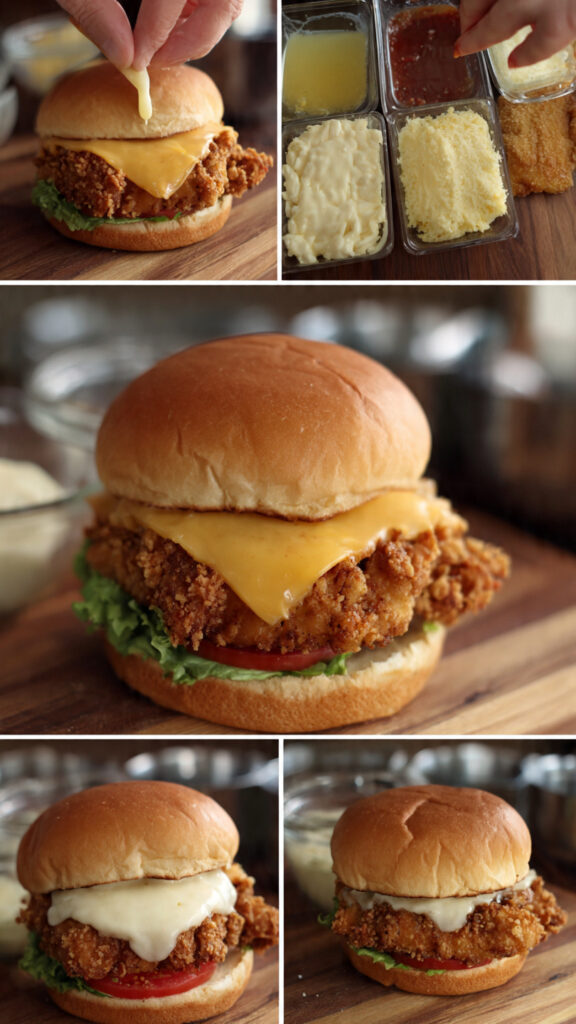
- Optional: American cheese slices for a deluxe version
The Flavor Architects
Buttermilk tenderizes the chicken while the blend of garlic, onion, paprika, and cayenne creates the signature savory, slightly spicy profile. The cornstarch in the dredge produces the light, craggy crust Chick-fil-A is famous for, and baking powder adds lift for extra crunch. The simple buttered bun and dill pickles provide the perfect contrast of soft sweetness and bright acidity that cuts through the richness. Every component works together to deliver that unmistakable Chick-fil-A taste in every bite.
Cooking Instructions
Step 1: Pound and Brine the Chicken
Place each chicken breast between plastic wrap and gently pound to an even ½-inch thickness. This ensures fast, even cooking and maximum surface area for seasoning.
In a large bowl, whisk together buttermilk, hot sauce, salt, garlic powder, onion powder, paprika, and black pepper. Submerge the chicken completely, cover, and refrigerate for at least 30 minutes or up to 24 hours. The longer brine time produces more tender and flavorful chicken.
Timing: 5 minutes active. Texture cue: chicken should feel plump and slightly tenderized. Common mistake: skipping the pounding, leading to uneven thickness. Fix: create uniform pieces for consistent results. Pro tip: add ½ teaspoon of baking soda to the brine for even more tenderness.
Step 2: Prepare the Dredge and Dredging Station
In a shallow bowl, whisk together flour, cornstarch, salt, pepper, garlic powder, onion powder, paprika, cayenne, and baking powder. Set up your station with the brined chicken, a bowl of the remaining buttermilk, the seasoned flour, and a plate for the coated pieces.
Timing: 3 minutes. Texture cue: the flour mixture should feel light and airy. Common mistake: omitting cornstarch, resulting in a heavy or soft crust. Fix: always include it for the signature light crunch. Pro tip: double-dredge for the thick, craggy coating that defines Chick-fil-A style.
Step 3: Heat the Oil to the Perfect Temperature
Pour oil into a heavy pot until it reaches 3–4 inches deep. Heat to 350°F using a deep-fry thermometer. Maintaining this temperature is critical for a golden crust without greasiness or undercooked chicken.
Timing: 8–10 minutes. Doneness cue: a small pinch of flour should sizzle vigorously. Common mistake: frying at lower temperatures, leading to greasy chicken. Fix: use a thermometer and adjust heat between batches. Pro tip: fry only two pieces at a time to keep the oil temperature stable.
Step 4: Dredge the Chicken Thoroughly
Remove chicken from the brine, letting excess drip off. Dredge in the seasoned flour, pressing firmly to adhere. Dip back into buttermilk, then dredge again in flour, pressing to create a thick, textured coating. Place on a wire rack and let rest 5 minutes.
Timing: 5 minutes. Texture cue: coating should look shaggy and well adhered. Common mistake: rushing the rest period, causing coating to fall off. Fix: always allow the full 5 minutes. Pro tip: shake off excess flour gently to avoid burning bits in the oil.
Step 5: Fry to Golden Perfection
Carefully lower two coated breasts into the 350°F oil. Fry for 6–8 minutes, flipping halfway, until deep golden brown and the internal temperature reaches 165°F. Transfer to a wire rack to drain. Repeat with remaining chicken, allowing oil to return to temperature between batches.
Timing: 15–20 minutes total. Texture and doneness cues: crust should crackle when pressed; juices should run clear. Common mistake: overcrowding the pot, dropping oil temperature. Fix: maintain proper batch size. Pro tip: skim debris between batches to keep oil clean.
Step 6: Toast the Buns
While chicken drains, butter the buns and toast them in a skillet or under the broiler for 1–2 minutes until golden and warm.
Timing: 2 minutes. Texture cue: buns should be lightly crisp on the outside but soft inside. Common mistake: untoasted buns becoming soggy. Fix: always toast and butter for authentic flavor and structure. Pro tip: use the residual heat from the skillet for gentle warming.
Step 7: Assemble the Sandwiches
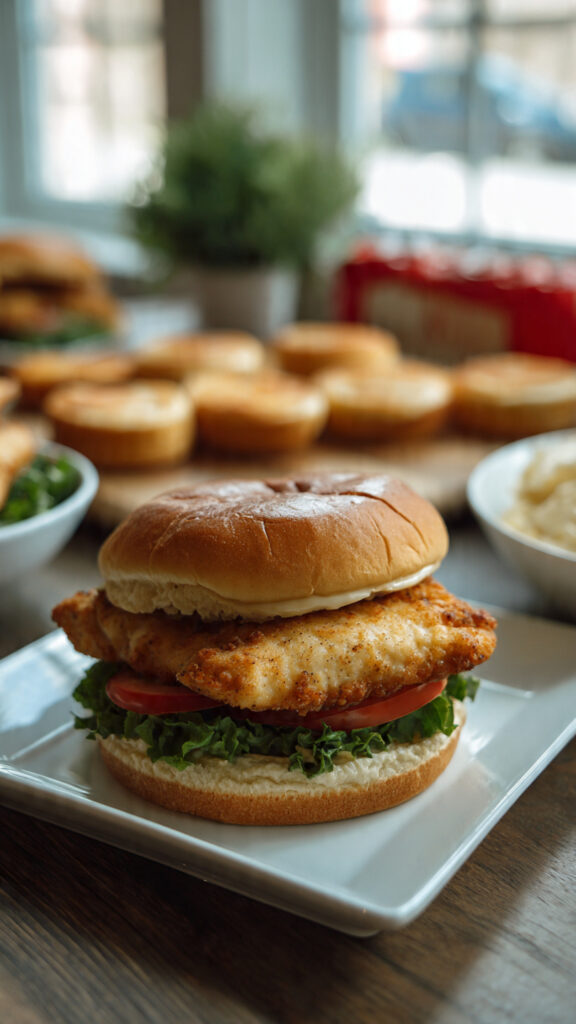
Place two pickle slices on the bottom bun. Add the hot fried chicken breast (and cheese if making deluxe). Top with the second bun and press gently. Serve immediately for maximum crispiness.
Timing: 3 minutes. Common mistake: adding pickles after the chicken cools, reducing crunch. Fix: place pickles directly on the warm bun. Pro tip: lightly press the sandwich to help the flavors meld without squishing the crust.
Recipe Variations
Spicy Deluxe: Brush the fried chicken with a spicy oil made from cayenne, brown sugar, and garlic before assembling.
Grilled Version: Marinate and grill the chicken instead of frying for a lighter take.
Nugget Style: Cut chicken into bite-sized pieces before dredging and frying.
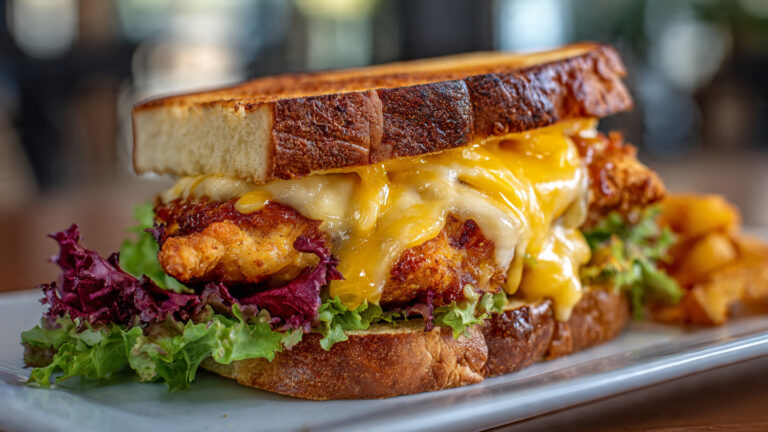
Cheese Deluxe: Add American cheese during the final minute of frying or under the broiler.
Serving Suggestions
Serve with waffle fries, fresh lemonade, or a simple coleslaw. These sandwiches also pair well with iced tea or a crisp salad. Perfect for family dinners, game nights, or weekend lunches.
Storage & Reheating
Enjoy these sandwiches fresh for the best texture. Leftover fried chicken can be refrigerated up to 2 days. Reheat on a wire rack in a 375°F oven for 10–12 minutes to restore crispiness. Do not microwave. The uncooked brined chicken freezes well for up to 1 month.
Common Mistakes & Fixes
| Mistake | Cause | Fix |
|---|---|---|
| Soggy crust | Oil temperature too low | Maintain exactly 350°F |
| Dry chicken | Overcooking or uneven thickness | Pound evenly and use thermometer |
| Bland flavor | Weak brine or dredge | Taste seasonings before using |
| Coating falls off | No resting after dredging | Rest 5 minutes on wire rack |
| Greasy chicken | Poor draining or low temperature | Drain on wire rack, not paper towels |
FAQs
Can I make this in an air fryer?
Yes. Spray the coated chicken generously with oil and air fry at 375°F for 18–22 minutes, flipping halfway.
What makes the crust taste like Chick-fil-A?
The combination of cornstarch, double-dredging, and precise seasoning blend creates the signature light, craggy texture.
Can I use chicken thighs?
Absolutely. Boneless thighs stay extra juicy and work beautifully with this recipe.
How do I get the buns just right?
Buttering and lightly toasting replicates the soft-yet-toasty Chick-fil-A bun experience.
Is this recipe spicy?
The classic version has mild heat. Increase cayenne in the dredge for more spice.
Can I prepare the chicken ahead?
Yes. Brine up to 24 hours ahead and fry just before serving for best results.
Conclusion
This Chick-fil-A chicken sandwich copycat recipe brings the beloved drive-thru favorite straight to your kitchen with all the crispy, juicy, pickle-topped perfection you expect. The careful balance of brine, seasoned dredge, and proper frying technique delivers authentic flavor and texture that often surpasses the original. Simple enough for weeknights yet impressive enough for guests, it proves that great sandwiches do not require a restaurant visit.
Master these steps and you will never need to wait in line again when the craving hits. Customize with the variations to keep things exciting, and enjoy knowing you can create this iconic sandwich whenever you want. One golden, crunchy bite and you will agree—this homemade version is worth every minute in the kitchen.