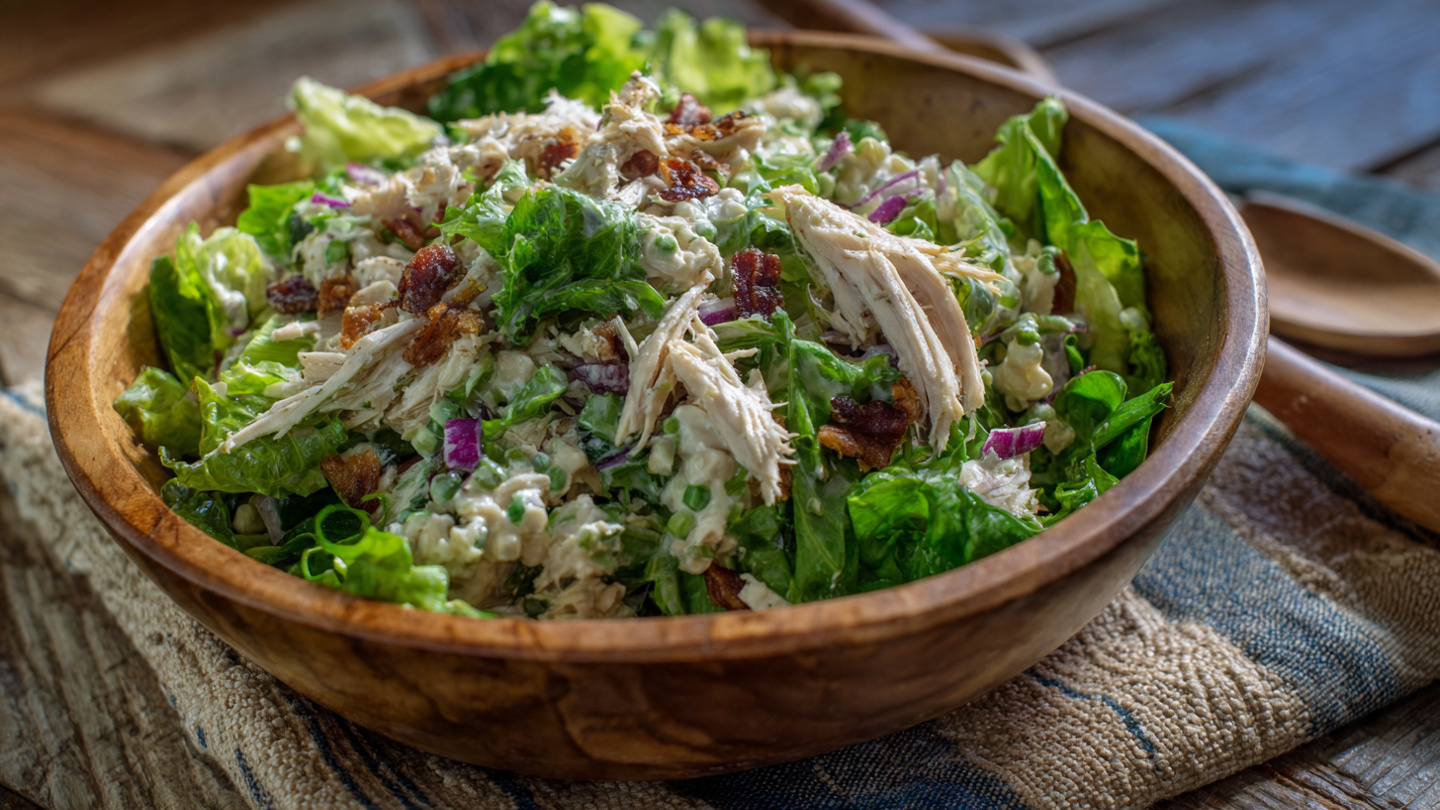
The Creamiest Rotisserie Chicken Salad Recipe (Better Than Deli, Ready in 20 Minutes)
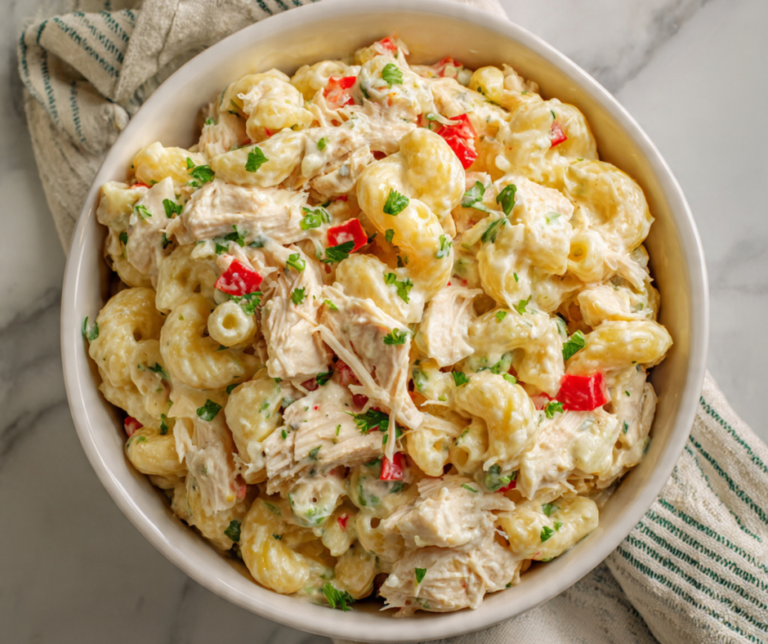
Rotisserie chicken salad transforms the convenience of a store-bought roasted chicken into one of the most versatile and satisfying dishes in your repertoire. Juicy, tender shreds of already-seasoned chicken mixed with a perfectly balanced creamy dressing, crisp celery, sweet grapes or apples, and fresh herbs create a salad that is hearty enough for a main course yet light enough for everyday lunches. This version strikes the ideal balance between classic deli-style richness and bright, modern flavors that keep every bite interesting.
What makes this rotisserie chicken salad exceptional is its use of the chicken’s built-in juices and seasoning, which infuse the entire mixture with savory depth while a simple homemade dressing brings everything together without overpowering the meat. No dry, bland chicken or gloppy mayonnaise here — just perfectly textured, flavorful salad you can enjoy in sandwiches, on crackers, over greens, or straight from the bowl.
In this complete guide, you will discover exactly how to shred the chicken for ideal texture, craft a dressing that clings beautifully without being heavy, incorporate the right mix of crunchy and sweet elements, and customize the recipe to suit any occasion. The entire process takes under 20 minutes of active time, making it perfect for meal prep, quick lunches, or last-minute entertaining. Once you master these straightforward techniques, this rotisserie chicken salad will become your go-to recipe whenever you need something delicious, satisfying, and effortless.
Essential Tools
- Large mixing bowl
- Two forks or shredding claws for chicken
- Sharp chef’s knife and cutting board
- Rubber spatula
- Measuring cups and spoons
- Small whisk or fork for dressing
- Airtight storage containers
These basic kitchen items keep preparation simple and cleanup minimal.
Quick Recipe Snapshot
- Prep Time: 20 minutes
- Chill Time: 30 minutes (optional but recommended)
- Total Time: 20–50 minutes
- Servings: 6–8 as a main or 10–12 as a side
- Difficulty: Beginner
- Make-Ahead: Up to 4 days in the refrigerator
Ingredients
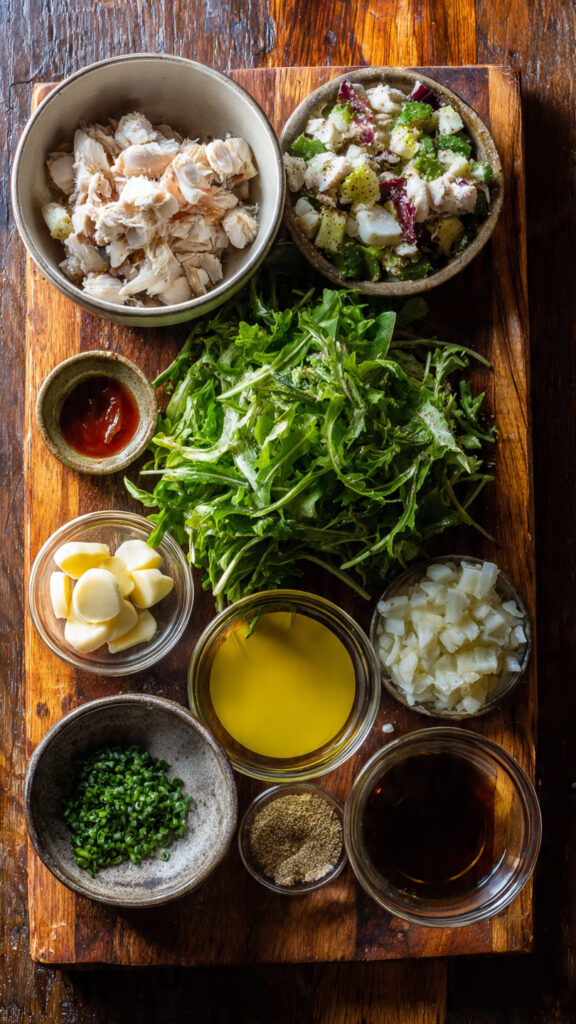
For the salad
- 1 whole plain or herb-seasoned rotisserie chicken (about 4–5 pounds), skin removed
- ¾ cup mayonnaise (full-fat preferred)
- ⅓ cup plain Greek yogurt or sour cream
- 2 tablespoons fresh lemon juice
- 1 tablespoon Dijon mustard
- 1 teaspoon kosher salt
- ½ teaspoon freshly ground black pepper
- ½ teaspoon garlic powder
- ½ teaspoon onion powder
Add-ins
- 3 celery stalks, finely diced
- 1 cup red seedless grapes, halved (or 1 large Honeycrisp apple, diced)
- ½ cup toasted pecans or walnuts, roughly chopped
- ⅓ cup dried cranberries (optional)
- 3 tablespoons fresh dill, finely chopped
- 3 tablespoons fresh parsley, finely chopped
- ¼ cup thinly sliced green onions
The Flavor Architects
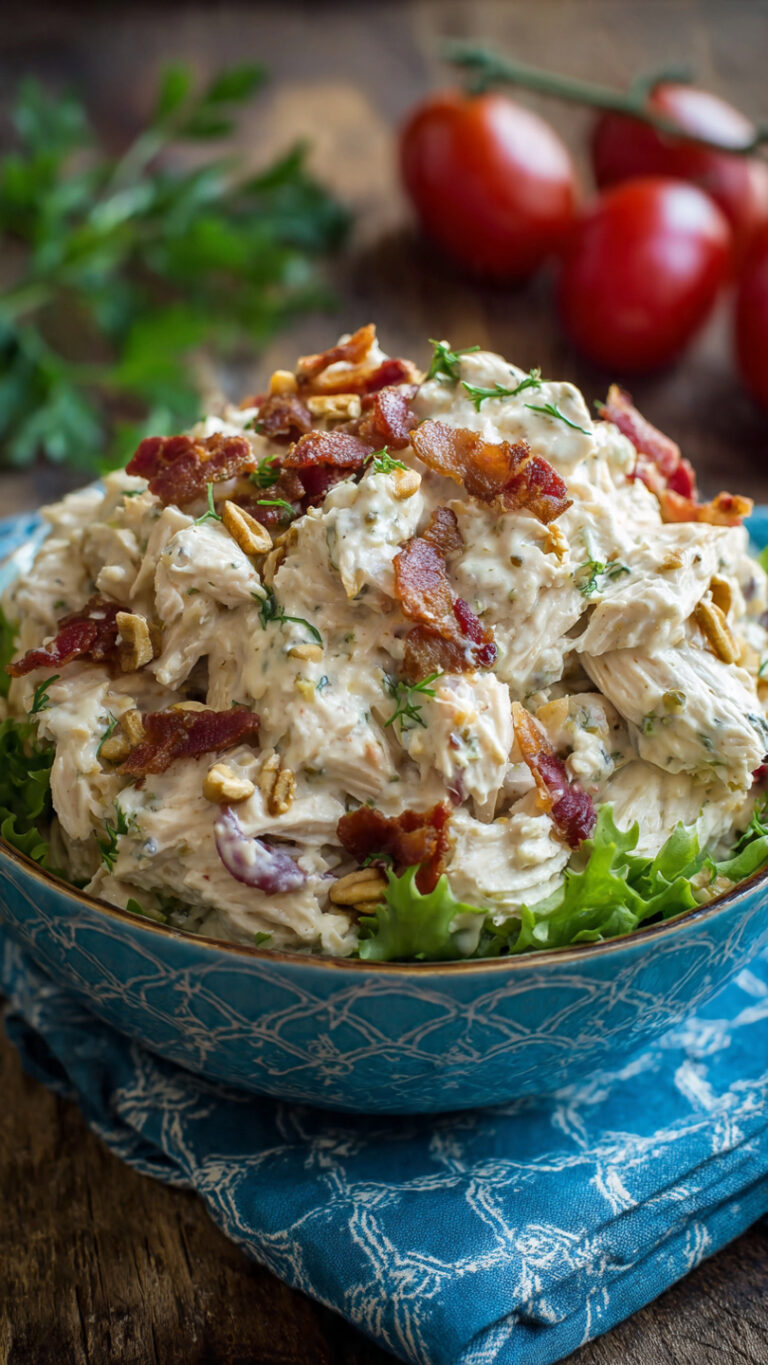
The rotisserie chicken provides deep, savory flavor and built-in moisture from slow roasting. Mayonnaise delivers classic creaminess while Greek yogurt adds brightness and cuts richness. Lemon juice and Dijon mustard bring acidity and subtle tang that brighten the entire salad. Fresh dill and parsley introduce garden-fresh notes, while celery and grapes supply essential crunch and natural sweetness. Toasted nuts add richness and texture contrast. This combination creates a harmonious salad that is creamy yet light, savory yet bright, and deeply satisfying in every spoonful.
Cooking Instructions
Step 1: Prepare and Shred the Rotisserie Chicken
Remove the chicken from the packaging and pat it dry with paper towels. Discard the skin completely — it adds excess fat and can become chewy in the salad. Pull the meat off the bones using two forks or your hands, working against the grain to create a mix of shredded and chunky pieces. Aim for irregular shreds about 1 to 2 inches long. You should yield roughly 4 to 4½ cups of chicken. Discard bones and cartilage.
Timing: 6–8 minutes. Texture cue: the meat should feel moist and slightly glossy. Common mistake: shredding too finely, resulting in a mushy texture. Fix: leave some larger pieces for better mouthfeel. Pro tip: wear gloves if you prefer not to touch the chicken directly, and save the carcass for making stock.
Step 2: Make the Creamy Base Dressing
In a large mixing bowl, whisk together mayonnaise, Greek yogurt, lemon juice, Dijon mustard, salt, pepper, garlic powder, and onion powder until smooth and well combined. The dressing should be creamy but pourable. Taste and adjust seasoning — it should taste boldly seasoned because it will coat a large amount of chicken.
Timing: 2 minutes. Texture cue: the dressing should cling lightly to the whisk. Common mistake: under-seasoning the base, leading to a bland salad. Fix: taste before adding chicken and add another pinch of salt or squeeze of lemon if needed. Pro tip: use full-fat mayonnaise for the richest mouthfeel and best emulsion.
Step 3: Combine Chicken with Dressing
Add the shredded chicken to the bowl with the dressing. Using a rubber spatula, fold gently until every piece is evenly coated. The mixture should look lightly dressed but not soupy. If it feels too dry, add 1 tablespoon more mayonnaise or yogurt.
Timing: 3 minutes. Texture cue: the chicken should glisten and hold together loosely. Common mistake: overmixing, which breaks the chicken into a paste. Fix: use a folding motion rather than vigorous stirring. Pro tip: let the mixture sit for 5 minutes after combining so the chicken can absorb the dressing flavors.
Step 4: Prepare and Add Fresh Ingredients
While the chicken rests in the dressing, dice the celery, halve the grapes (or dice the apple), chop the nuts, and finely chop the herbs and green onions. Add all these ingredients to the bowl. Fold everything together gently until evenly distributed.
Timing: 5 minutes. Texture cue: the salad should have visible pieces of celery, fruit, and nuts for contrast. Common mistake: adding wet fruit without patting dry, watering down the salad. Fix: pat grapes or apple pieces with a paper towel. Pro tip: toast the nuts in a dry skillet for 3–4 minutes beforehand for deeper flavor and crunch.
Step 5: Final Taste and Texture Adjustment
Taste the salad and adjust as needed — add more lemon juice for brightness, salt for savoriness, or a spoonful of mayonnaise for creaminess. If the salad feels too chunky, add another tablespoon of yogurt to loosen it slightly.
Timing: 2 minutes. Texture cue: the finished salad should be creamy with plenty of crunch and pops of sweetness. Common mistake: serving immediately without chilling. Fix: refrigerate for at least 30 minutes so flavors can meld. Pro tip: reserve a small portion of herbs and nuts to sprinkle on top just before serving for fresh presentation.
Step 6: Chill and Final Check
Cover the bowl tightly and refrigerate for at least 30 minutes (or up to 4 days). Before serving, give the salad one final gentle stir and taste again. Add a splash of lemon juice or fresh herbs if the flavors have mellowed.
This chilling step is key for the best flavor development. Common mistake: serving at room temperature right after mixing. Fix: the brief chill allows everything to marry beautifully. Pro tip: transfer to a serving bowl and garnish with extra herbs and nuts for an elegant presentation.
The cooking instructions section provides thorough, foolproof guidance for perfect results every time.
Recipe Variations
Classic Southern-Style: Add ½ cup diced hard-boiled eggs and 2 tablespoons sweet pickle relish.
Curry Chicken Salad: Stir in 2 teaspoons curry powder, ¼ cup golden raisins, and ⅓ cup cashews.
Buffalo Chicken Salad: Mix in 2–3 tablespoons buffalo sauce and top with crumbled blue cheese and celery leaves.
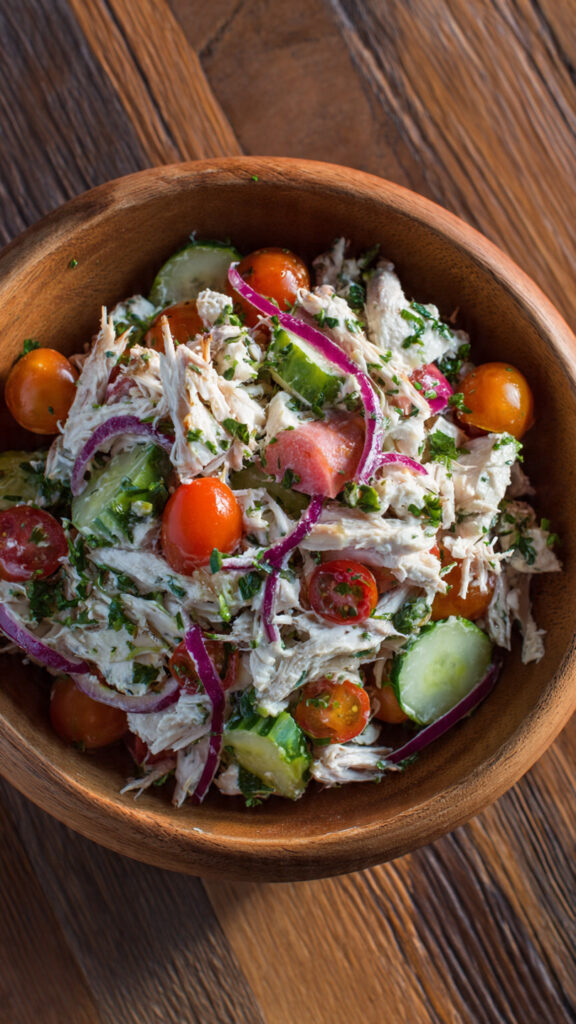
Mediterranean Version: Replace grapes with chopped olives and sun-dried tomatoes, add feta, and use oregano instead of dill.
Waldorf-Inspired: Increase apples and grapes, add extra toasted walnuts, and finish with a touch of honey.
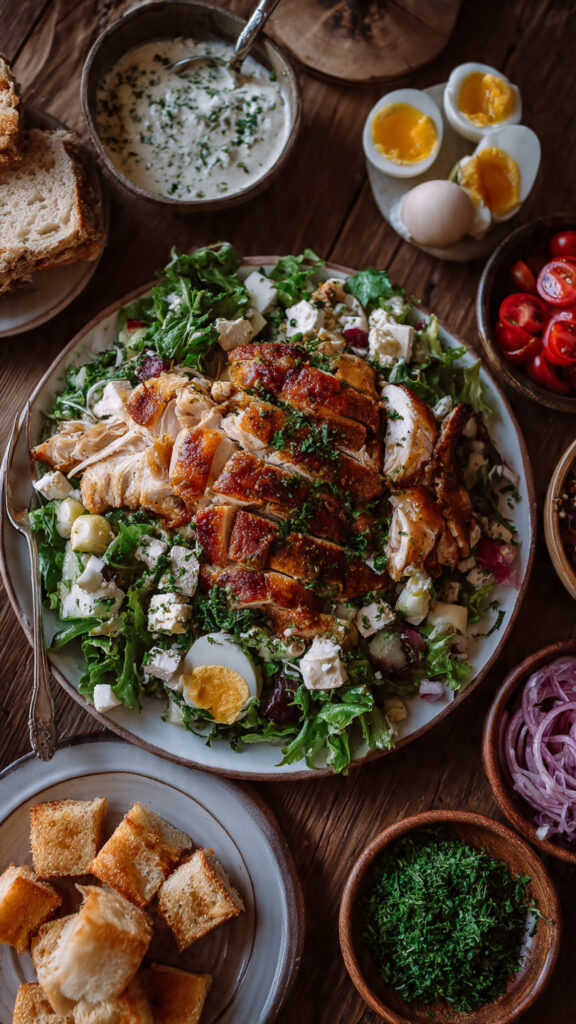
Serving Suggestions
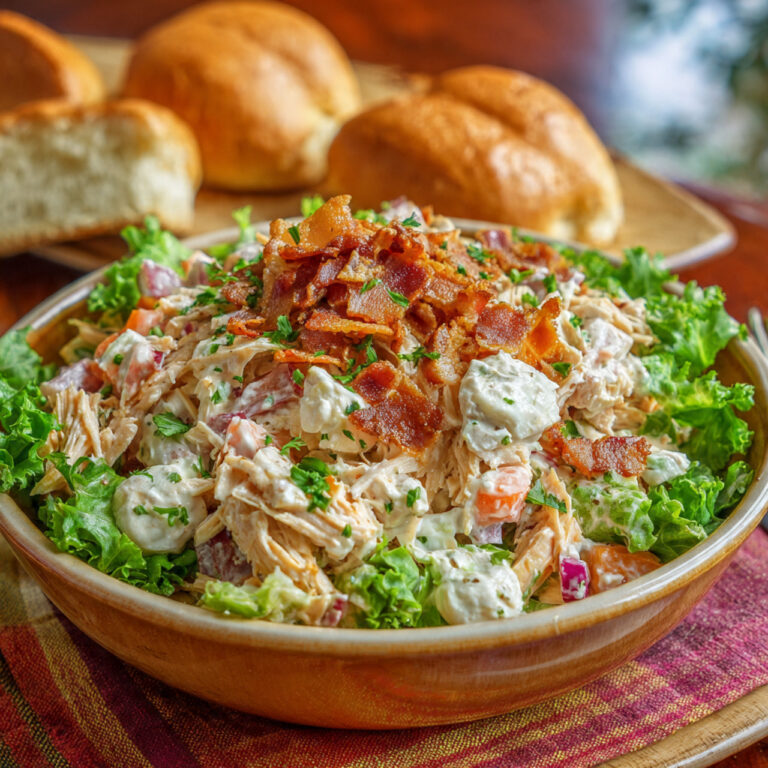
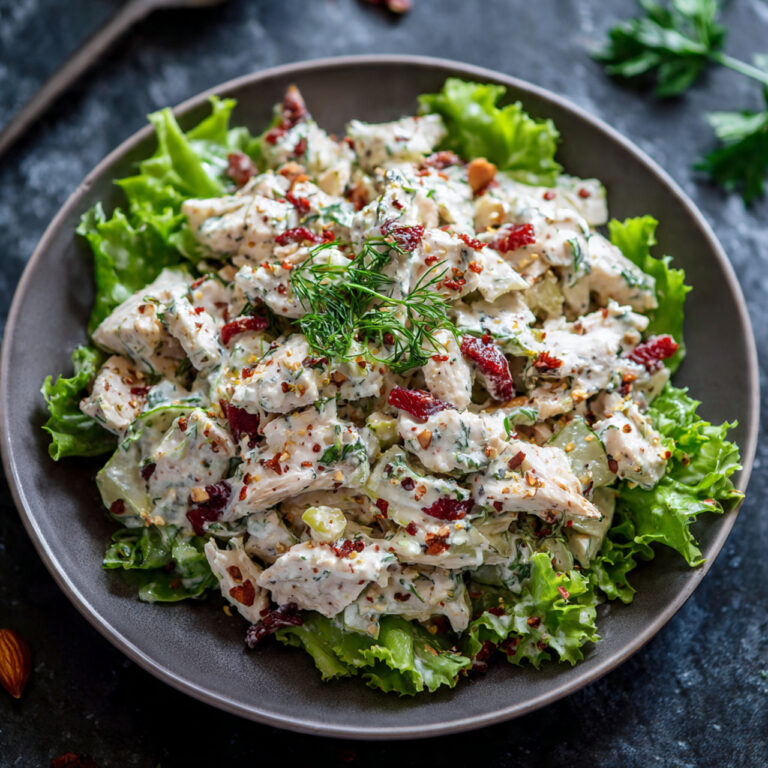
Serve this rotisserie chicken salad on toasted croissants, in lettuce cups, over mixed greens, or with crackers. It pairs beautifully with fresh fruit, tomato soup, or a simple green salad. Ideal for picnics, potlucks, baby showers, or quick weekday lunches. For a complete meal, add a side of roasted vegetables or a bowl of soup.
Storage & Reheating
Store in an airtight container in the refrigerator for up to 4 days. Stir gently before serving as some separation may occur. This salad does not freeze well due to the mayonnaise base. No reheating is necessary — it is best served cold or at room temperature.
Common Mistakes & Fixes
| Mistake | Cause | Fix |
|---|---|---|
| Dry or bland salad | Not enough dressing or seasoning | Taste and adjust before chilling |
| Soggy texture | Wet add-ins or overmixing | Pat fruit dry and fold gently |
| Too heavy/rich | Only using mayonnaise | Balance with Greek yogurt or sour cream |
| Lacks crunch | Insufficient celery or nuts | Be generous with fresh, crisp elements |
| Flavors fall flat | Serving immediately | Chill for at least 30 minutes |
FAQs
Can I use leftover roasted chicken instead of rotisserie?
Yes. Any cooked chicken works well — just ensure it is well-seasoned and moist.
How do I make this chicken salad lighter?
Increase the Greek yogurt ratio and reduce mayonnaise. Add more fresh herbs and vegetables.
Is this recipe good for meal prep?
Excellent. It keeps well for 4 days and is perfect for lunches throughout the week.
Can I make it nut-free?
Absolutely. Simply omit the nuts or replace them with sunflower seeds or extra celery.
What is the best way to serve this at a party?
Serve in small lettuce cups or on mini croissants for easy, elegant appetizers.
How can I add more protein?
Stir in ½ cup crumbled feta, diced hard-boiled eggs, or chickpeas for extra staying power.
Conclusion
This rotisserie chicken salad recipe proves that exceptional flavor and convenience can go hand in hand. Using a store-bought rotisserie chicken as the base delivers incredible taste and texture with almost no effort, while the bright dressing and carefully chosen add-ins create a salad that feels fresh and elevated. Whether served classically on bread, over greens, or straight from the bowl, it consistently delivers satisfaction.
The straightforward techniques in this guide ensure perfect results every time, making this one of the most practical and delicious recipes for busy home cooks. Experiment with the variations to keep things exciting, and enjoy knowing you have a reliable, crowd-pleasing dish ready whenever you need it. One taste and you will understand why this rotisserie chicken salad deserves a regular spot in your meal rotation.