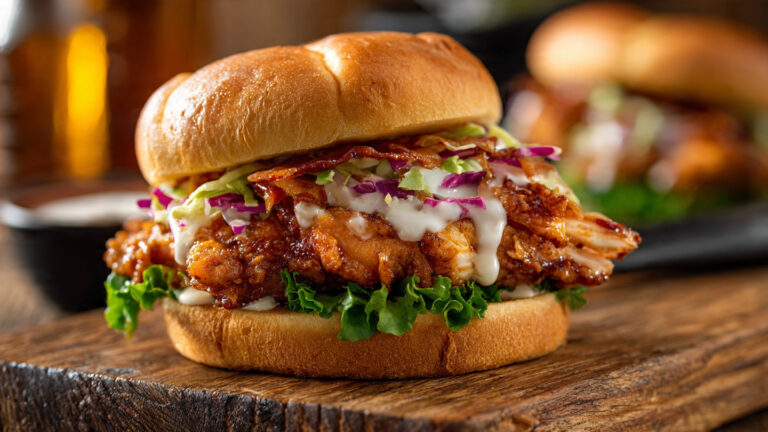
Crispy, Juicy Rotisserie Chicken Sandwich That Turns Leftovers Into a Gourmet Meal
A rotisserie chicken sandwich is the perfect blend of convenience and flavor. Using pre-cooked rotisserie chicken saves time while still delivering juicy, well-seasoned meat as the foundation. With a few simple techniques—like lightly crisping the chicken and layering it with a creamy spread and fresh, crunchy vegetables—you can elevate this classic into something far more satisfying.
Balanced with toasted bread and a touch of acidity for contrast, this sandwich becomes more than just a quick meal. It’s a reliable, delicious option for busy days, casual lunches, or easy dinners that still feel thoughtfully prepared.
ESSENTIAL TOOLS
- Sharp chef’s knife
- Cutting board
- Mixing bowls (medium and large)
- Skillet or cast-iron pan
- Tongs
- Measuring spoons and cups
- Spatula
- Baking sheet (optional for toasting bread)
QUICK RECIPE SNAPSHOT
- Prep Time: 15 minutes
- Cook Time: 10 minutes
- Total Time: 25 minutes
- Servings: 4 sandwiches
- Skill Level: Beginner-friendly
- Flavor Profile: Savory, creamy, slightly tangy, crispy
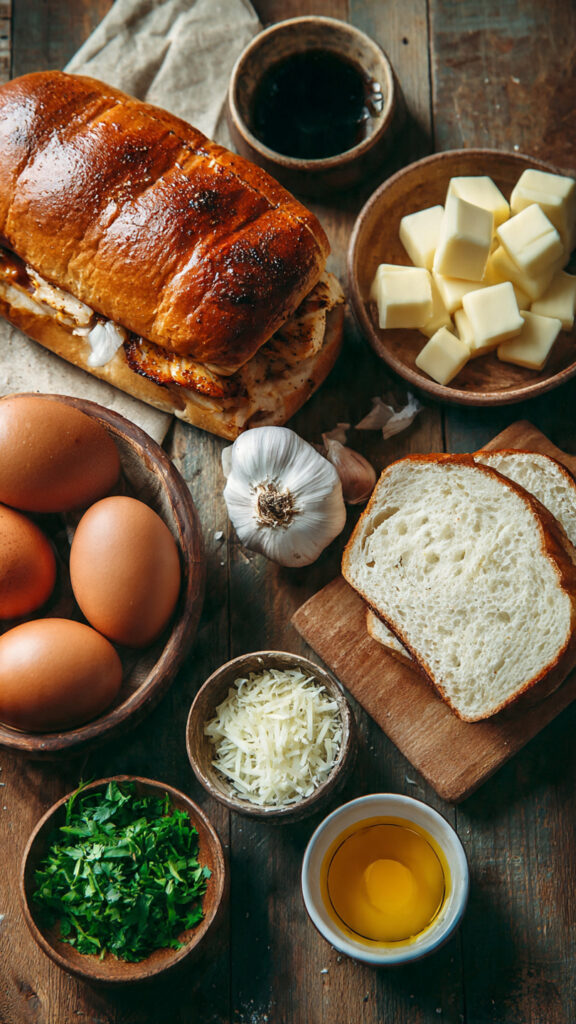
INGREDIENTS

For the Chicken Filling:
- 2 cups shredded rotisserie chicken (skin removed or included, based on preference)
- 1 tablespoon olive oil
- 1 teaspoon garlic powder
- ½ teaspoon smoked paprika
- Salt and black pepper to taste
For the Creamy Spread:
- ½ cup mayonnaise
- 1 tablespoon Dijon mustard
- 1 tablespoon lemon juice
- 1 teaspoon honey
- Pinch of salt
For Assembly:
- 4 sandwich buns (brioche or ciabatta recommended)
- 1 cup shredded lettuce
- 1 medium tomato, sliced
- ½ red onion, thinly sliced
- 4 slices cheese (cheddar or Swiss)
- Butter (for toasting buns)
COOKING INSTRUCTIONS
Step 1: Prepare and Shred the Rotisserie Chicken
Begin by removing the meat from the rotisserie chicken. Focus on both white and dark meat for the best flavor balance. Shred the chicken into bite-sized pieces rather than chopping it—this helps retain moisture and creates a better texture for sandwiches.
Timing: 5–7 minutes
Key cues:
- Pieces should be uneven but manageable
- Avoid overly fine shredding, which can make the filling mushy
Common mistake: Over-shredding the chicken into strands that are too thin
Fix: Keep some chunkier pieces for texture contrast
Pro tip: Mix a small portion of crispy skin into the shredded meat for added flavor depth.
Step 2: Season and Reheat for Maximum Flavor
Heat a skillet over medium heat and add olive oil. Once warm, add the shredded chicken. Sprinkle garlic powder, smoked paprika, salt, and pepper evenly over the chicken.
Cook for 5–7 minutes, stirring occasionally, until the edges begin to crisp slightly.
Temperature: Medium heat (not high, to avoid drying out the meat)
Key cues:
- Light golden edges form on some pieces
- Chicken is heated through but still moist
Common mistake: Overcooking the chicken until dry
Fix: Add a tablespoon of water or broth and reduce heat immediately
Pro tip: Press the chicken lightly against the pan to encourage crisping without burning.
Step 3: Build the Creamy Spread
In a medium bowl, combine mayonnaise, Dijon mustard, lemon juice, honey, and a pinch of salt. Whisk until smooth and emulsified.
Timing: 2–3 minutes
Key cues:
- Smooth, slightly thick consistency
- Balanced flavor: tangy, creamy, slightly sweet
Common mistake: Overloading with lemon juice
Fix: Add more mayonnaise to rebalance
Pro tip: Let the sauce sit for a few minutes to allow flavors to meld before using.
Step 4: Toast the Bread for Structure and Flavor
Spread a thin layer of butter on the cut sides of each bun. Toast them in a skillet or oven until golden brown.
Timing: 2–4 minutes
Temperature: Medium heat or 375°F (190°C) in oven
Key cues:
- Golden, slightly crisp surface
- Soft interior remains intact
Common mistake: Burning the bread
Fix: Lower heat and monitor closely
Pro tip: Toasting creates a barrier that prevents the bread from becoming soggy.
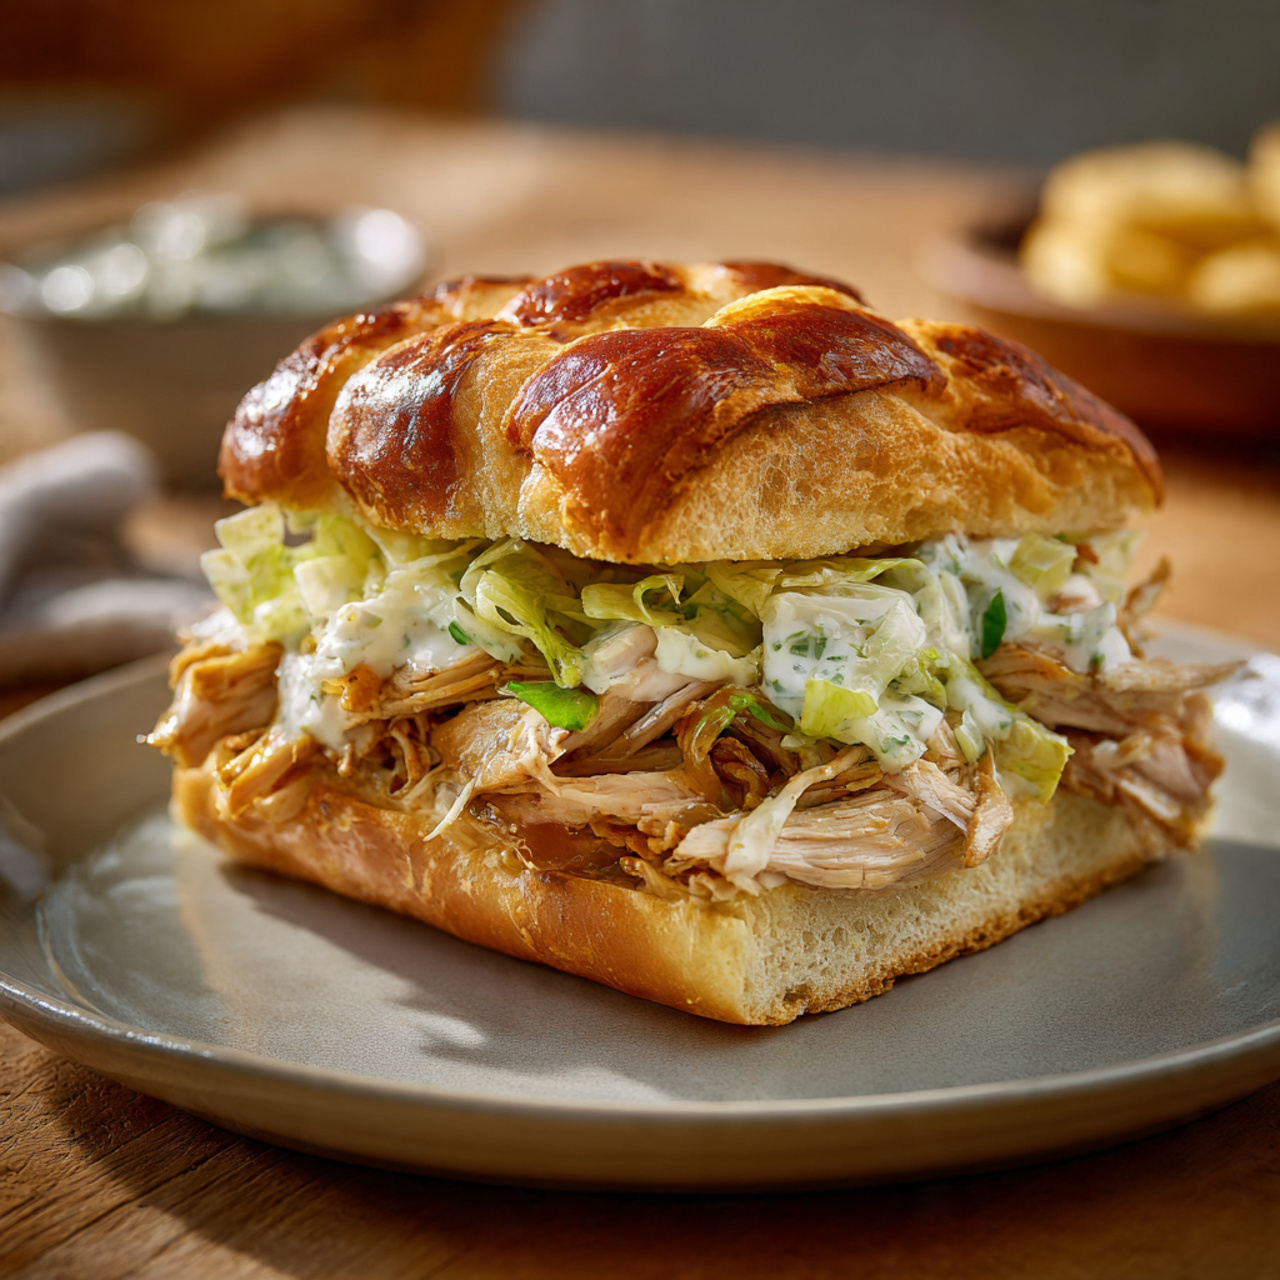
Step 5: Assemble the Sandwich Layers
Start with the bottom bun. Spread a generous layer of the creamy sauce. Add a portion of the warm chicken, followed by a slice of cheese so it slightly melts from the heat.
Layer lettuce, tomato slices, and red onion on top. Add a bit more sauce on the top bun before closing the sandwich.
Key cues:
- Even distribution of ingredients
- Balanced layering for each bite
Common mistake: Overfilling the sandwich
Fix: Reduce filling to maintain structural integrity
Pro tip: Press gently after assembling to help ingredients bind together without squeezing out juices.
Step 6: Final Warm Press (Optional but Recommended)
For an elevated finish, place the assembled sandwich back in the skillet and press lightly for 1–2 minutes per side.
Timing: 2–3 minutes total
Temperature: Medium-low heat
Key cues:
- Cheese melts fully
- Exterior becomes slightly crisp
Common mistake: Pressing too hard
Fix: Use gentle pressure to avoid flattening
Pro tip: Use a heavy pan or sandwich press for even browning.
COMMON MISTAKES & FIXES
| Mistake | Cause | Fix |
|---|---|---|
| Dry chicken | Overheating | Add moisture and reduce heat |
| Soggy bread | Untoasted buns | Always toast bread |
| Bland flavor | Under-seasoning | Adjust salt, acid, and spices |
| Overstuffed sandwich | Too many ingredients | Use moderate portions |
| Sauce too thin | Too much lemon juice | Add more mayonnaise |
FAQs
1. Can I use cold rotisserie chicken directly?
Yes, but reheating it slightly improves texture and flavor significantly.
2. What bread works best for this sandwich?
Brioche and ciabatta are ideal due to their structure and flavor.
3. Can I make this ahead of time?
You can prepare components in advance, but assemble just before serving.
4. Is it possible to make this dairy-free?
Yes, simply omit cheese and use a dairy-free spread.
5. How do I keep the sandwich from falling apart?
Avoid overfilling and ensure the bread is properly toasted.
CONCLUSION
A rotisserie chicken sandwich may begin as a convenience meal, but with the right techniques, it becomes something far more refined. By focusing on texture, layering, and balance, this recipe transforms simple ingredients into a satisfying, restaurant-quality dish.
The beauty of this sandwich lies in its versatility. Whether you prefer it classic, spicy, or reinvented with global flavors, the foundation remains reliable and delicious. With minimal time and effort, you can create a meal that feels thoughtful, complete, and deeply satisfying.
Master this method once, and it will quickly become one of your most dependable and rewarding recipes.