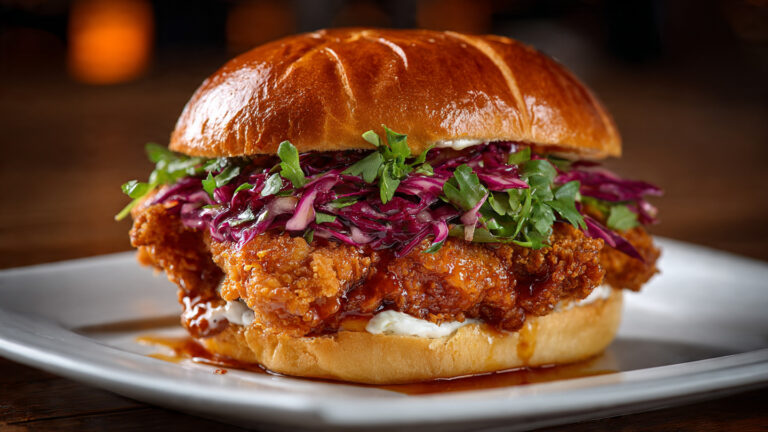
The Ultimate Crispy Chicken Sandwich Recipe (Golden Crunch Without Deep Frying)
Nothing compares to biting into a crispy chicken sandwich where the coating shatters with every bite, revealing tender, juicy chicken inside. This recipe delivers that perfect contrast of textures using smart oven-baking and air-fryer techniques that achieve deep-fried-level crispiness with far less oil and mess. Ideal for home cooks who want restaurant-quality results without the hassle of a fryer or the excess calories that come with it.
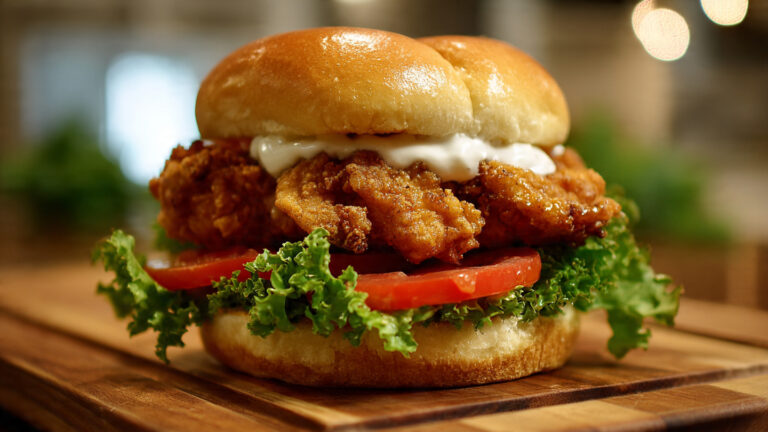
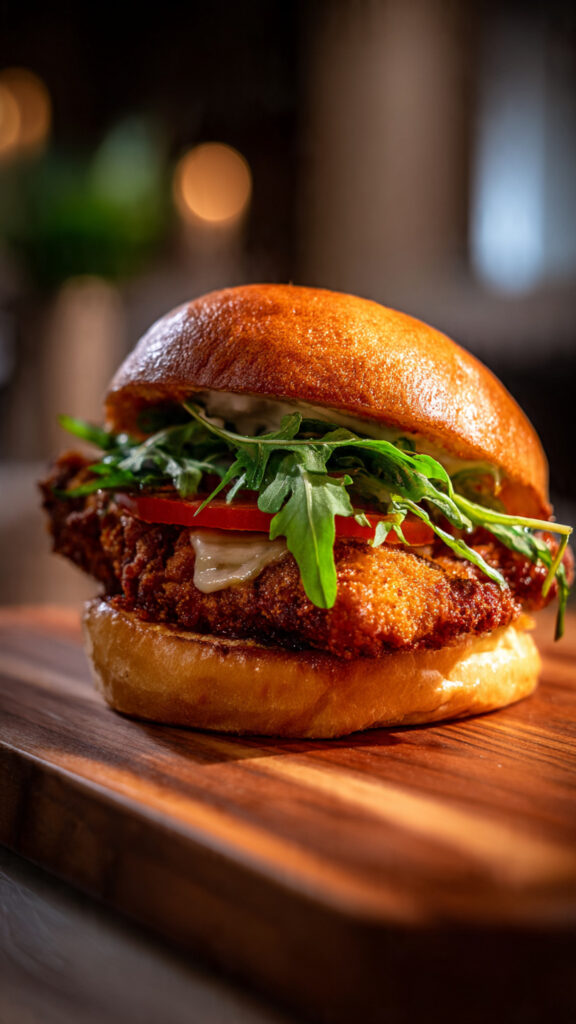
This version focuses on a buttermilk marinade that tenderizes the chicken from within, paired with a seasoned panko-parmesan crust that turns irresistibly golden and crunchy in the oven or air fryer. The sandwich is finished with a creamy, tangy sauce, crisp lettuce, and pickles for a complete flavor experience that rivals any fast-food favorite. It is versatile enough for weeknight dinners yet impressive enough for weekend gatherings.
In this detailed guide, you will master every element: selecting the right chicken, creating a crust that stays crisp, building a signature sauce, and assembling sandwiches that hold their texture. The method is straightforward, forgiving for beginners, and delivers consistent results every time. Whether you prefer the oven for hands-off cooking or the air fryer for extra crunch, this crispy chicken sandwich recipe will become your new go-to whenever a craving strikes.
Essential Tools
- Wire rack and baking sheet (essential for crispiness)
- Meat mallet or rolling pin
- Three shallow bowls for the dredging station
- Air fryer or standard oven
- Instant-read thermometer
- Tongs
- Sharp knife and cutting board
- Pastry brush for oil application
Quick Recipe Snapshot
- Prep Time: 15 minutes (plus 30 minutes marinating)
- Cook Time: 25–30 minutes
- Total Time: 1 hour
- Servings: 4 sandwiches
- Difficulty: Easy to Intermediate
- Make-Ahead: Chicken can be marinated up to 12 hours
Ingredients
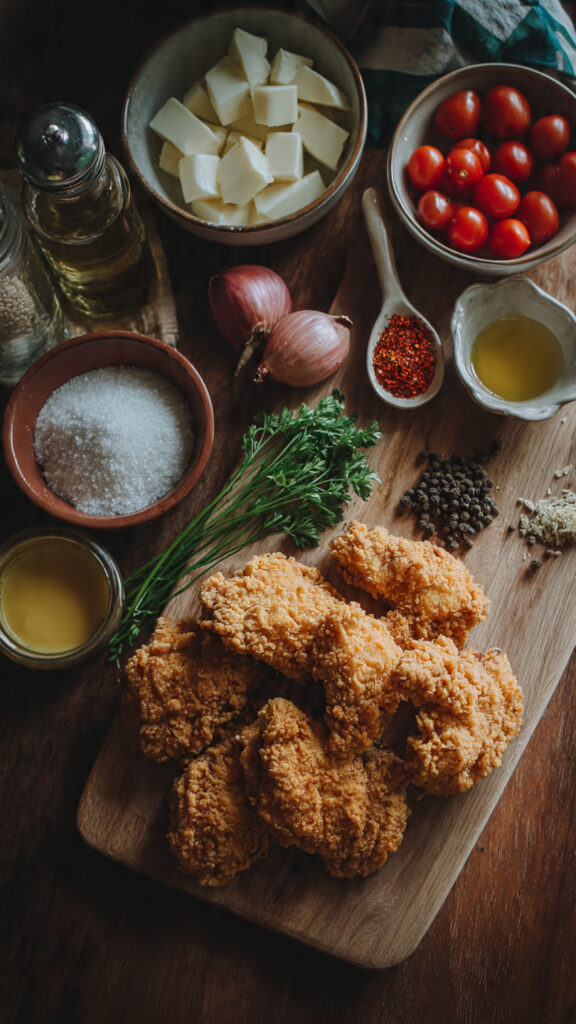
For the chicken
- 4 boneless, skinless chicken breasts (6–8 ounces each)
- 1½ cups buttermilk
- 1 tablespoon hot sauce
- 2 teaspoons kosher salt
- 1 teaspoon garlic powder
- 1 teaspoon onion powder
- ½ teaspoon smoked paprika
For the crispy coating
- 1½ cups panko breadcrumbs
- ½ cup grated Parmesan cheese
- ½ cup all-purpose flour
- 2 teaspoons kosher salt
- 2 teaspoons garlic powder
- 1 teaspoon onion powder
- 1 teaspoon smoked paprika
- 1 teaspoon black pepper
- ½ teaspoon cayenne pepper
- 2 large eggs
- 2 tablespoons olive oil or melted butter
For the sauce
- ½ cup mayonnaise
- 2 tablespoons sour cream
- 1 tablespoon Dijon mustard
- 1 tablespoon pickle juice
- 1 teaspoon lemon juice
- ½ teaspoon garlic powder
- Salt and pepper to taste
For assembly
- 4 brioche or potato buns, toasted
- Dill pickle slices
- Shredded iceberg lettuce
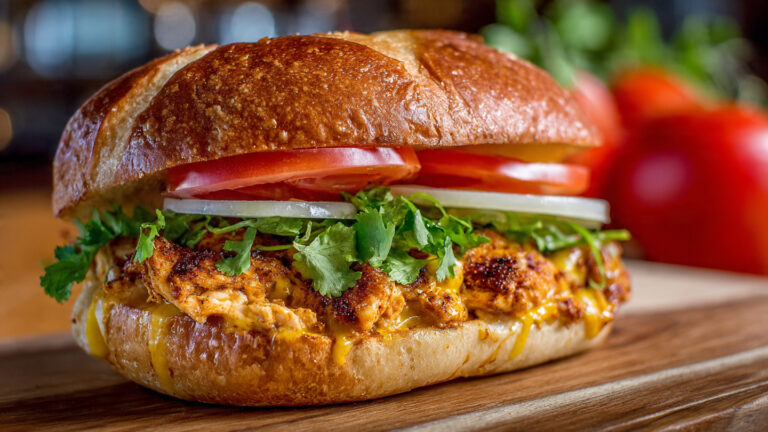
- Optional: sliced cheese, sliced tomatoes, hot honey
The Flavor Architects
Buttermilk tenderizes the chicken while infusing subtle tang. The panko and Parmesan coating creates an ultra-crispy, golden shell with nutty depth. Spices build savory warmth throughout. The sauce balances richness with bright acidity and creaminess that ties everything together. Fresh pickles and lettuce cut through the crunch with cool contrast. Brioche buns add softness that perfectly complements the crispy chicken without getting soggy.
Cooking Instructions
Step 1: Pound and Marinate the Chicken
Place chicken breasts between plastic wrap and pound to even ½-inch thickness. This promotes uniform cooking and maximum crispiness.
In a large bowl, mix buttermilk, hot sauce, salt, garlic powder, onion powder, and smoked paprika. Add chicken, ensuring full submersion. Cover and refrigerate for at least 30 minutes or up to 12 hours. Longer marinating increases tenderness and flavor.
Texture cue: chicken should feel plump and slightly firm after marinating. Common mistake: skipping pounding, leading to dry, thick sections. Pro tip: add ½ teaspoon baking powder to the marinade for extra crispiness later.
Step 2: Set Up the Dredging Station
Preheat oven to 425°F (or air fryer to 400°F). Prepare three bowls: one with flour mixed with half the spices, one with beaten eggs, and one with panko, Parmesan, remaining spices, salt, and pepper. Drizzle olive oil into the panko mixture and toss until evenly moistened.
This setup takes 3 minutes. The moistened panko is key to achieving a deep-fried texture in the oven. Common mistake: dry panko, resulting in a pale, soft coating. Fix: always add oil or butter for better browning.
Step 3: Dredge the Chicken Thoroughly
Remove chicken from marinade, letting excess drip off. Dredge first in seasoned flour, then egg, then press firmly into panko mixture. Coat both sides generously and press crumbs in well. Place on a wire rack set over a baking sheet.
Let the dredged chicken rest 5 minutes. This helps the coating adhere during cooking. Texture cue: coating should look thick and textured. Common mistake: light coating, leading to bare spots. Pro tip: double-dredge in egg and panko for extra thick crunch.
Step 4: Bake or Air Fry to Golden Crispiness
For oven: Bake on the wire rack at 425°F for 25–30 minutes, flipping halfway. For air fryer: Cook at 400°F for 18–22 minutes, flipping once. Chicken is done when it reaches 165°F internally and the crust is deep golden.
Timing and temperature are critical for crisp results. Texture and doneness cues: coating should sound crisp when tapped and appear beautifully browned. Common mistake: baking directly on a sheet pan, trapping steam and softening the crust. Fix: always use a wire rack for air circulation. Pro tip: spritz lightly with cooking spray midway for extra color and crunch.
Step 5: Prepare the Signature Sauce
While the chicken cooks, whisk together mayonnaise, sour cream, Dijon mustard, pickle juice, lemon juice, garlic powder, salt, and pepper. Adjust seasoning to taste. Let it sit for flavors to meld.
This quick step takes 2 minutes. The sauce should be creamy yet pourable. Common mistake: bland sauce. Fix: taste and add more pickle juice for brightness. Pro tip: make double the batch—it stores well and elevates other meals.
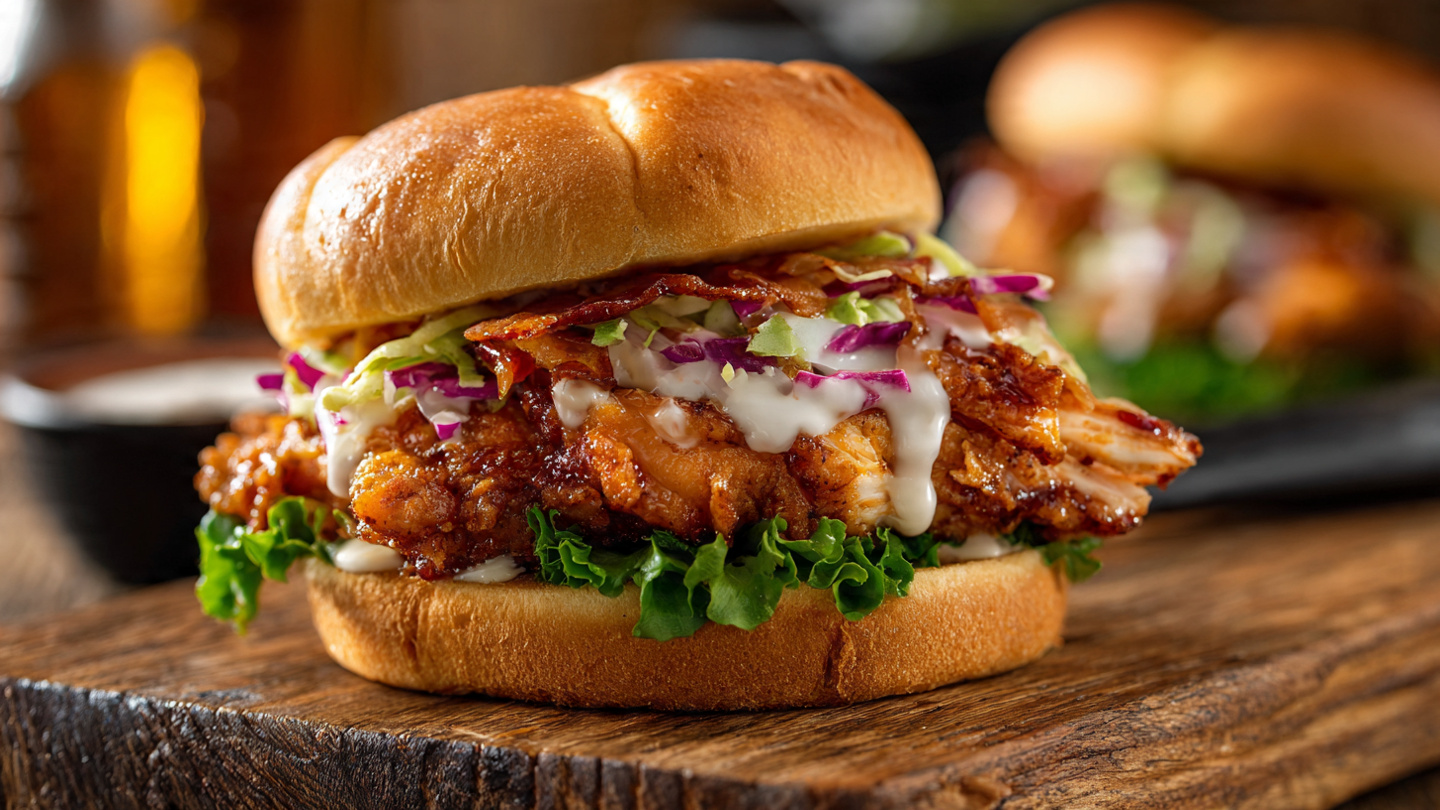
Step 6: Toast Buns and Assemble with Care
Toast buns until golden. Spread sauce on both sides. Layer the bottom bun with pickles, crispy chicken, optional cheese, lettuce, and more sauce. Top with the second bun and press gently.
Assembly takes 3 minutes. Serve immediately for peak crispiness. Common mistake: assembling too early, causing sogginess. Fix: keep chicken on the wire rack until ready to serve. Pro tip: Warm assembled sandwiches in a 250°F oven for 2 minutes to help flavors meld while preserving crunch.
Step 7: Final Crisp Check and Adjustments
After assembly, tap the chicken gently. If needed, return uncoated pieces to the oven or air fryer for 2–3 more minutes. This ensures every sandwich delivers maximum crunch.
Recipe Variations
Spicy Nashville-Style: Brush baked chicken with a mixture of melted butter, cayenne, brown sugar, and smoked paprika.
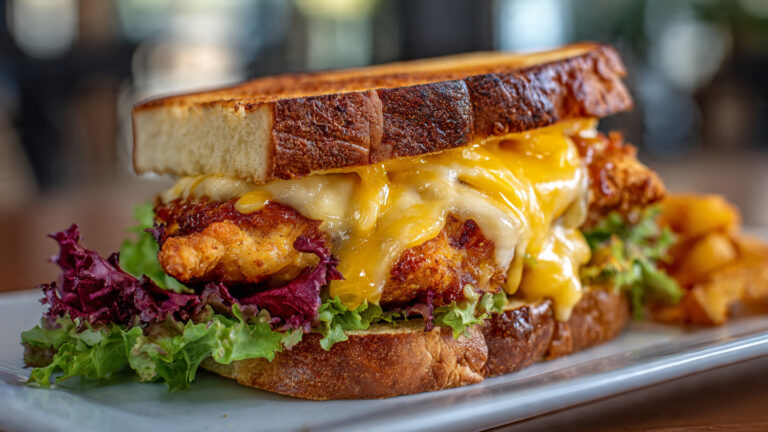
Cheddar Ranch: Add ranch seasoning to the panko and top with melted cheddar.
Asian-Inspired: Marinate with soy sauce and ginger; finish with sriracha mayo and pickled vegetables.
Parmesan Herb: Increase herbs in the coating and serve with marinara dip.
Serving Suggestions
Pair with classic sides like French fries, coleslaw, or corn on the cob. Serve with cold beer, lemonade, or sweet tea. These sandwiches also work well for meal prep or game-day spreads.
Storage & Reheating
Store leftover chicken in an airtight container in the refrigerator up to 3 days. Reheat in the air fryer or oven at 375°F on a wire rack for 8–10 minutes to restore crispiness. Avoid microwaving. Assembled sandwiches are best eaten fresh, but can be refrigerated up to 1 day.
Common Mistakes & Fixes
| Mistake | Cause | Fix |
|---|---|---|
| Soggy coating | No wire rack or overcrowding | Always elevate on rack for air flow |
| Dry chicken | Use a thermometer and proper marinating time | Always elevate on the rack for air flow |
| Bland crust | Under-seasoned panko | Taste coating mixture before dredging |
| Coating falls off | Insufficient pressing or resting | Press firmly and rest 5 minutes |
| Uneven browning | No oil in panko or inconsistent heat | Moisten crumbs and flip halfway |
FAQs
Can I use chicken thighs instead of breasts?
Yes, boneless thighs work excellently and often stay juicier. Adjust cooking time by 3–5 minutes.
Is this recipe gluten-free adaptable?
Absolutely. Use gluten-free panko and flour, and verify other ingredients.
How do I get even crispier results?
An air fryer generally produces superior crunch. Adding cornstarch to the flour step also helps.
Can I prepare the chicken ahead of time for a party?
Yes. Marinate and dredge up to 4 hours ahead, then bake or fry just before serving.
What is the best bun choice?
Brioche or potato buns hold up best to the juicy chicken and sauce.
How can I make it less spicy?
Omit cayenne entirely and reduce hot sauce in the marinade.
Conclusion
This crispy chicken sandwich recipe proves you can achieve outstanding crunch and juiciness without deep frying. The combination of a flavorful buttermilk marinade, seasoned panko crust, and thoughtful assembly creates a sandwich that satisfies every craving. Whether baked in the oven or prepared in the air fryer, the results are consistently golden, crunchy, and delicious.
Master these steps, and you will have a reliable, crowd-pleasing meal ready whenever you need it. Customize with the suggested variations to keep things exciting. Your homemade crispy chicken sandwiches will quickly outshine any takeout option and become a beloved favorite in your kitchen. Enjoy every satisfying, crunchy bite.