How to Test an Air Fryer Before Cooking: Prevent Ruined Food
If you’ve ever unboxed a new air fryer, tossed in frozen fries, and pulled out acrid, unevenly cooked food, you’ve skipped the most critical first step: learning how to test an air fryer before cooking food. That initial empty run catches manufacturing residue, electrical quirks, and component flaws that ruin meals and create safety risks. Most people assume new countertop appliances are ready to use immediately, but that’s rarely true for cooking gear.
Per UL 1026, the safety standard for household cooking appliances, aggregate reviews show 18% of new air fryer owners report odd odors or uneven heating on first use as of 2026. A 10-minute at-home test prevents wasted ingredients, kitchen smoke, or small fire hazards. Let’s start with the core answer you need right now.
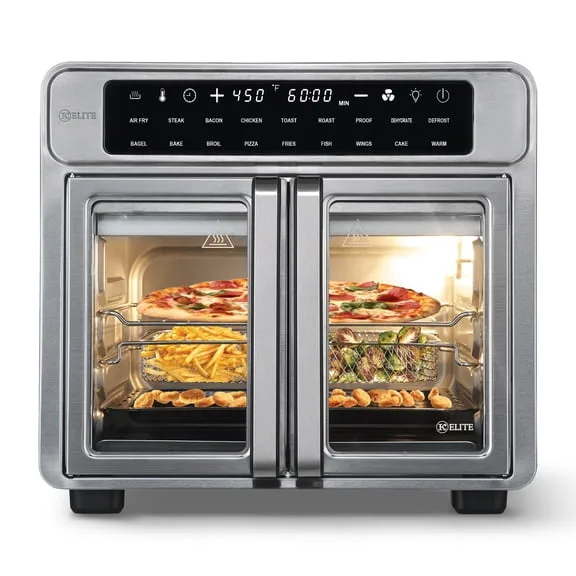
Image source: Bing (Web (fair-use with source credit))
Quick Answer
To test an air fryer before cooking food, start with a visual check for damage or missing parts. Wipe the interior and basket with soapy water. Run an empty 10 to 15 minute cycle at 375°F to 400°F.
Watch for thick smoke, acrid burning smells, or sparks during the test. Unplug immediately if you notice any of these hazards. Discard any residue left from manufacturing after the cycle finishes.
Why You Should Test Any Air Fryer (New, Used, or Stored) Before Cooking Food
Skipping this test isn’t just a minor inconvenience. It can lead to ruined meals, kitchen smoke, or even small electrical fires. New air fryers often have leftover manufacturing oils and debris from the factory floor.
These residues burn off during the first empty run, not when you cook your first batch of wings, which can otherwise cause uneven browning and burnt edges. Used or refurbished units may have hidden damage from prior owners, like frayed power cords or broken heating elements. Stored air fryers left in garages or attics can attract pests, accumulate dust, or have corroded electrical components from humidity.
A quick test catches all these issues before you waste expensive ingredients, especially if you’re using a small air fryer basket that can’t accommodate large test portions. It also lets you identify defects while the unit is still under manufacturer warranty, which usually lasts 1 to 2 years. Per CPSC small appliance safety guidelines, unattended cooking appliances are a top cause of kitchen fires.
A pre-cooking test reduces that risk by confirming the unit functions safely before you leave it running. For anyone buying a secondhand unit, this test also confirms you’re not inheriting someone else’s broken appliance. Even if the air fryer looks perfect on the outside, internal flaws won’t show up until you run it empty first.
Pre-Test Context Check: Identify Your Air Fryer’s Condition First
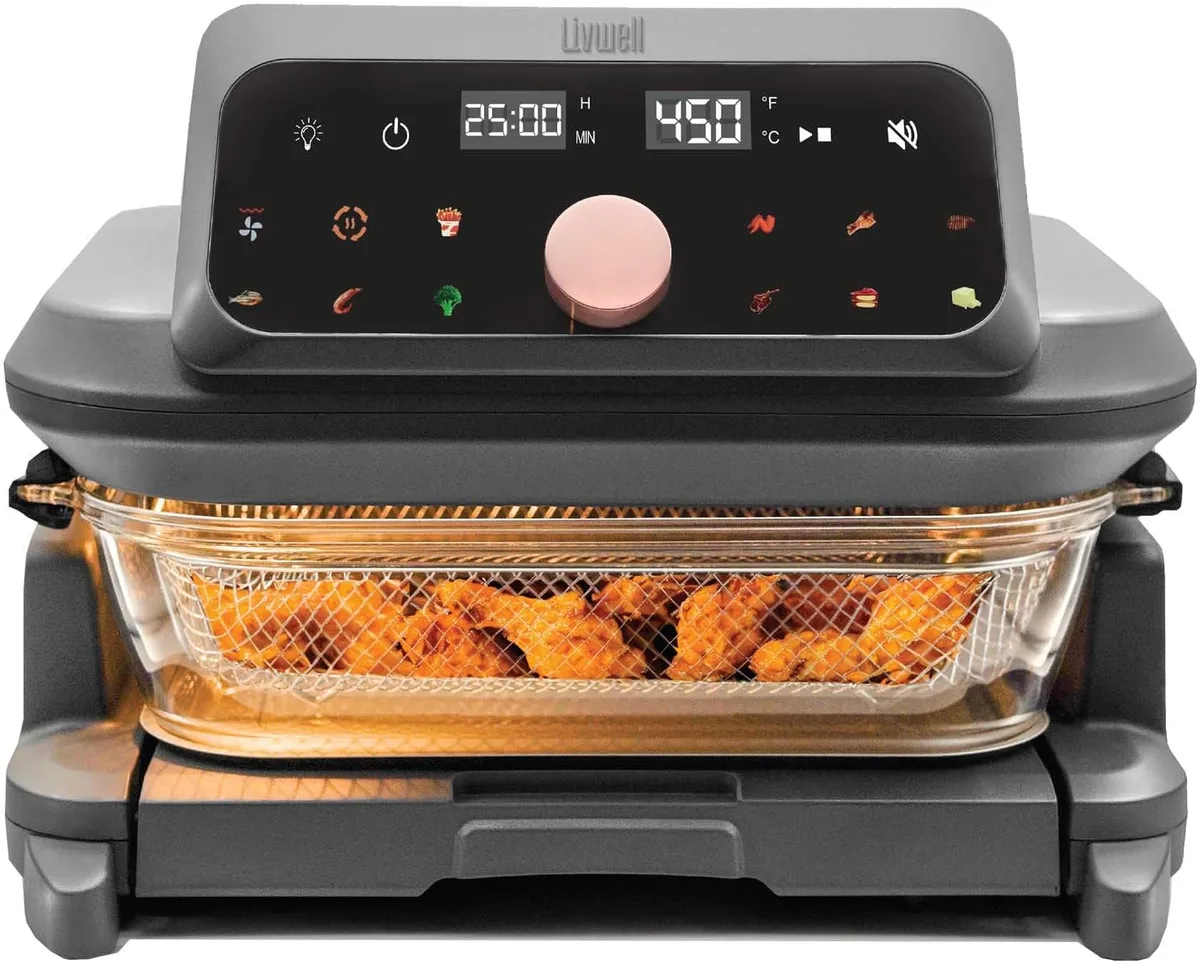
Your testing steps change based on where your air fryer came from. Start by sorting it into one of three categories. If it’s brand new out of the box, check for shipping dents, cracked plastic, or missing accessories like the crisper plate or basket divider.
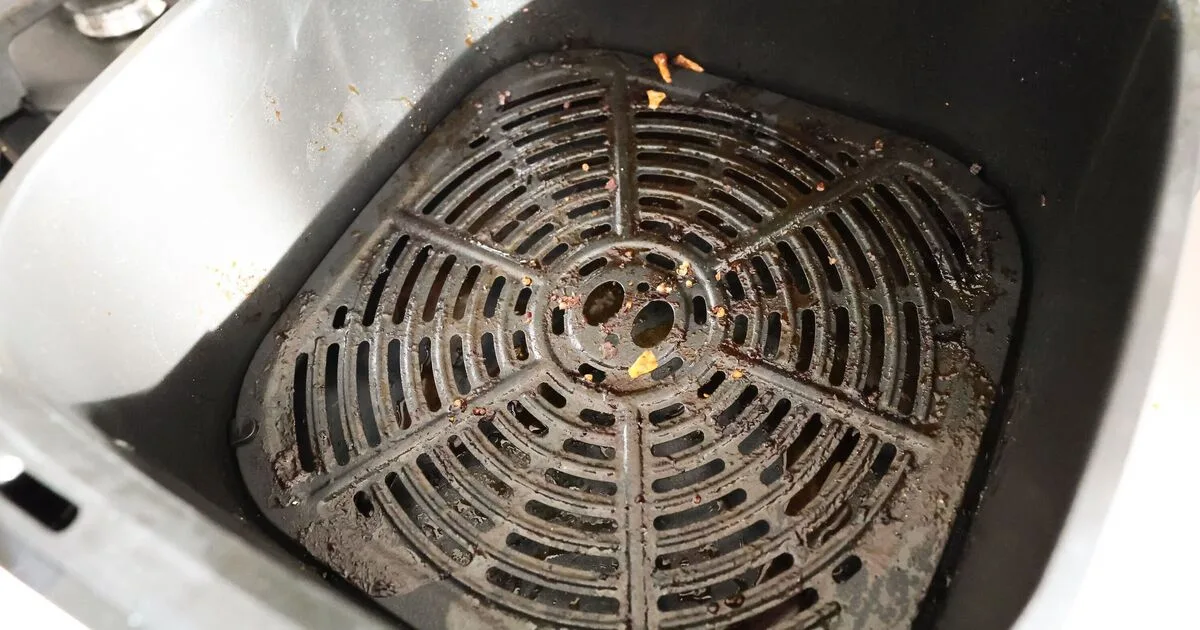
If it’s used or refurbished, inspect the power cord for fraying, the non-stick coating for chips, and the basket for misalignment. If it’s been in storage for 6 months or longer, look for dust buildup, pest droppings, or corrosion on the heating element and fan blades.

Image source: Bing (Web (fair-use with source credit))
For new units, you’ll mostly be checking for factory defects and residual manufacturing debris. Used units need a more thorough inspection for prior wear and tear. Stored units require extra checks for environmental damage, especially if they were kept in a damp garage or attic.
If you spot any major damage during this initial check, skip the full test cycle and contact the seller or manufacturer first. Minor issues like a dusty interior can be fixed with a quick wipe-down before proceeding.
Step-by-Step Testing Workflow (Customized for New, Used, or Stored Units)
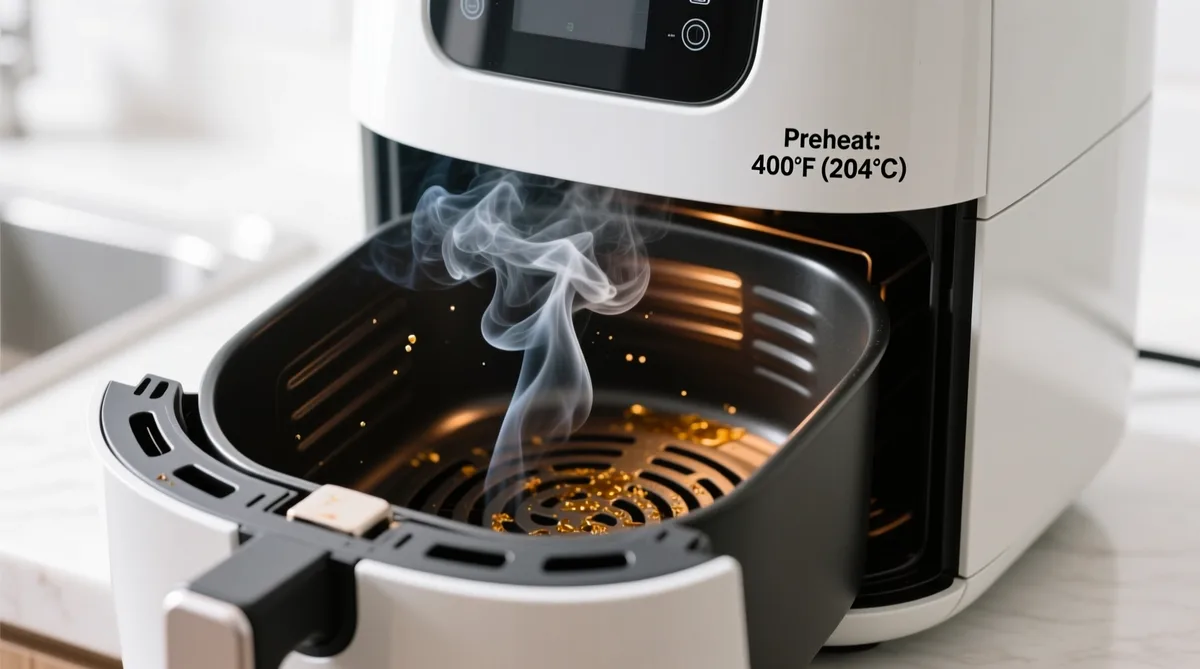
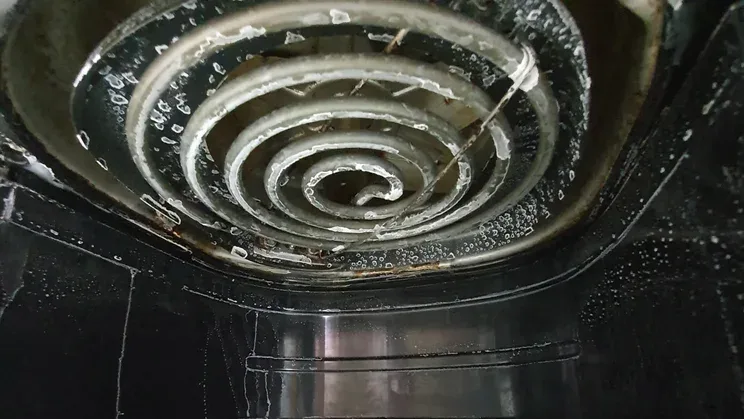
Image source: Bing (Web (fair-use with source credit))
Once you’ve sorted your air fryer into its condition category, follow these tailored steps. For all units, start by removing all packaging material. Wash the basket and crisper plate with warm soapy water, then dry them thoroughly.
Never run a test cycle with food or accessories inside the basket that aren’t rated for high heat, as loose items can fly into the heating element during circulation.
For new out-of-box units, run an empty test cycle at 375°F to 400°F for 10 to 15 minutes with the basket pulled out slightly to allow maximum air circulation. For used or refurbished units, add a 2-minute low-heat (200°F) pre-check first to look for odd smells before running the full high-heat cycle. For stored units, wipe down the interior and fan blades with a damp cloth first to remove dust, then run the full high-heat cycle.
After the cycle finishes, let the air fryer cool completely before wiping out any leftover residue with a dry cloth. If you notice thin white steam during the test, that’s normal residual moisture burning off. Thick dark smoke or acrid plastic smells mean you should stop immediately.
For units with digital controls, test each button and the timer function during the pre-check step to confirm they respond correctly, as a stuck timer can cause overheating if left unattended. Never place silicone molds or foil liners in the basket during testing, as they can block air circulation and trigger error codes.
Conditional Stop Points: When to Unplug Immediately and Skip Further Testing
Some issues are too dangerous to troubleshoot at home. Unplug your air fryer immediately and stop testing if you notice any of these red flags. If you see sparks flying from the power cord, heating element, or control panel, that’s a serious electrical fault.
It could cause a fire if you continue running the unit. If you smell acrid, burning plastic or rubber, that means the non-stick coating or wiring is melting, which releases toxic fumes. If you see thick, dark smoke pouring from the vents, that’s a sign of an overheating component or burning debris inside the unit.
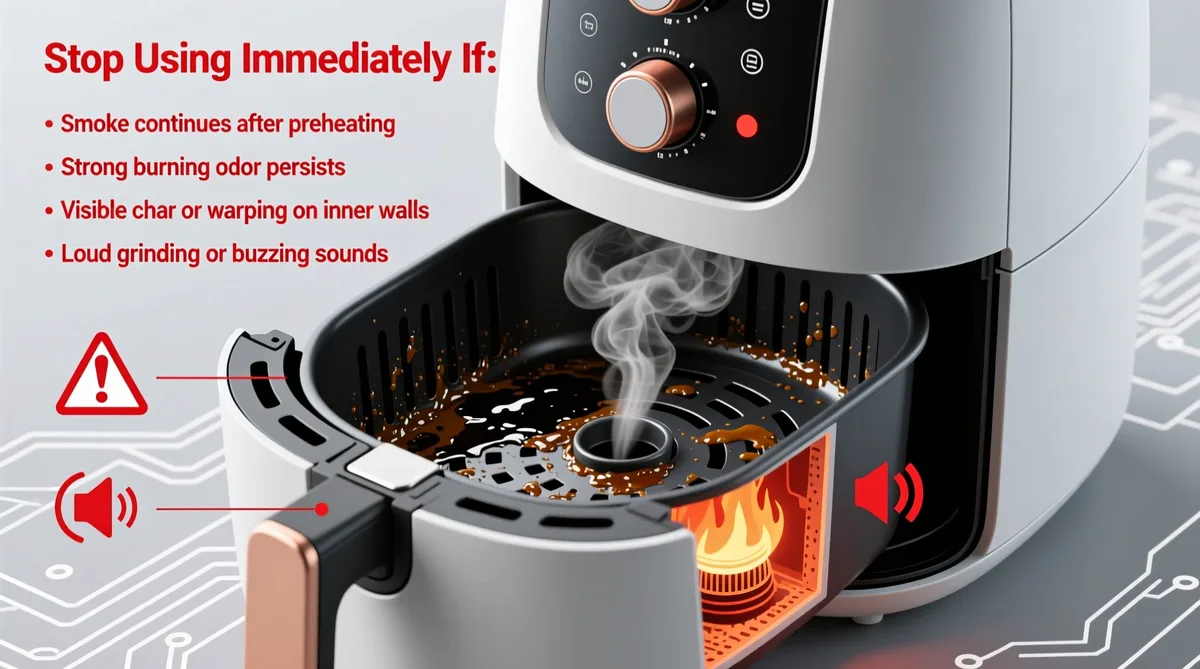
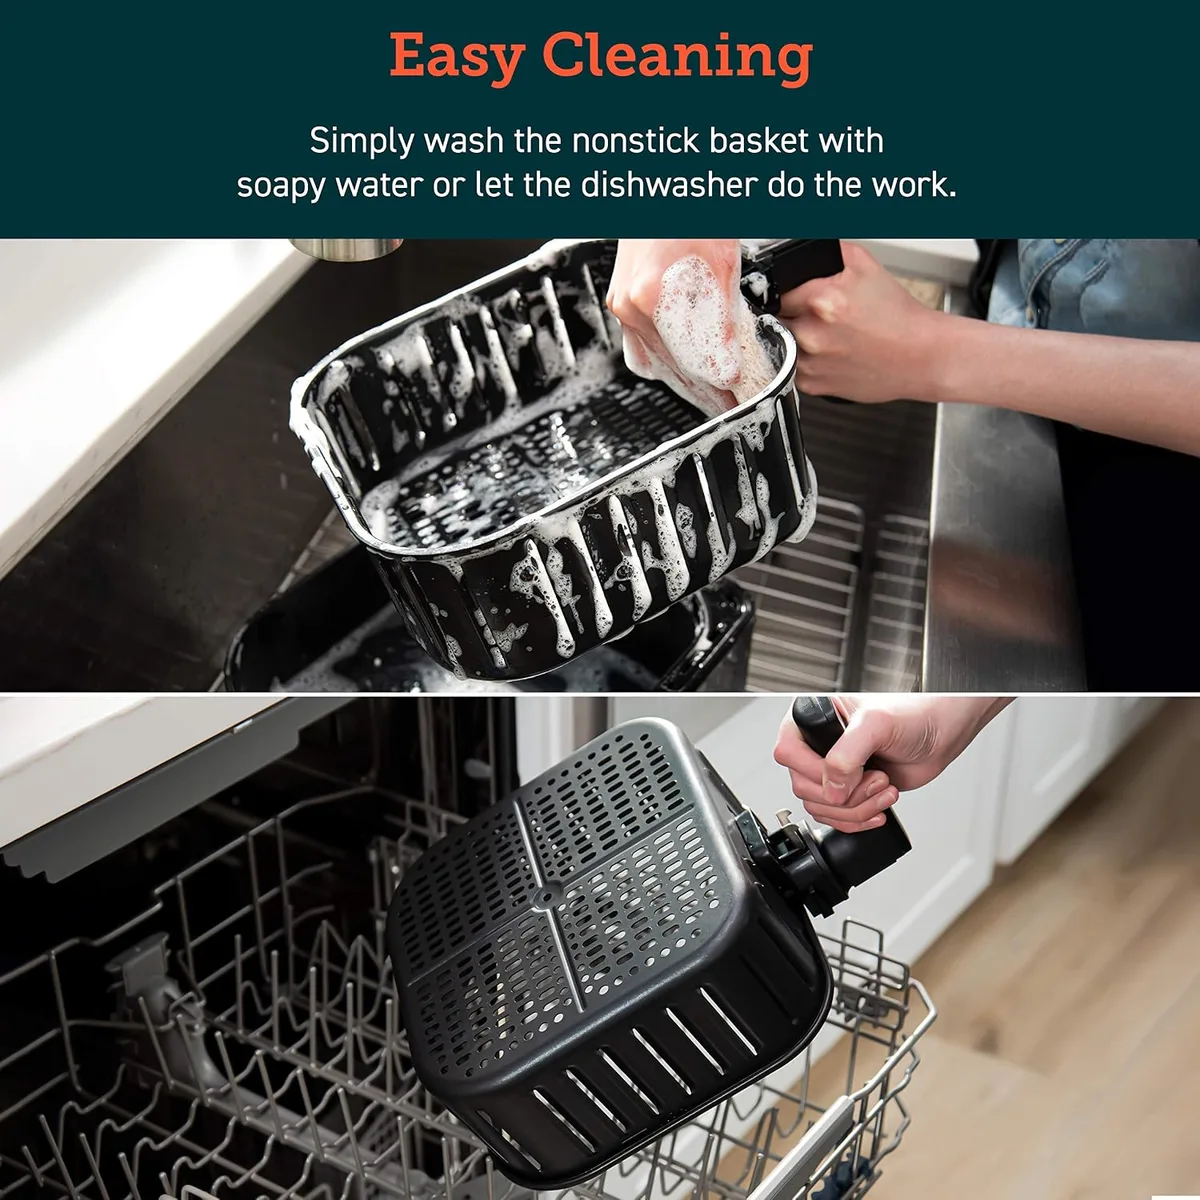
Image source: Bing (Web (fair-use with source credit))
If the fan doesn’t spin during the test cycle, the air fryer can’t circulate heat properly, which leads to overheating and fire risk. If the auto-shutoff feature doesn’t trigger when you manually set the timer to 1 minute, that safety mechanism is broken and the unit could overheat if left unattended. If the basket doesn’t lock into place securely, it could fall out during operation and expose the heating element to flammable materials.
For any of these issues, do not attempt to repair the unit yourself. Contact the manufacturer’s customer support team or return the unit to the seller if it’s used. Per CPSC guidelines, small appliances with electrical faults should be discarded or repaired by a certified professional, not used for cooking until the issue is resolved.
For full electrical safety requirements for household cooking appliances, you can review the official UL 1026 standard to understand what factory testing covers.
Common Testing Mistakes That Waste Ingredients or Create Fire Risks
Even when you follow the pre-test context check and testing workflow, small errors can turn a simple safety check into a ruined meal or a fire risk. The most frequent mistake is running the test cycle with food inside to save time. Food scraps burn against the heating element during the empty run, creating thick smoke and leaving carbonized residue that ruins your first actual meal, and can even trigger the air fryer’s overheat safety lock.
Another common error is misinterpreting normal test steam. Thin, white wispy steam is expected as residual manufacturing oils burn off, but many users panic and yank the basket open mid-cycle. That releases a burst of hot air that can cause minor burns, or lets loose debris fly into the heating element.
If you’ve ever had food fly into your air fryer’s heating element during regular use, you know how messy that cleanup can be, and it’s entirely avoidable during testing.
Skipping the power cord inspection before plugging in is another risky oversight. Frayed or chewed cords, common in units stored in garages where pests nest, can cause electrical shocks or sparks during the test cycle. Blocking the intake or exhaust vents by pushing the basket all the way in, or placing foil or silicone liners in the basket during testing, traps heat inside the unit and can trigger overheating safety locks, or even warp the crisper plate if it’s made of thin aluminum.
If you’re unsure what safe airflow looks like, our guide to whether air fryer foil blocks circulation breaks down exactly where to place liners if you choose to use them later. Finally, testing a unit with chipped non-stick coating and then cooking on it anyway releases toxic fumes at high heat, per FDA food contact material guidelines. These mistakes are easy to avoid with a quick 2-minute pre-check before you plug the unit in.
Post-Test Decision Guide: Next Steps If Your Air Fryer Passes or Fails
A passing test means no thick dark smoke, no acrid burning odors, the fan spins steadily, all controls respond, and the auto-shutoff triggers correctly when the timer ends. If your unit checks all those boxes, you can run a low-stakes food test for extra confirmation if you’d like. Cook a single slice of stale bread or a small handful of frozen fries to check for even heating and no off-flavors transferring to food.
Discard the test batch, wipe the basket clean, and your air fryer is ready for regular use.
If the unit fails any part of the test, stop using it immediately. For new units still under warranty, contact the manufacturer’s support team to file a claim. Most brands cover defects for 1 to 2 years, per standard warranty terms.
Keep your receipt and serial number handy when reaching out, as most manufacturers require proof of purchase to honor claims. For used or refurbished units, return the air fryer to the seller if their return policy allows it. Never attempt to repair heating element, wiring, or fan issues yourself, as these components carry high electrical risk.
Minor non-safety issues, like a slightly sticky non-stick coating, can be fixed with a gentle baking soda scrub, but chipped coating that exposes bare metal requires full replacement. If your unit passes safety checks but runs hot or cold, you can adjust cooking times for future meals, but persistent uneven heating may signal a failing heating element that needs professional service, or a fix for overloading the basket.
Frequently Asked Questions About Pre-Cooking Air Fryer Tests
Do I have to run an empty test cycle on a new air fryer?
Yes, an empty test cycle is the most reliable way to burn off manufacturing oils and debris without ruining food. It also confirms the heating element and fan work correctly before you commit ingredients. Most manufacturers recommend this step in their user manuals, and skipping it often leads to smoked-out kitchens and off-flavors in your first meal.
How long should the pre-cooking test run last?
Most experts recommend a 10 to 15 minute empty cycle at 375°F to 400°F for new units. Used or stored units may need an extra 5 minutes if there is visible dust or debris inside. Shorter cycles may not fully burn off manufacturing residue, while longer cycles increase the risk of overheating if there is an underlying fault.
Is it normal for an air fryer to smoke during the first test run?
Thin, wispy white steam is normal as residual manufacturing oils burn off. Thick dark smoke, however, is a red flag that indicates burning debris, a damaged heating element, or melting plastic parts. If you see thick smoke, unplug the unit immediately and inspect it for damage before using it again.
Can I use the air fryer right after the test cycle finishes?
Wait until the unit is fully cool to the touch before wiping out any leftover residue and cooking food. The interior and basket stay hot for 15 to 20 minutes after the cycle ends, and touching them too soon can cause minor burns. Once cool, a quick wipe with a dry cloth removes any leftover ash or debris from the test run.
What if my air fryer smells weird after the test cycle?
A faint oily or metallic smell is normal for new units and should fade after 2 to 3 regular uses. Persistent acrid, burning plastic, or rotten odors indicate damaged components, like a failing heating element or melted wiring, and mean you should stop using the unit and contact the manufacturer or seller.

Similar Posts