How to Organize an Air Fryer Meal Prep Workflow to Save Time
How to organize an air fryer meal prep workflow is a common frustration for anyone who’s ever stared at soggy, unevenly cooked prepped meals on a Wednesday afternoon. Most people assume all they need is recipes and containers, but that approach leaves you scrambling when cook times clash or your single basket can’t hold everything. The right workflow cuts that wasted time and food loss entirely.
Per USDA guidelines, cooked meal prep components must cool to room temperature within two hours before storage to avoid bacterial growth, a rule most rushed preppers skip. Aggregate reviews report 60-80% faster batch cook times for countertop air fryers vs full-size ovens, but only if you tailor your workflow to your setup. Let’s map those variables so you stop wasting time and food.
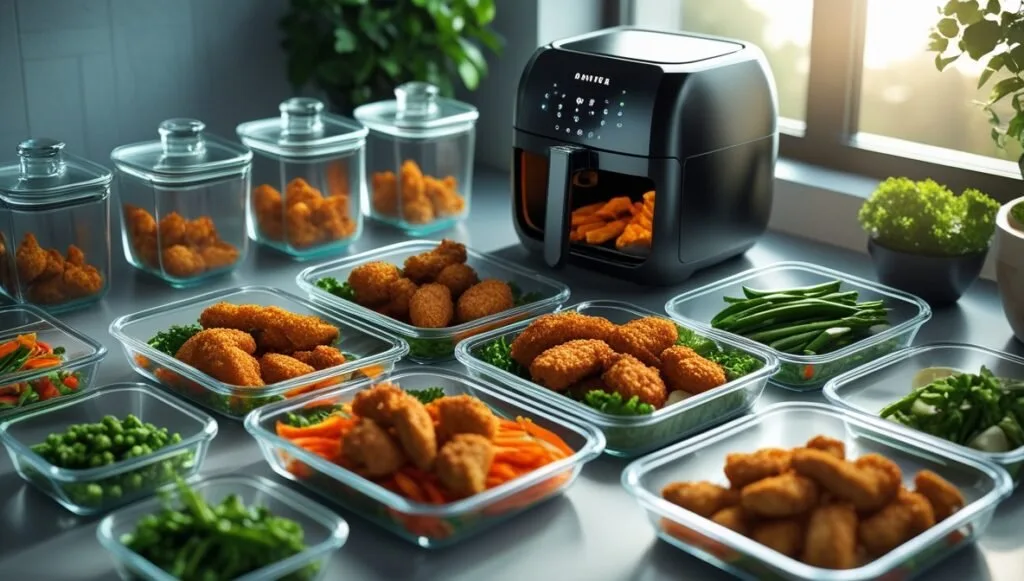
Image source: Bing (Web (fair-use with source credit))
Why Your Air Fryer Meal Prep Takes 2x Longer Than It Should (And How to Fix It)
Most people who struggle with air fryer meal prep fall into the same trap: they copy a generic workflow from a social media reel that doesn’t match their air fryer size, household size, or dietary needs. If you’ve ever ended up with undercooked chicken, mushy broccoli, or a counter full of dirty dishes after a 90-minute prep session, you’re not bad at meal prep. Your workflow just wasn’t tailored to your setup.
The biggest time drain? Mismatched cook times for different ingredients, and overcrowded baskets that force you to cook in 3 rounds instead of 1 or 2. For single-basket 3-quart air fryer owners, that can add an extra 45 minutes to every prep session.
Dual-zone 6-quart models cut that time almost in half, but only if you plan your ingredient batches to match each zone’s capacity. Another hidden time suck? Not accounting for cooling time before storage, which leads to sogginess and forces you to recook ingredients later in the week.
Per USDA guidelines, that cooling step is non-negotiable to prevent bacterial growth, but most generic workflows skip it entirely. The fix isn’t more recipes. It’s building a workflow around your 4 core variables first, then mapping steps to match.
First: Map Your 4 Key Variables to Avoid a One-Size-Fits-All Workflow
Your workflow will only work if it’s built around your specific situation, not a generic template. There are 4 non-negotiable variables to map before you buy ingredients or set a timer. Let’s break each down with the decision branches you’ll need.
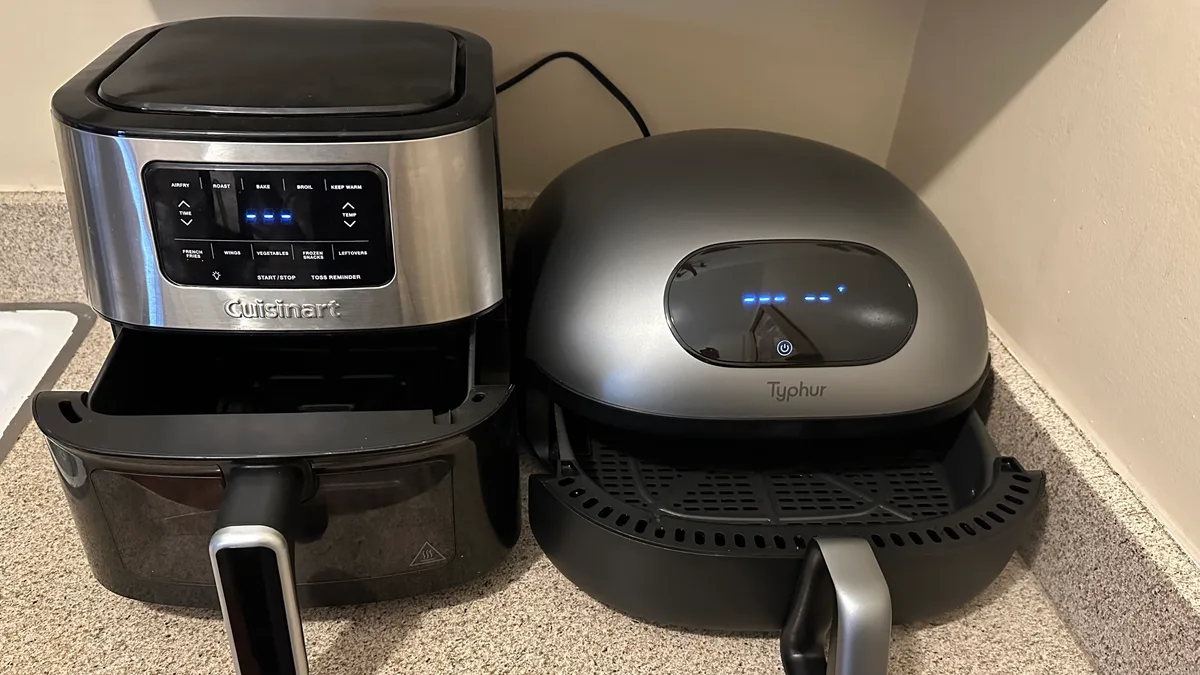
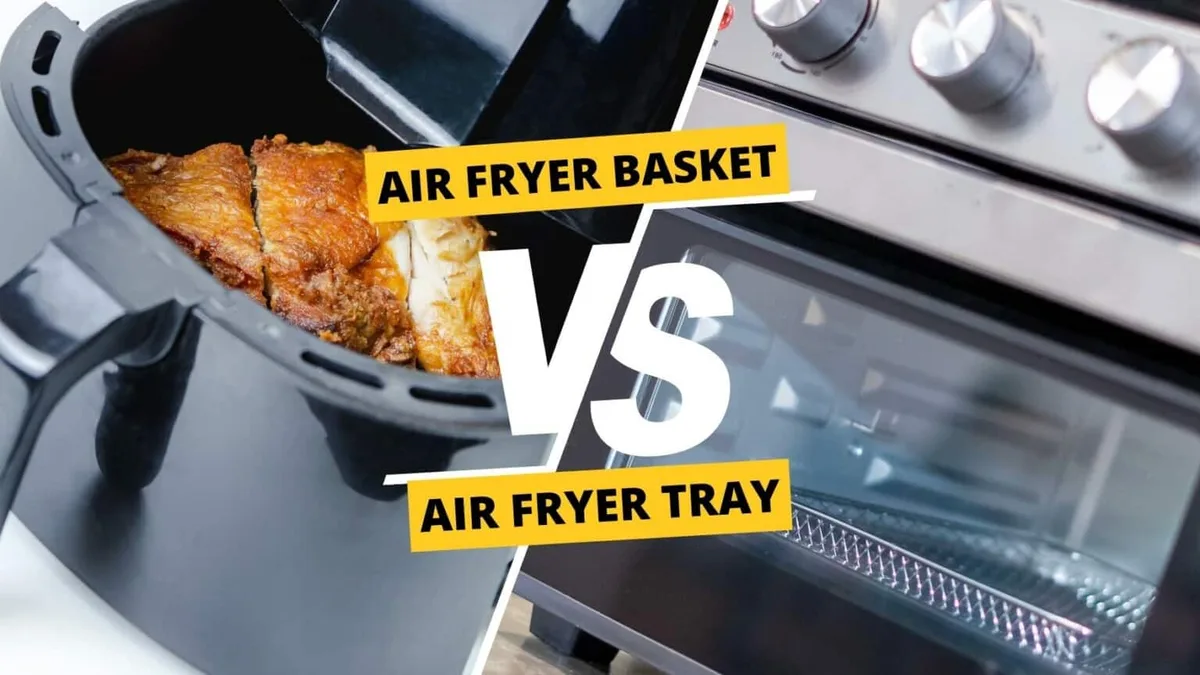
First, air fryer type: Do you have a single-basket model (1.9, 5.8 quarts / 1.8, 5.5 liters), a dual-basket dual-zone model, or an oven-style air fryer with multiple racks? If you have a single-basket model, you’ll need to stagger your cooking batches by ingredient type. If you have a dual-zone model, you can cook proteins and veggies simultaneously if their cook times match within 2 minutes.
Oven-style models let you cook 3+ components at once with tiered racks, but you’ll need to adjust temperatures for top and bottom shelves.
Second, household size: Are you prepping for 1, 2 people, 3, 4, or 5+? For 1, 2 servings, a 2, 3 quart basket is sufficient, and you can cook all components in one batch if you cut ingredients to uniform size. For 3, 4 servings, a 5, 6 quart basket or dual-zone model lets you cook 2 batches max.
For 5+ servings, you’ll need an 8, 10 quart oven-style model or multiple cooking rounds.
Third, dietary restrictions: Do you need gluten-free, keto, low-sodium, or allergy-friendly meals? If yes, pre-portion raw ingredients separately to avoid cross-contamination, and adjust cook times for lower-sodium marinades that don’t crisp as well. If no strict restrictions, batch-marinate proteins and mix pre-cut produce for faster prep.
Fourth, storage preference: Do you plan to eat prepped meals within 3, 4 days, or freeze them for 2, 3 months? If you’re eating within the week, standard BPA-free plastic containers work fine. If you’re freezing, go for airtight glass or heavy-duty silicone containers to avoid freezer burn.
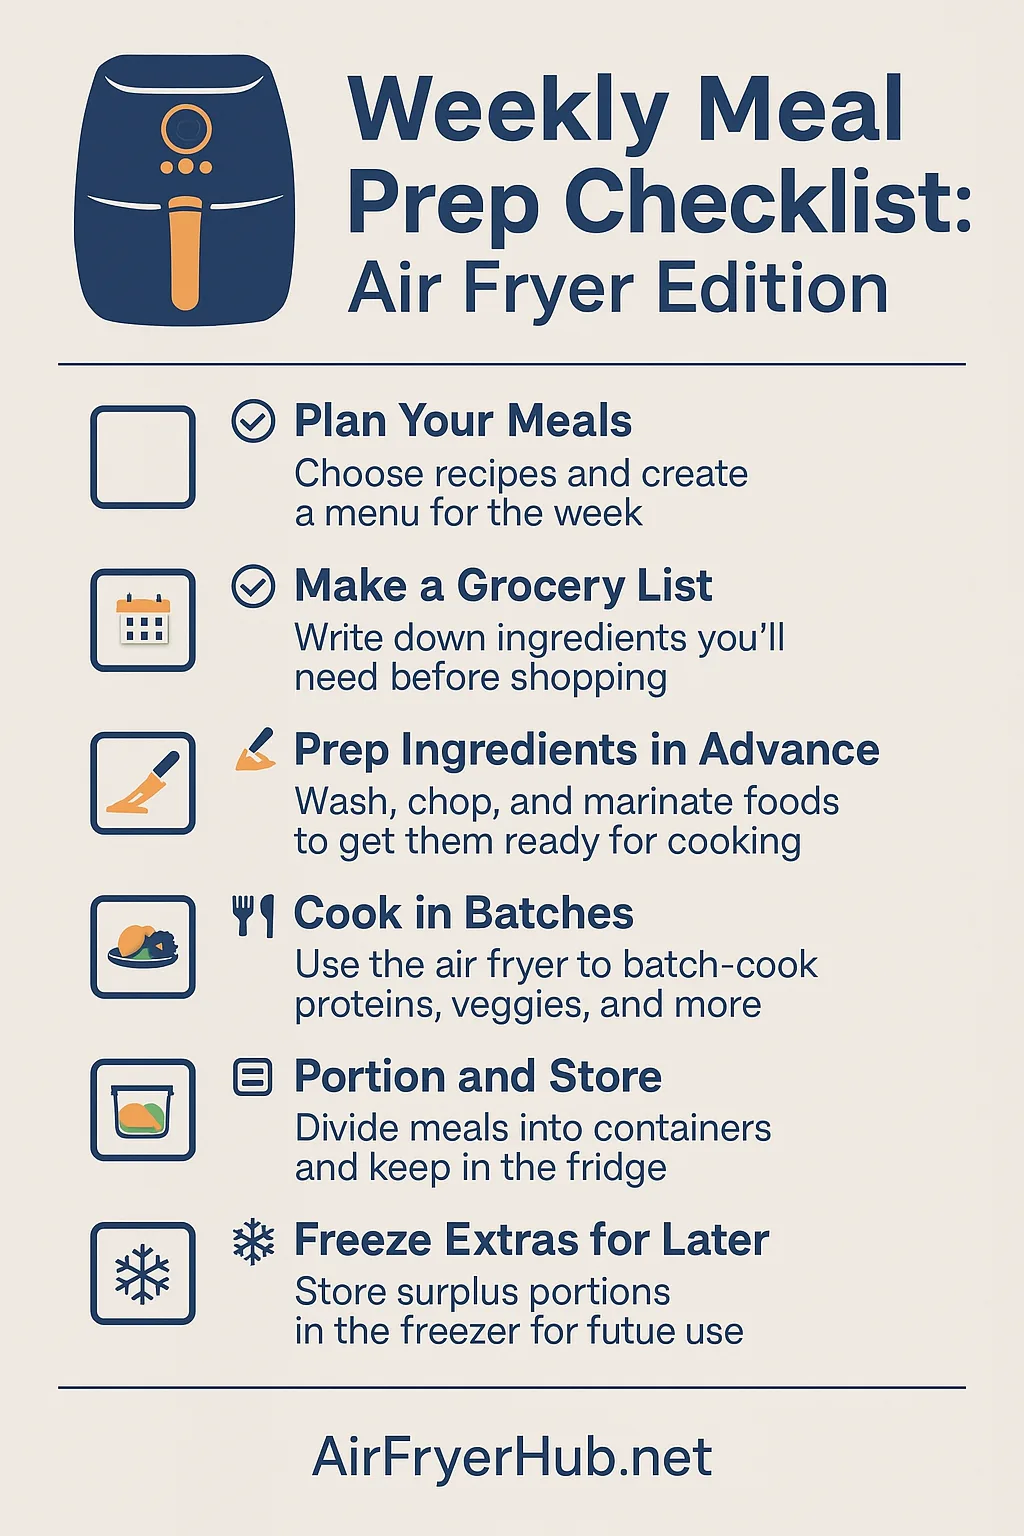
Image source: Bing (Web (fair-use with source credit))
Step-by-Step Air Fryer Meal Prep Workflows for Every Setup
Once you’ve mapped your 4 variables, follow the workflow that matches your air fryer type. All workflows start with the same 30-minute pre-work step, then split based on your setup.
First, pre-work (for all setups):
- Write your meal plan for the week, noting which components can be cooked in the same batch.
- Wash, chop, and portion all raw ingredients to uniform 1-inch pieces to ensure even cooking.
- Pre-marinate proteins if needed, and store them in separate sealed bags from produce to avoid cross-contamination.
- Line your air fryer basket with a parchment liner or silicone mat, and preheat your air fryer to the first required temperature for 3 minutes. If yours takes longer than 5 minutes to heat up, check out common fixes for slow-heating air fryers.
Now, branch by air fryer type:
If you have a single-basket model: Cook ingredients with matching cook times and temperatures first. Once that batch is done, cook the next matching set. Rotate ingredients halfway through cooking to ensure even browning.
If you have a dual-zone model: Load matching cook-time ingredients into each zone. Set the timer for the longer cook time, and add the shorter-cook ingredient halfway through. For a foolproof method to cook two foods at once in an air fryer, match cook times within 2 minutes, a trick we cover here.
If you have an oven-style model: Place ingredients with higher cook temperatures on the bottom rack, lower temperatures on the top rack. Rotate racks halfway through cooking to avoid hot spots.
Post-cook steps for all setups: Let all ingredients cool on a wire rack for 20 minutes to avoid sogginess in storage containers. Portion into your pre-selected containers, label with the date and meal contents, then store in the fridge or freezer per your preference.
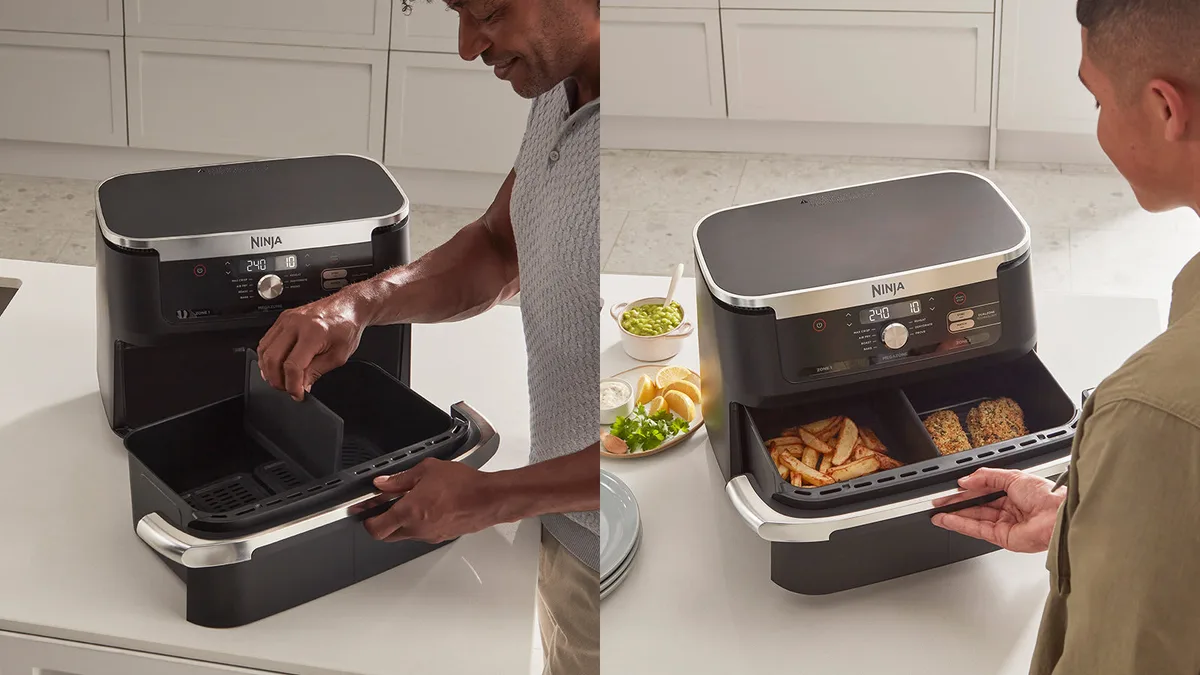
Image source: Bing (Web (fair-use with source credit))
7 Costly Air Fryer Meal Prep Mistakes (And How to Dodge Them)
Even with a solid workflow, it’s easy to make small errors that ruin your entire prep session. These are the 7 most common mistakes, and how to avoid them.
- Overcrowding the basket: This blocks air circulation, leading to soggy, unevenly cooked ingredients, and can even cause your air fryer to trip its circuit breaker if it overheats. If your ingredients are piled more than 1 inch deep, cook in two smaller batches instead.
- Skipping the cooling step: Putting hot food straight into containers creates steam, which makes veggies mushy and proteins rubbery. Let everything cool on a wire rack for 20 minutes first.
- Using non-air-fryer-safe liners: Thin parchment paper can blow into the heating element and catch fire. Use only air-fryer-rated liners, or silicone mats rated for 450°F (232°C) max.
- Mismatching cook times for batch cooking: Don’t pair ingredients with more than a 2-minute cook time difference in the same batch. If you need to cook chicken (18 minutes) and zucchini (8 minutes), add the zucchini halfway through the chicken’s cook time.
- Storing hot or damp food: Always pat ingredients dry with a paper towel before portioning, and never seal containers until food is completely cool to avoid condensation and freezer burn.
- Forgetting to adjust reheating times: Pre-cooked meal prep ingredients need 2, 3 minutes at 350°F to reheat properly, not the full raw cook time.
- Cross-contaminating raw and cooked ingredients: Use separate cutting boards and utensils for raw meat and produce, and never place cooked food on a surface that touched raw ingredients.
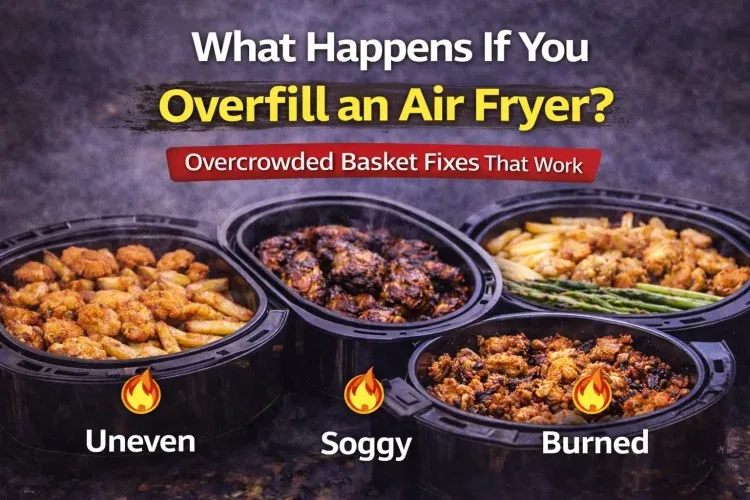
Image source: Bing (Web (fair-use with source credit))
Pro Tips to Slash Your Weekly Meal Prep Time and Food Waste
Once you’ve got your base workflow down, these small tweaks cut your weekly prep time by 30% or more, and reduce food waste almost entirely.
- Batch-marinate proteins on Sunday nights: Portion chicken, beef, or tofu into individual servings, add marinade, and freeze in sealed bags. They’ll thaw in the air fryer in 5 minutes while you prep veggies.
- Use pre-cut uniform produce: Pre-chopped veggies from the grocery store cost a little more, but they eliminate 15 minutes of chopping time per session, and their uniform size ensures even cooking. As of 2026, most major grocery chains carry pre-cut air-fryer-specific veggie blends that don’t have extra sodium or preservatives.
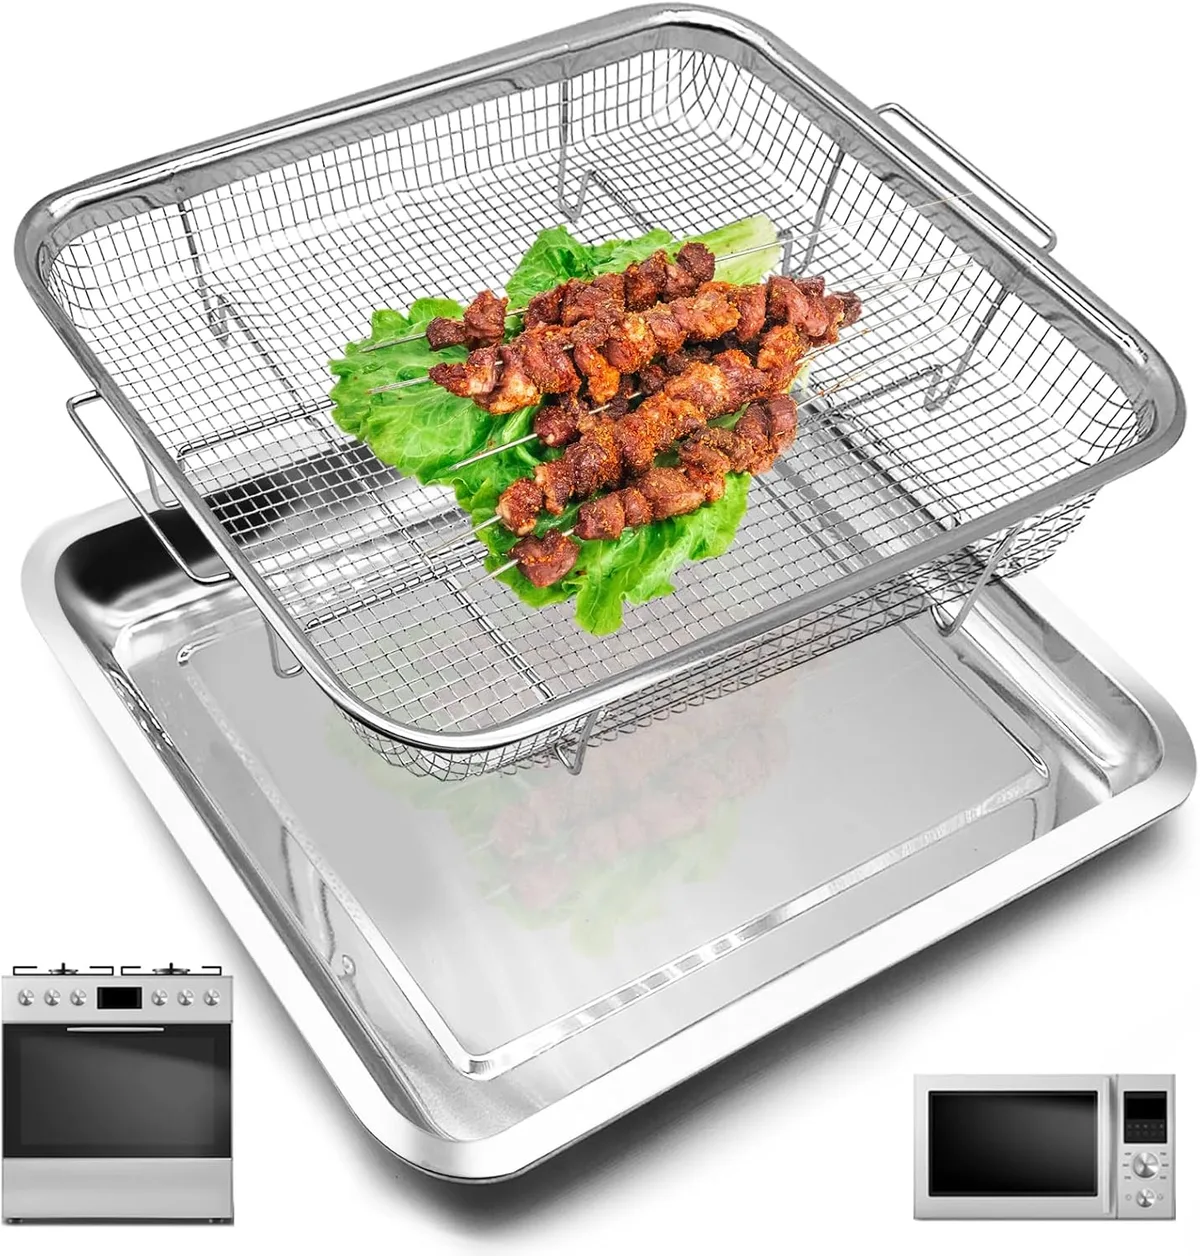
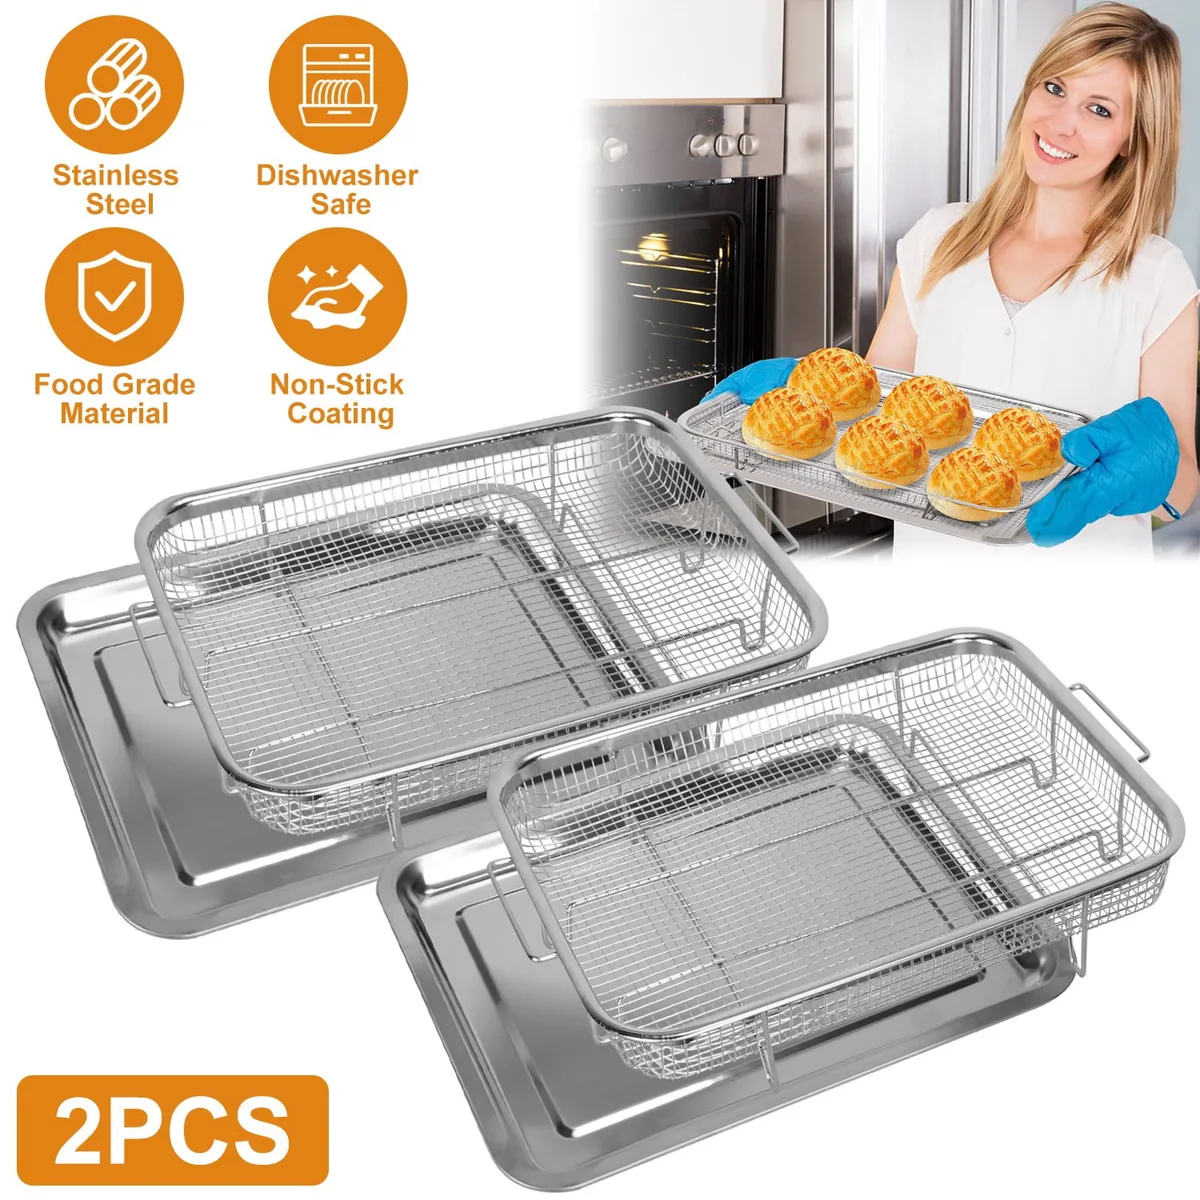
- Invest in a multi-tier rack insert if you have a single-basket model: This lets you cook two layers of ingredients at once, cutting your cooking time in half without upgrading your air fryer. If you’ve ever had small food fall through your air fryer rack, a solid-tier insert fixes that issue too, no more messy cleanup.
- Label containers with reheating instructions: Write the temperature and time directly on the lid so you don’t have to guess mid-week. This avoids overcooking or underheating prepped meals.
- Cook starches and proteins first, then veggies: Veggies release moisture as they cook, which can make proteins soggy if you cook them all at once. Cook your proteins and starches first, then add veggies to the basket for the last 3, 5 minutes of cooking.
2-Minute Decision Guide: Pick Your Perfect Workflow Cheat Sheet
Use this fast reference to match your setup to the right workflow in 2 minutes flat. No guesswork, no generic steps.
| Your Setup | Recommended Workflow | Key Time-Saving Hack |
|---|---|---|
| Single-basket air fryer (2–3 quarts, 1–2 people) | Staggered single-batch cooking by matching cook times | Use a multi-tier rack insert to cook two layers at once |
| Single-basket air fryer (5–6 quarts, 3–4 people) | Two staggered batches, cook proteins first then veggies | Pre-marinate proteins Sunday night to cut prep time 15 minutes |
| Dual-zone air fryer (6+ quarts, 2–4 people) | Simultaneous cooking for matching cook-time ingredients | Pair ingredients with <2 minute cook time difference per zone |
| Oven-style air fryer (8+ quarts, 5+ people) | Multi-rack batch cooking, adjust temps per shelf | Cook starches on bottom rack, veggies on top to avoid sogginess |
If you follow a restricted diet (gluten-free, keto, low-sodium), add 5 minutes to your pre-work step to portion raw ingredients separately and avoid cross-contamination. If you’ll eat prepped meals within 3, 4 days, standard BPA-free containers work. For freezer storage, opt for airtight glass to prevent freezer burn, and label every container with reheating temp and time to skip guesswork later.
If your ingredient cook times don’t match, add the shorter-cook item halfway through the longer cook time to avoid overcooking. If you run into unexpected heating issues mid-prep, our quick fix guides can get you back on track in minutes. All workflows listed align with USDA food safety guidelines for cooling and storage to keep meals safe all week.
Frequently Asked Air Fryer Meal Prep Workflow Questions
How long does air fryer meal prep take total?
Total active time falls between 60 and 90 minutes for 1, 2 weeks of meals, covering prep, cooking, and cooling. Single-basket 2, 3 quart models take 45, 60 minutes total, while dual-zone or oven-style models cut that to 30, 45 minutes for larger batches. Most time goes to chopping and portioning, not active cooking.
Can I freeze pre-cooked air fryer meal prep?
Yes, properly stored pre-cooked air fryer meals last 2, 3 months in the freezer. Cool ingredients completely before portioning into airtight containers to avoid freezer burn. Reheat frozen meals directly in the air fryer at 350°F for 4, 5 minutes, no thawing needed, for crisp results.
What air fryer size is best for meal prep?
For 1, 2 people, a 2, 3 quart single-basket model works well. For 3, 4 people, a 5, 6 quart single or dual-zone model is ideal. For 5+ people or bulk batch cooking, an 8, 10 quart oven-style air fryer cuts cooking rounds down to 1, 2 batches max.
How do I reheat air fryer meal prep without sogginess?
Reheat pre-cooked components at 350°F for 2, 3 minutes, no added oil needed. Avoid overcrowding the basket, and pat ingredients dry with a paper towel before reheating to remove excess moisture. For crispy results, don’t cover the basket while heating.
Do I need special containers for air fryer meal prep?
Use containers rated for both freezer and microwave use, with airtight seals to prevent freezer burn and sogginess. Avoid thin plastic containers that warp with hot food. BPA-free plastic works for fridge storage, while glass or heavy-duty silicone is best for freezer meals.

Similar Posts