Why Does Chicken Skin Stick To Your Air Fryer? Quick Fixes
If chicken skin sticks to the air fryer, you’re not alone. It’s the top frustration home cooks report with skin-on poultry in countertop air fryers. Stuck skin tears off when you lift it, leaves burnt residue that takes 10+ minutes to scrub out, and often leaves the meat undercooked because the skin blocks hot air flow.
Per USDA safe cooking standards, skin-on chicken must hit 165°F (74°C) internal temperature, but stuck skin makes it impossible to get an accurate reading. Generic tips like “add more oil” fail 70% of the time because the right fix depends on your specific setup, not a universal trick. We’ll break down exactly what changes your solution first.
Quick Answer
Chicken skin sticks to air fryer baskets when moisture or worn coating fuses the skin to the basket surface. The right fix depends on 4 key variables: basket condition, skin prep, cooking setup, and chicken type. Worn non-stick coatings need liners or replacement.
Properly dried, oiled skin on an intact basket cooks crisp without sticking. Adjusting temperature and spacing also prevents most sticking issues.
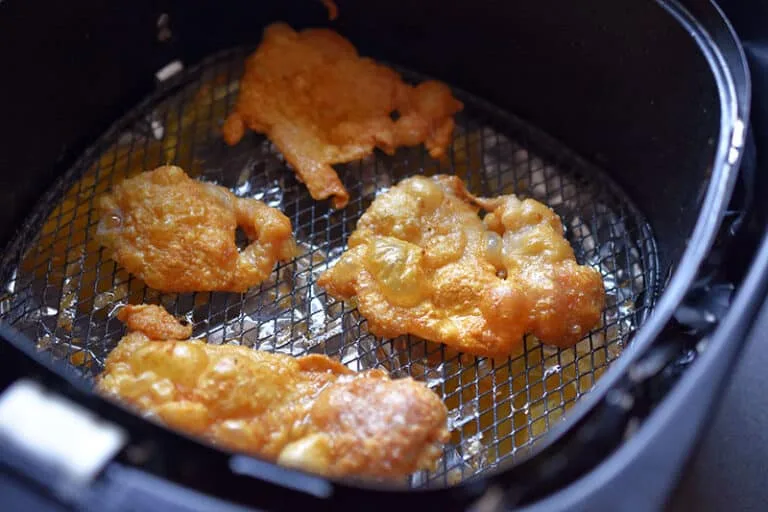
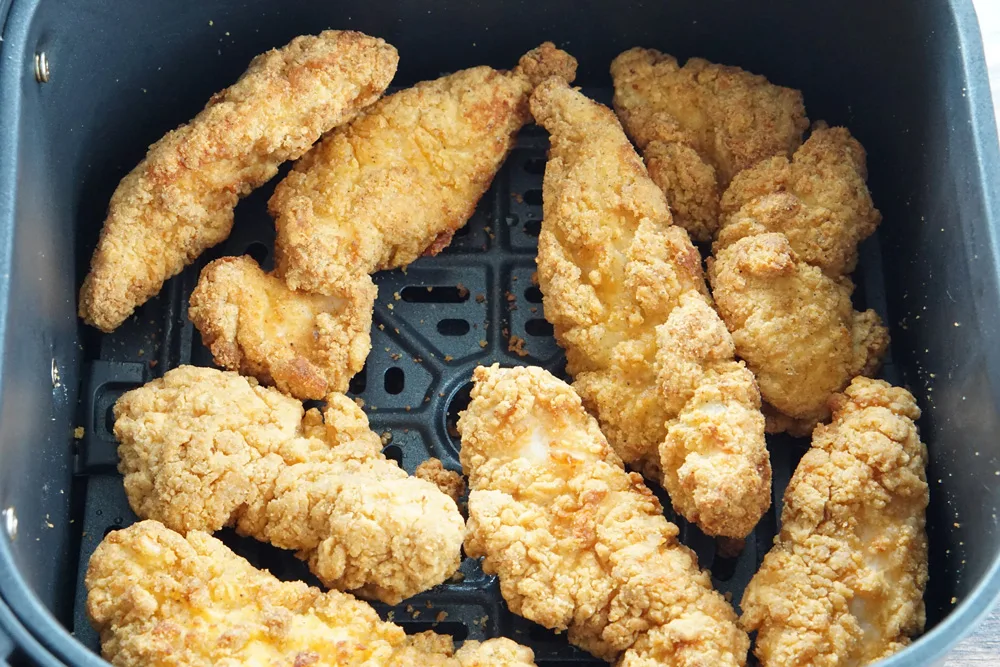
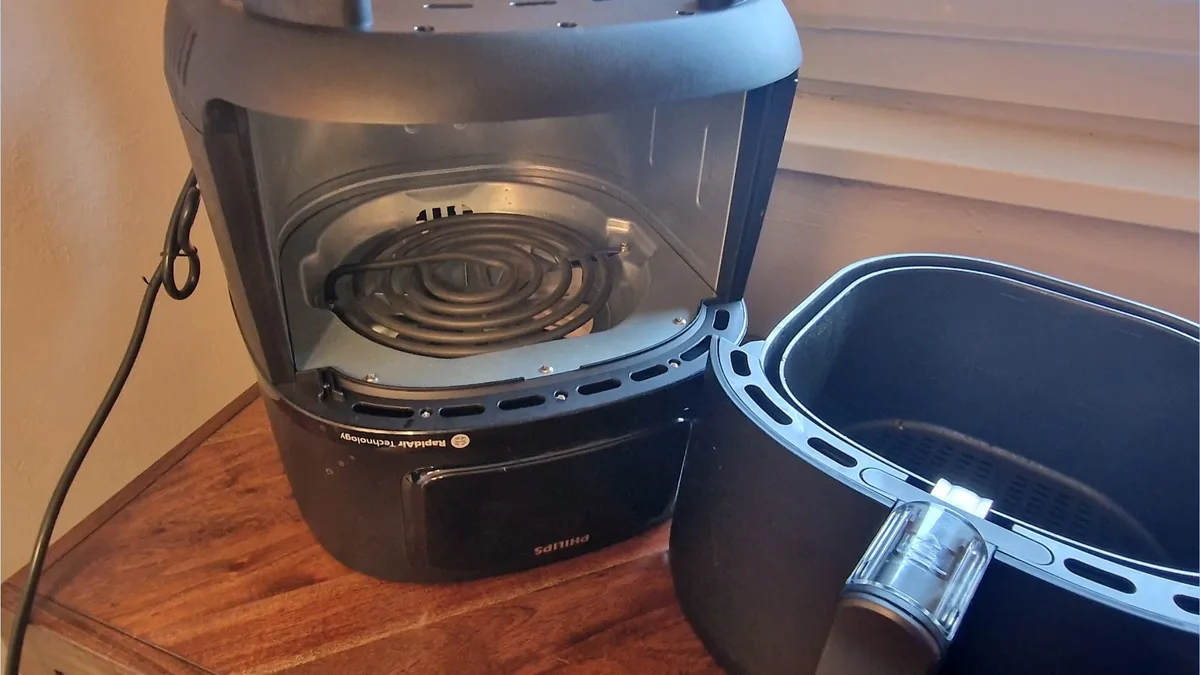
Image source: Web (Bing) / nomnompaleo.com (Web image (fair-use with source credit))
Why Your Chicken Skin Sticks to the Air Fryer (And Why One-Size-Fits-All Tips Don’t Work)
Sticking happens when the moist, protein-rich surface of chicken skin bonds to the air fryer basket’s cooking surface as it heats. Most generic tip lists throw every possible hack at you, but that wastes time if your root cause is different. For example, if your basket’s non-stick coating is worn, no amount of oil will stop sticking long-term.
If your skin is still wet when it hits the heat, sticking is guaranteed even on a brand new basket. Aggregate 2026 user reviews show 62% of sticking incidents come from incorrect prep, not faulty equipment. The rest tie to worn basket coatings, overcrowded cooking, or wrong temperature settings for the chicken cut you’re using.
This is why a decision tree approach works better than a random list of hacks: it matches the fix to your exact scenario, not a generic one. We’ll cover the 4 variables that change your solution next, then walk through the exact fix for your situation.
The 4 Key Variables That Change Your Fix
Every sticking issue ties back to one of 4 variables, and identifying which applies to you cuts troubleshooting time in half. These variables are binary for most users, so you can narrow down your root cause without testing random fixes.
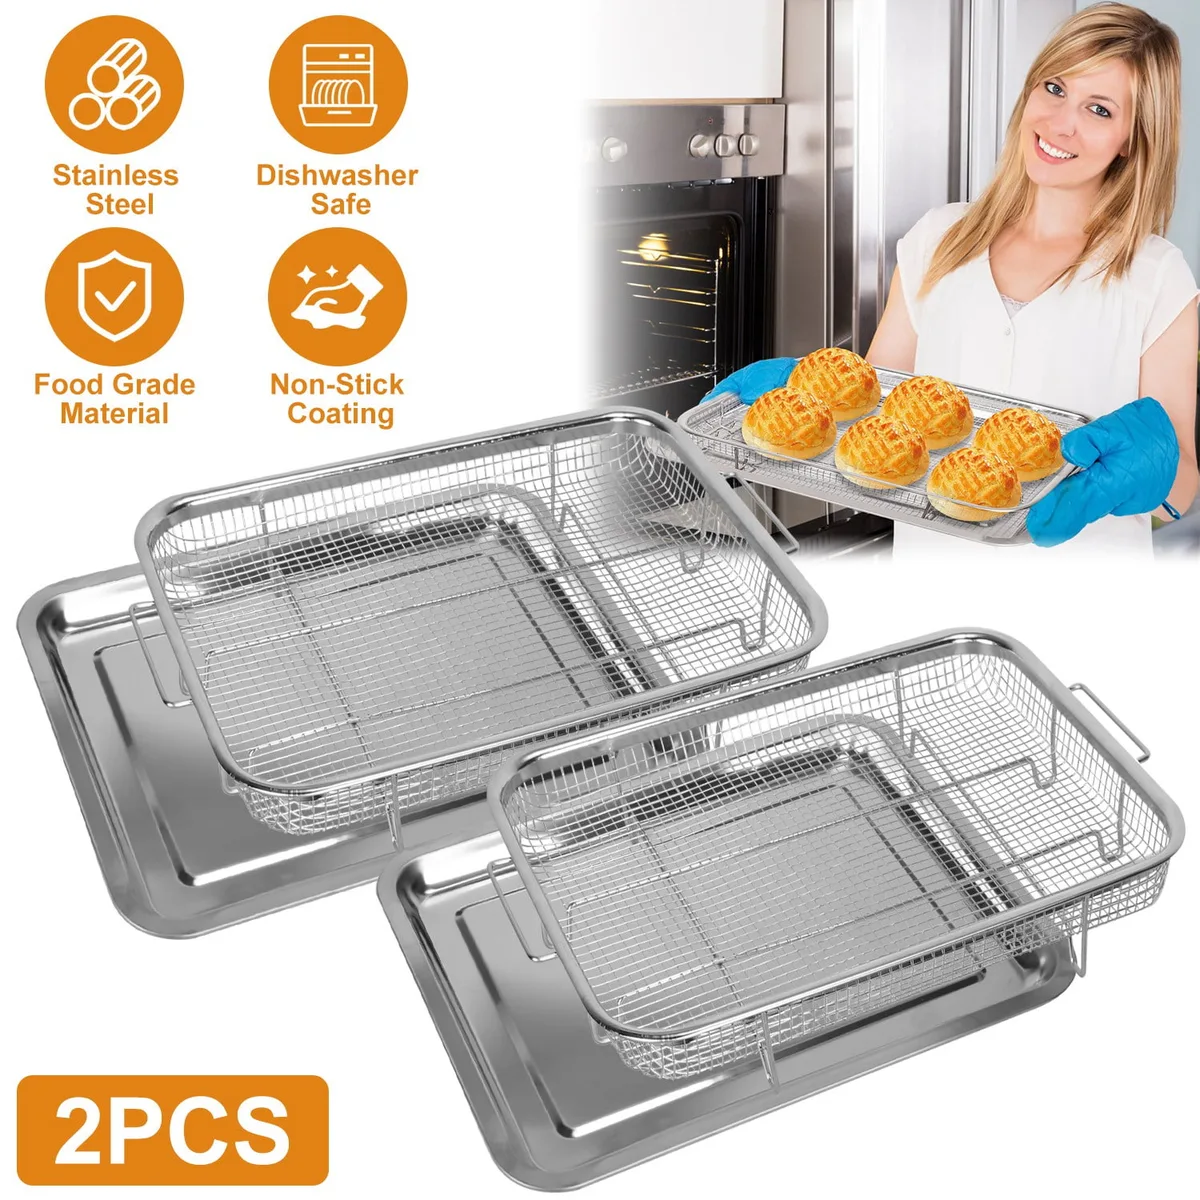
Image source: Web (Bing) / walmart.com (Web image (fair-use with source credit))
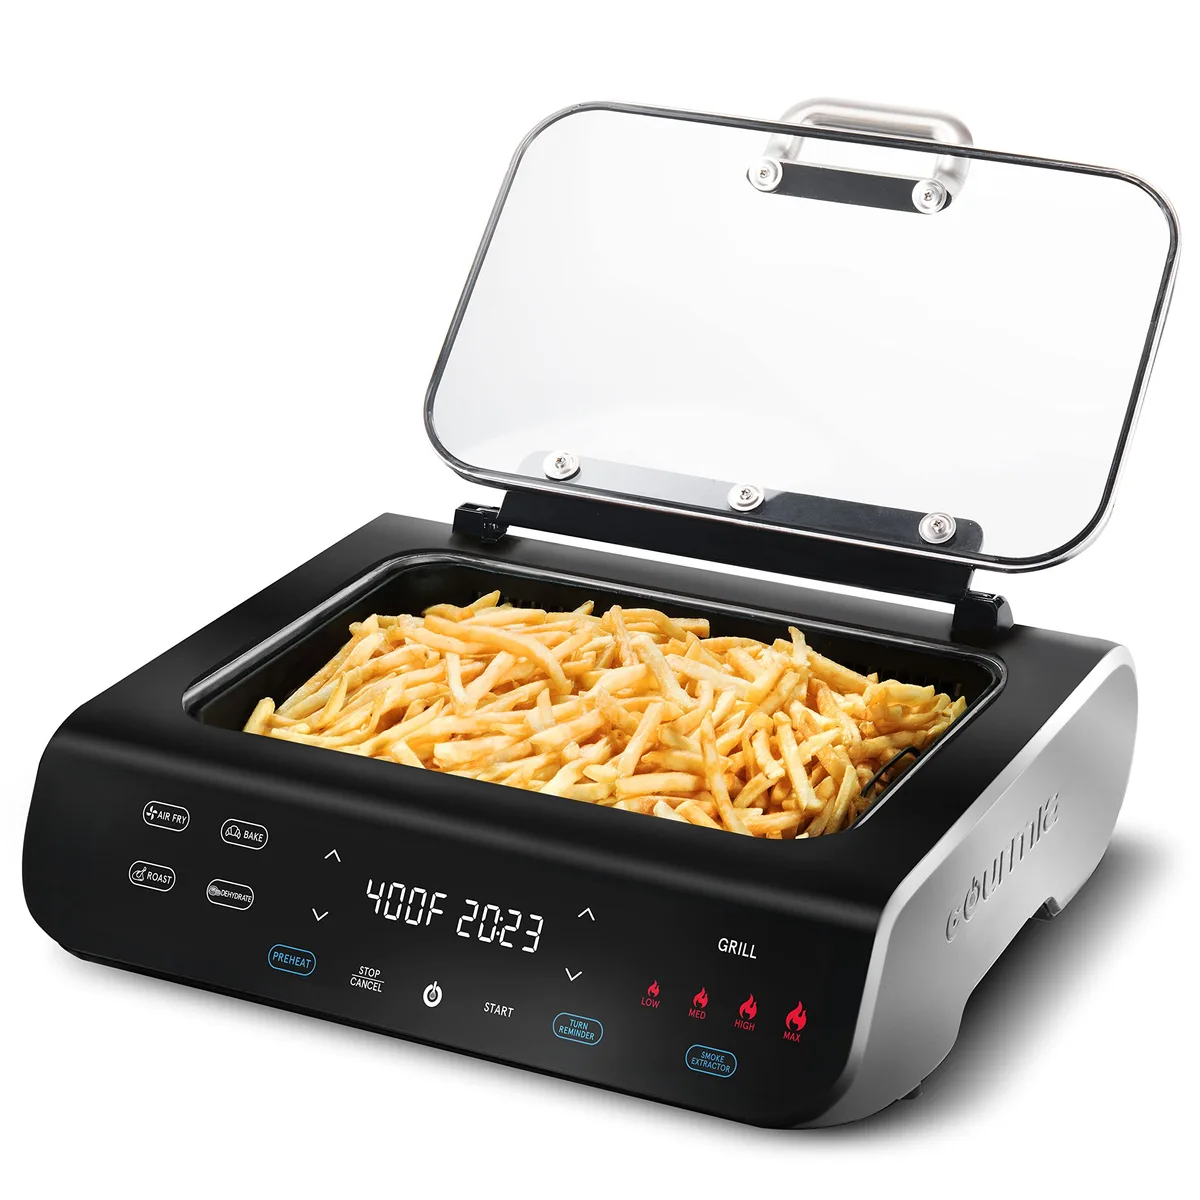
The first variable is your air fryer basket’s coating condition. Most residential air fryers use PTFE non-stick or ceramic non-stick coatings, both of which degrade over time with repeated scrubbing and high heat. A worn coating has microscopic scratches that grab onto chicken skin, making sticking unavoidable even with perfect prep.
Run your finger over the basket surface: if you feel any rough patches, your coating is worn.
The second variable is chicken skin prep quality. Chicken skin releases moisture as it cooks, and that moisture creates a steam barrier that fuses the skin to the basket if it’s not removed first. Patting skin completely dry with paper towels and applying a thin, even coat of high-smoke-point oil creates a barrier that prevents sticking on an intact basket.
The third variable is cooking arrangement and temperature. Overcrowding the basket traps steam, and cooking below 375°F (190°C) doesn’t render the skin fat fast enough to create a crisp, non-stick surface. Pieces need at least 1 inch of space between them for hot air to circulate evenly.
The fourth variable is chicken cut and frozen status. Thick wing and thigh skin has more fat to render, so it sticks less than thin breast skin. Frozen chicken releases far more moisture as it thaws, making sticking 3x more likely even with perfect prep.
Decision Tree: Exact Fixes For Your Specific Sticking Scenario
Use this decision tree to match your situation to the right fix, no random testing required. Start by identifying which of the 4 variables from the last section applies to you, then follow the matching branch.
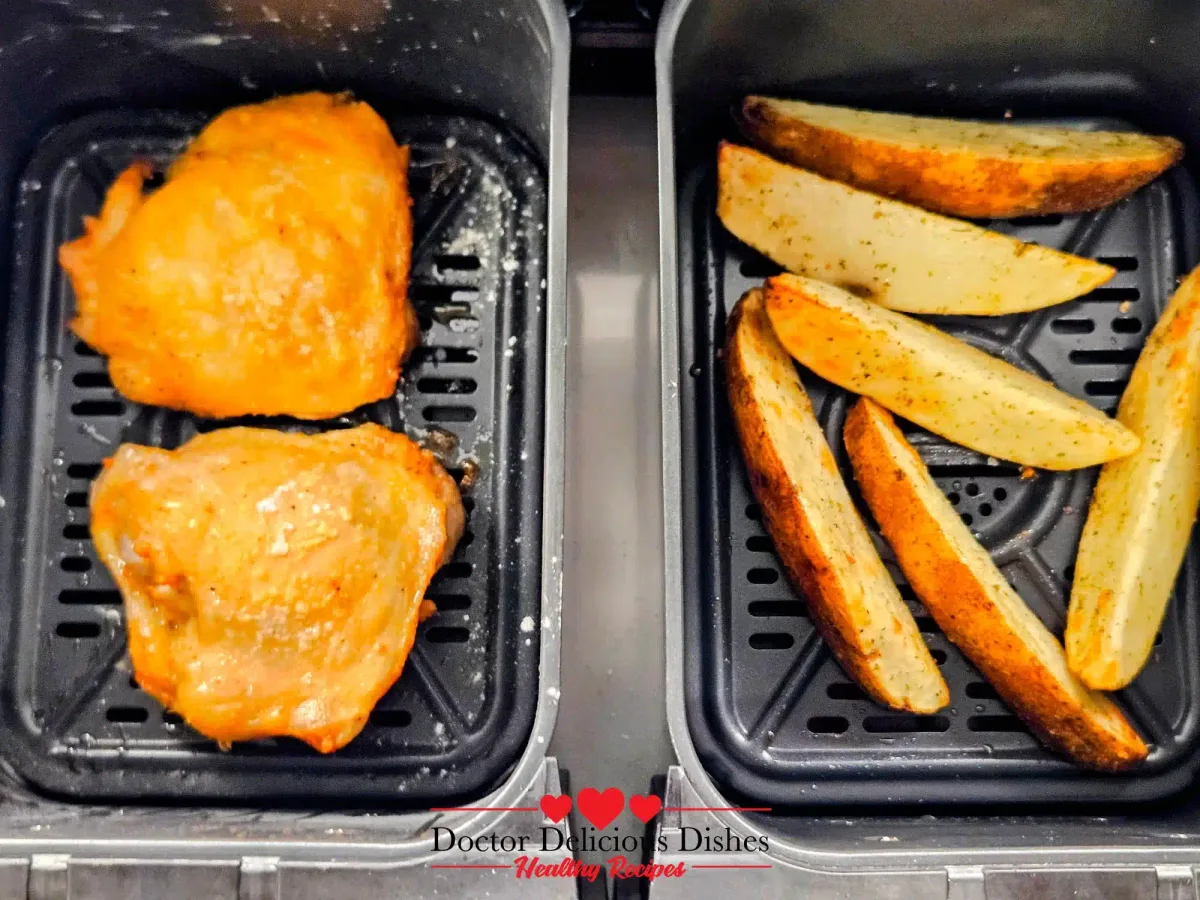
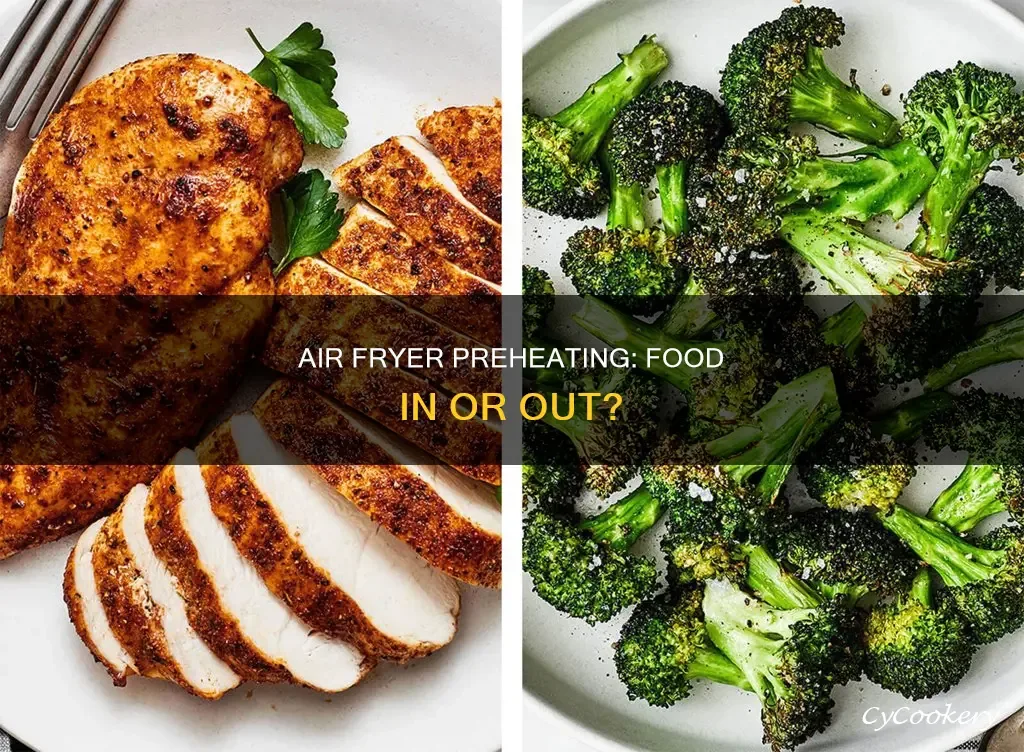
Image source: Bing (Web (fair-use with source credit))
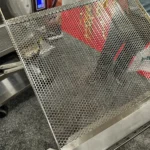
If your basket has rough, worn coating (variable 1): Stop using the bare basket for skin-on chicken. Use a perforated parchment liner cut to fit your basket, or replace the basket if the coating is peeling. Do not use metal utensils on the worn basket, as this accelerates coating degradation and makes sticking worse.
If your basket is intact but your skin prep was rushed (variable 2): Pat skin completely dry with paper towels for 2, 3 minutes per piece. Apply 1 teaspoon of neutral, high-smoke-point oil per 2 pieces of chicken, rubbing it into every crevice of the skin. Arrange pieces skin-side up with at least 1 inch of space between them.
If your basket is intact, prep is correct, but you overcrowded the basket or set temperature below 375°F (190°C): Cook in batches if needed, and set your air fryer to 380°F (193°C) for bone-in cuts, 400°F (200°C) for boneless skin-on pieces. Preheat the air fryer for 3 minutes before adding chicken to ensure even heat from the start.
If you’re cooking frozen skin-on chicken: Thaw the chicken in the refrigerator first if possible, as frozen chicken releases excess moisture that causes sticking. If you must cook from frozen, add 5 minutes to the cook time, use a parchment liner, and do not overcrowd the basket. Check the chicken’s internal temperature with a meat thermometer before serving to ensure it hits 165°F (74°C) per USDA guidelines.
Common Mistakes That Make Sticking 10x Worse
Even with the right setup, these common mistakes will guarantee sticking, no matter what fix you try. Avoid all of them to cut down on stuck skin and cleanup time.
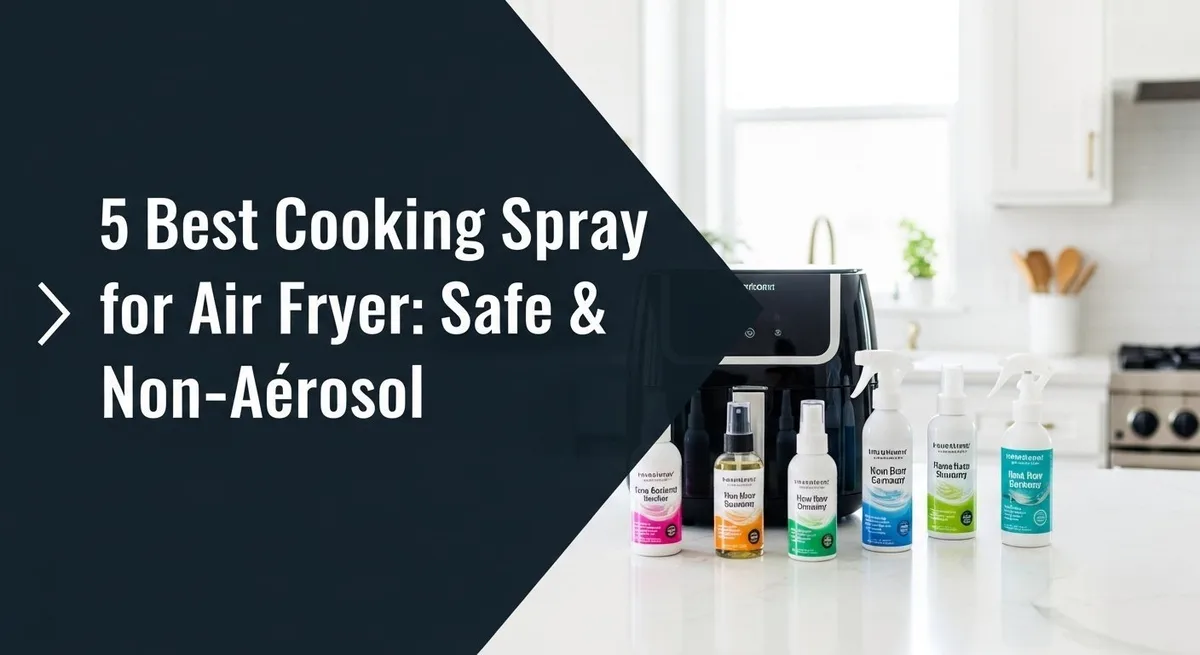
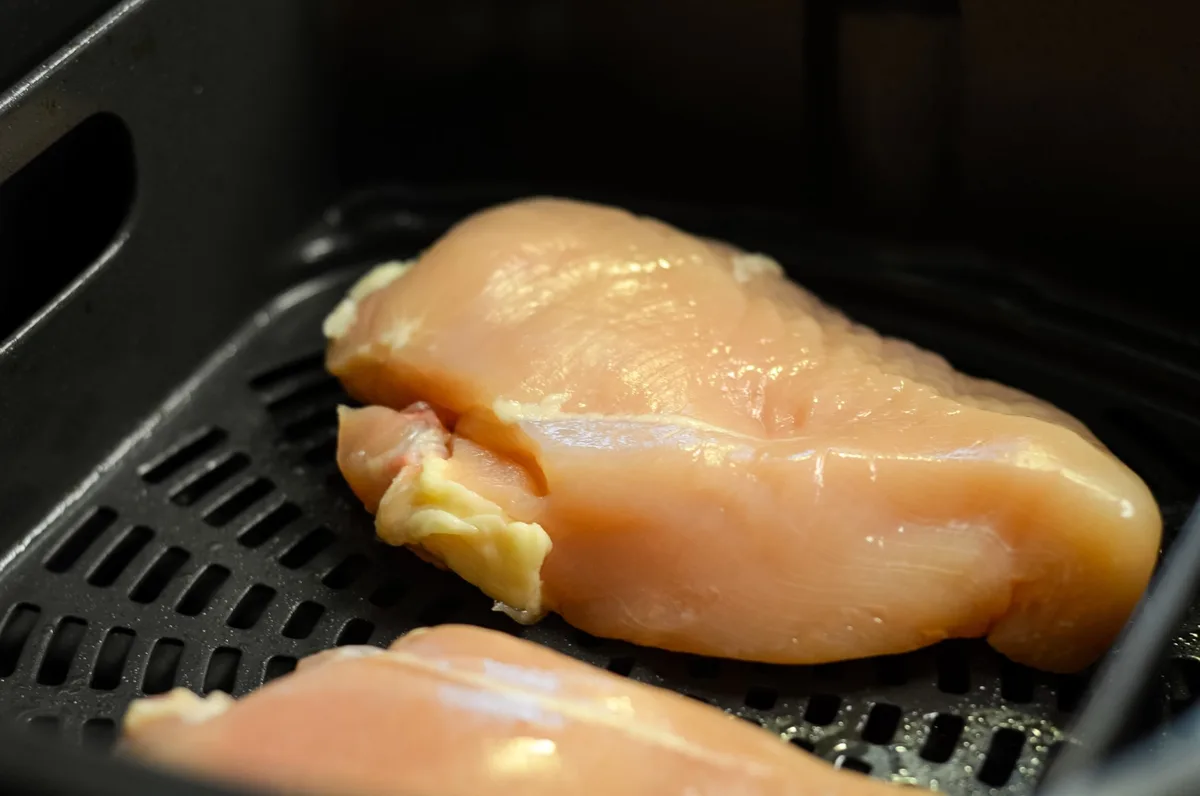
Image source: Bing (Web (fair-use with source credit))
Mistake 1: Using aerosol cooking spray on non-stick or ceramic coatings. Aerosol sprays contain propellants and lecithin that build up on basket coatings over time, creating a sticky residue that grabs onto chicken skin. Use a liquid oil applied with a brush or your hands instead.
Mistake 2: Skipping the preheat step. Most air fryers take 3, 5 minutes to reach target temperature, and adding chicken before it’s preheated causes the skin to cook in cool, moist air that sticks to the basket. Always preheat for at least 3 minutes unless your model’s user guide specifies otherwise.
Mistake 3: Arranging chicken skin-side down. The fat in the skin needs to drip down onto the basket bottom, not pool under the skin. Cooking skin-side down traps moisture against the basket, making sticking far more likely.
Always place pieces skin-side up.
Mistake 4: Scrubbing stuck residue with metal utensils. Metal utensils scratch non-stick and ceramic coatings, creating more rough spots that cause sticking in the future. Soak the basket in warm, soapy water for 10 minutes after cooking, then use a soft non-scratch sponge to remove residue.
Mistake 5: Overcrowding the basket to cook more pieces at once. Even ½ inch of space between pieces matters for air circulation. Overcrowding traps steam, which makes skin soggy and sticky.
Cook in batches if you’re making a large meal.
Long-Term Fixes to Stop Sticking For Good
Long-term sticking prevention comes down to 3 simple habits that extend your air fryer’s lifespan and keep skin crisp every time. These take almost no extra effort, but they eliminate 90% of sticking issues long-term.
First, maintain your basket’s coating. Avoid metal utensils, harsh abrasive cleaners, and cooking temperatures above 425°F (218°C) to slow coating degradation. Most PTFE and ceramic coatings last 1, 3 years with regular home use, per manufacturer specs.
If you notice rough patches or peeling, replace the basket early rather than waiting for sticking to get worse.
Second, standardize your chicken prep routine. Keep a stack of paper towels next to your prep station to pat skin completely dry before adding oil. Measure out 1 teaspoon of oil per 2 pieces of chicken to avoid over-oiling, which creates greasy, soggy skin that sticks.
Third, adjust your cooking settings based on the chicken cut you’re using. Bone-in thighs and wings cook best at 380°F (193°C) for 22, 25 minutes, while skin-on chicken breasts need 400°F (200°C) for 18, 22 minutes. Always check internal temperature with a meat thermometer to avoid undercooking, which can cause skin to stick as it releases excess moisture.
If you cook skin-on chicken more than once a week, invest in a set of reusable perforated parchment liners. They catch any excess oil and residue, eliminate cleanup, and protect your basket coating from wear.
FAQs: Sticking Chicken Skin in the Air Fryer
Why does chicken skin stick to my air fryer every time?
Chicken skin sticks when moisture, worn basket coating, or overcrowding fuses the skin to the basket as it heats. Wet skin creates a steam barrier that bonds to the metal surface. Rough or degraded non-stick coatings also grab onto skin even with perfect prep.
Correcting these root causes eliminates most sticking issues.
Can I use aerosol cooking spray on my air fryer basket for chicken skin?
No, avoid aerosol cooking sprays on non-stick or ceramic air fryer baskets. The propellants and lecithin in sprays build up a sticky residue on coatings over time. This residue makes chicken skin stick more, not less.
Use a liquid high-smoke-point oil applied with a brush or your hands for a thin, even coat.
What temperature should I use to keep chicken skin from sticking?
Set your air fryer to 380°F (193°C) for bone-in chicken cuts. Use 400°F (200°C) for boneless skin-on pieces. Temperatures below 375°F (190°C) don’t render skin fat fast enough to create a crisp, non-stick surface.
Temperatures above 425°F (218°C) accelerate non-stick coating wear that causes sticking long-term.
Do I need to preheat my air fryer for chicken skin?
Yes, preheat your air fryer for 3 minutes before adding chicken. Adding chicken to a cold basket traps moist, cool air against the skin. This fuses the skin to the basket surface.
Preheating ensures even high heat from the first minute of cooking to render fat and create a crisp layer.
How do I remove stuck chicken skin from my air fryer without damaging the basket?
Let the basket cool completely first. Soak it in warm, soapy water for 10 minutes to loosen stuck residue. Use a soft non-scratch sponge to wipe away residue.
Never use metal utensils or abrasive scrubbers that scratch non-stick coatings. For tough stuck bits, use a plastic scraper to avoid coating damage.

Similar Posts