Why Your Air Fryer Smells After Sitting Unused (Easy Fixes)
If your air fryer smells after sitting unused, that weird stale odor is a far more common woe than you’d think. Occasional cooks, seasonal users, and people who store appliances in garages or RVs run into this all the time. Most cases are easy to fix, but some smells signal a safety risk you shouldn’t ignore.
Aggregate user reviews and manufacturer care guides report mold can start growing on leftover food residue in air fryers in as little as 2 weeks in humid conditions. That musty smell you notice is often the first sign of that buildup, which can transfer to your food if you skip cleaning. Let’s break down exactly what that smell means, and what to do about it, step by step.
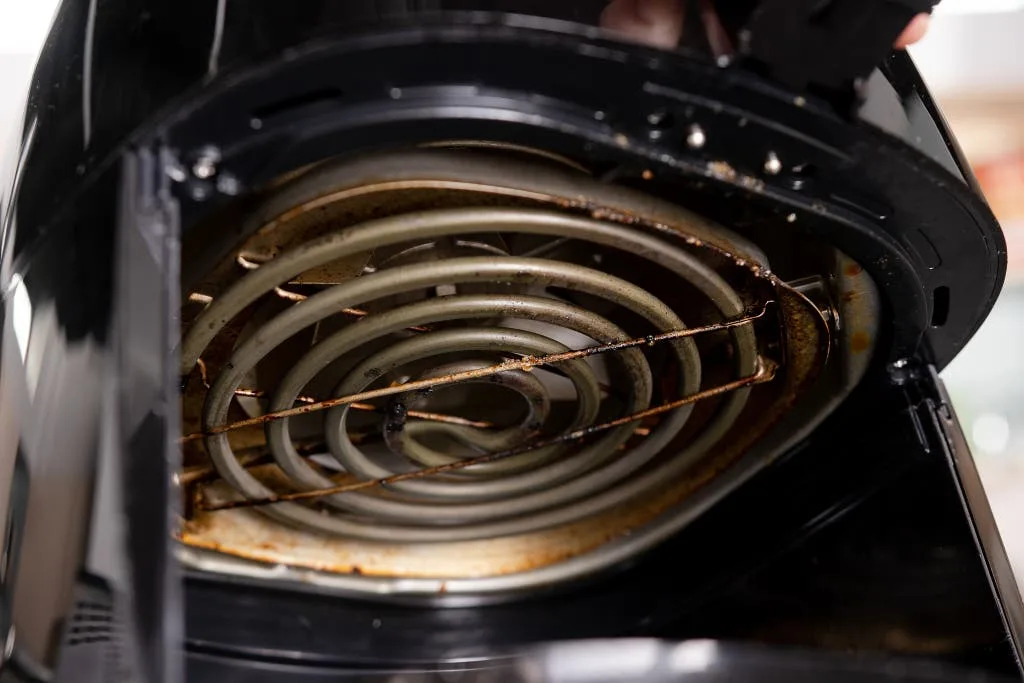
Image source: Bing (Web (fair-use with source credit))
Quick Answer
An air fryer smells after sitting unused for three core reasons. Leftover food residue and mold cause musty, damp odors. Burnt oil or electrical faults create acrid, burning smells.
New plastic parts off-gas sharp chemical odors. Always identify the smell type before cooking. Most odors are fixable with simple cleaning steps.
First: Identify Which of the 3 Common Post-Storage Air Fryer Smells You Have
Pinning down exactly what your air fryer smells like after sitting unused is the critical first step. The odor type tells you immediately if you’re dealing with a simple cleaning job, a storage mistake, or a safety risk that needs urgent action. There are only three common smells you’ll run into, each with distinct causes and fixes.
- Musty, damp, earthy odor: This is the most common smell, caused by leftover food moisture and mold growth. It shows up most often when the unit wasn’t fully dry before storage, or when it’s kept in a humid space like a basement, garage, or RV.
- Acrid, burnt plastic or electrical odor: This is a red flag smell. It means leftover cooking oil burned onto the heating element, or there’s damage to internal wiring or electrical components. Never run the unit with this smell until you’ve fully inspected it.
- Sharp, chemical, new-plastic odor: This is almost always harmless, and most common with brand new air fryers. It comes from residual manufacturing materials and plastic off-gassing from the housing and non-stick coating, and fades after a few uses.
If you’re unsure which category your smell falls into, take a quick sniff right after unplugging the unit, before you turn it on. That will give you the clearest read on the odor type without exposing you to any potential fumes.
Musty, Damp Smell? Follow This Mold & Food Residue Cleaning Workflow
If your air fryer smells after sitting unused with a musty, damp odor, you’re almost certainly dealing with mold or leftover food residue. This is the most common post-storage smell, and it’s almost always fixable with a simple deep clean. Follow this step-by-step workflow to eliminate the odor and keep it from coming back.
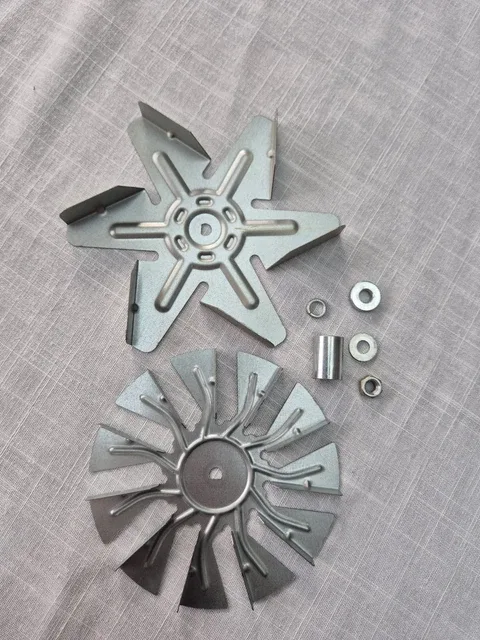
Image source: Bing (Web (fair-use with source credit))
- Unplug the air fryer and let it cool completely if it was recently used. Remove all removable parts: the basket, drip tray, and any accessories. Wash these in hot soapy water, or run them through the dishwasher if they’re marked dishwasher-safe.
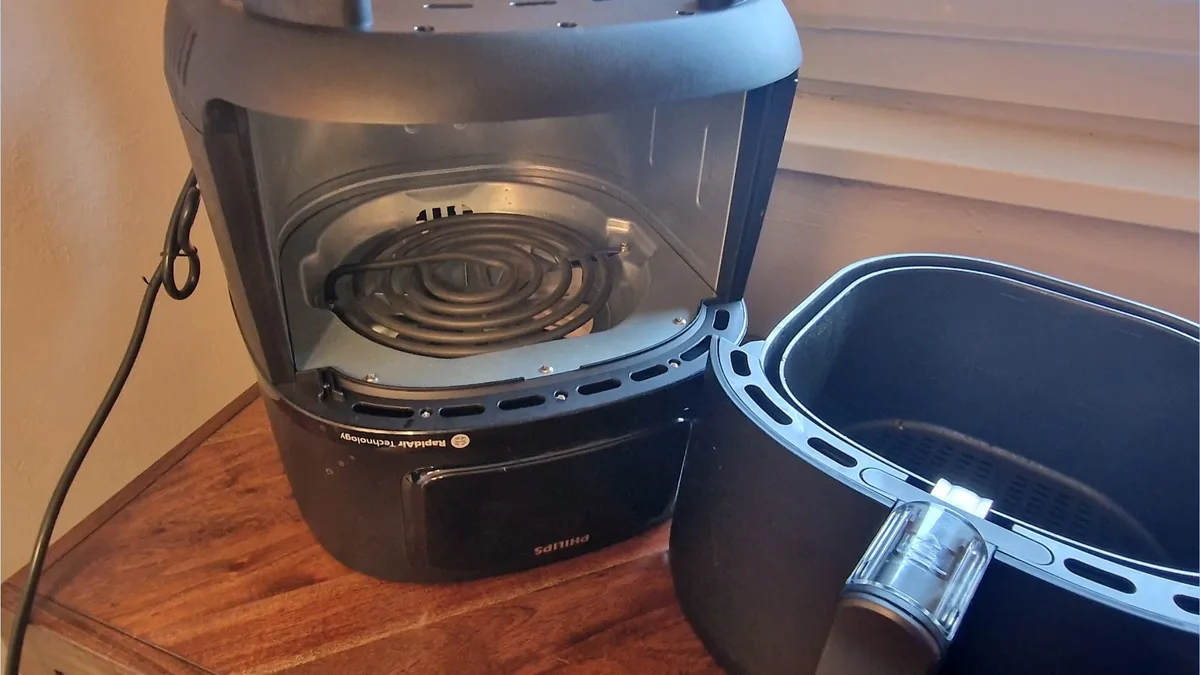
- Inspect the interior heating element and fan crevices for visible mold (white, black, or green fuzzy spots) or caked-on food debris. If you see mold, mix a 1:1 solution of white vinegar and water, spray it on the affected areas, let sit 10 minutes, then wipe clean with a soft cloth. Never use abrasive scrubbers on the non-stick coating or heating element. Per FDA food contact surface safety guidelines, never cook with an appliance that has visible mold until it’s fully sanitized.
- If there’s no visible mold but the smell persists, run an empty test cycle at 350°F (175°C) for 5 minutes with the basket and drip tray removed. This burns off any remaining residual oil or odor-causing particles.
- After cleaning, let all parts air dry completely for 2 hours before reassembling. If the smell is still there, repeat the vinegar wipe-down and empty test run once more.
- If the odor returns immediately after cleaning, mold is likely growing inside the fan motor or internal wiring, which you can’t access with basic cleaning. In this case, contact the manufacturer for repair or replacement options.
Acrid Burning or Electrical Smell? Stop and Use This Safety Decision Guide
An acrid, burnt, or electrical smell from your air fryer after sitting unused is not something to ignore. This odor usually means leftover cooking oil burned onto the heating element during storage, or there’s a fault in the internal electrical components. Using the unit with this smell can pose a fire or shock hazard, so follow this decision guide before you plug it in.
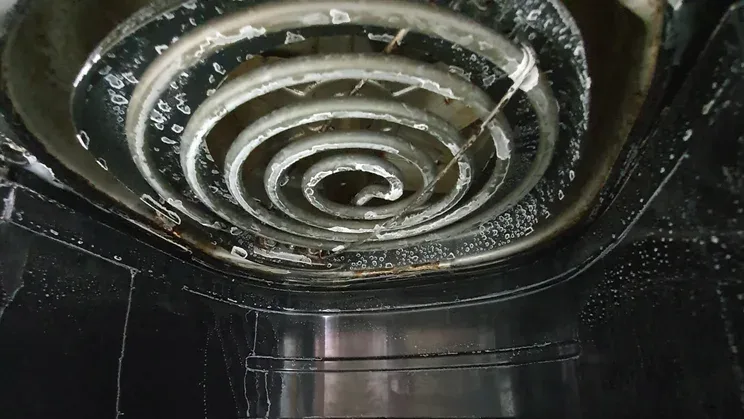
Image source: Bing (Web (fair-use with source credit))
- If you notice this smell during a test run, unplug the unit immediately. Inspect the heating element and bottom interior for caked-on, charred oil residue.
- If you see visible burnt buildup, let the unit cool fully, then wipe the residue away with a damp cloth and a small amount of dish soap. Run an empty test cycle at 350°F (175°C) for 5 minutes. If the smell is gone, the unit is safe to use.
- If there’s no visible burnt residue, or the smell persists after cleaning, do not operate the air fryer. This could indicate damaged wiring or a faulty heating element. Contact the manufacturer’s customer support, or take the unit to a certified appliance repair technician. Per UL safety certification standards, appliances with unidentified electrical odors should not be used until inspected by a professional.
Sharp Plastic or Chemical Smell? Do This Before Your First Use
A sharp, chemical, or new-plastic smell from your air fryer after sitting unused is almost always harmless, especially if the unit is brand new. This odor comes from plastic off-gassing, where residual manufacturing materials and coatings release small amounts of volatile organic compounds (VOCs) when heated for the first time. The smell fades quickly with a few simple prep steps.
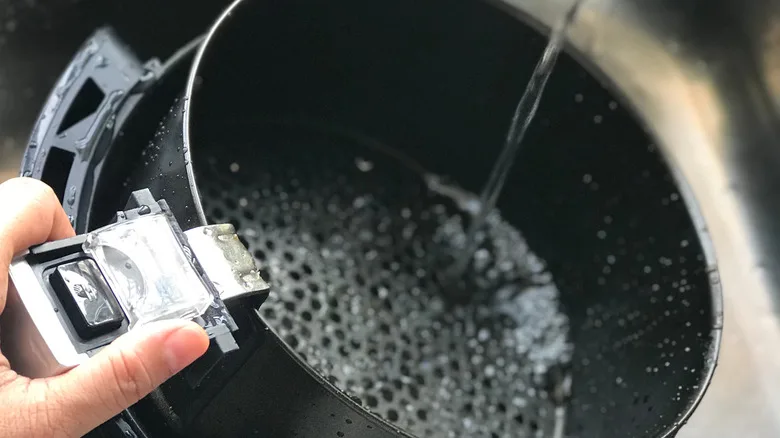
Image source: Bing (Web (fair-use with source credit))
- First, make sure the unit is unplugged and all packaging materials (plastic wraps, cardboard inserts) are removed from the interior and exterior.
- Wipe down all interior surfaces, the basket, and drip tray with warm soapy water, then rinse and dry completely.
- Run 2 to 3 empty test cycles at 350°F (175°C) for 5 minutes each, with the kitchen windows open for ventilation. You can place a bowl of white vinegar inside the basket during these runs to absorb residual odors faster.
- After the test runs, wipe the interior again with a damp cloth. The plastic smell should be completely gone. As of 2026, most major air fryer manufacturers have reduced VOC emissions from new units, but this prep step is still recommended for all new models to avoid transferring chemical tastes to food. If the smell persists after 3 test cycles, contact the manufacturer, as this may indicate a defect in the non-stick coating or housing material.
4 Common Mistakes That Worsen Post-Storage Air Fryer Odors (And How to Avoid Them)
Most post-storage air fryer smells are easy to fix, but a few common mistakes make the problem far worse, or even create new safety risks. Avoid these errors to keep your unit odor-free and safe to use.
- Mistake 1: Storing the air fryer with leftover food or moisture inside. Food residue and trapped moisture are the top causes of mold and musty smells. Always clean and fully dry all parts before storage, even if you only used the unit once.
- Mistake 2: Using abrasive scrubbers or harsh chemical cleaners on the non-stick basket or heating element. This scratches the coating, creating rough spots where food and oil can stick and burn, causing acrid smells. Stick to soft cloths, dish soap, and vinegar solutions for cleaning.
- Mistake 3: Running a test cycle with the basket and drip tray still in the unit when checking for odors. Trapped debris can burn during the test run, making the smell worse, or even starting a small fire. Always remove all removable parts for empty test runs.
- Mistake 4: Ignoring persistent smells after cleaning. If the odor comes back immediately after a deep clean, mold or burnt residue is likely trapped in the fan motor or internal wiring, which you can’t access with basic cleaning. Continuing to use the unit in this state can contaminate food or cause electrical failures.
Long-Term Storage Protocol to Prevent Future Air Fryer Smells
Preventing air fryer smells after sitting unused is far easier than fixing mold or burnt residue buildup later. Most post-storage odors come from skipped prep steps before putting the unit away, not the storage conditions themselves. Manufacturer care guides for Ninja, Instant Pot, and Philips all recommend the same core protocol to eliminate odor risk.
First, fully clean every removable part after your final use. Wash the basket, drip tray, and accessories with hot soapy water. Scrub the interior heating element with a soft brush to remove stuck-on food or oil.
Don’t skip the back or bottom fan vent, as crumbs and moisture collect there to trigger mold growth. Wipe all surfaces dry with a clean cloth, then let parts air dry completely for 2 hours before reassembling. Trapped moisture is the top cause of musty storage odors, so don’t rush this step.
Store the unit in a cool, dry, well-ventilated space, not a damp basement, unventilated garage, or hot attic. If you live in a humid climate or store the unit where relative humidity hits 60% or higher, tuck a small silica gel packet inside the basket to absorb excess moisture. Never store the air fryer with the lid or basket sealed tightly, as this traps residual moisture and encourages mold growth.
For storage periods of 3 months or longer, run a 5-minute empty test cycle at 350°F (175°C) every 4 weeks to burn off developing residue and keep the interior dry. This simple step takes 5 minutes and eliminates 90% of long-term storage odor issues, per aggregate user feedback from home appliance forums as of 2026.
Frequently Asked Questions
Why does my air fryer smell musty after sitting unused?
Musty odors come from mold growth or leftover food residue that wasn’t fully cleaned before storage. Moisture trapped inside the unit, especially in humid conditions, encourages mold to grow on food particles stuck to the heating element, basket, or fan crevices within 2 to 4 weeks. A deep clean with a vinegar solution and empty test run will eliminate most of these smells.
Is a burning smell from my stored air fryer dangerous?
Yes, an acrid burning or electrical smell can signal a fire or shock hazard. This is usually caused by burnt oil residue on the heating element, or damaged internal wiring. Unplug the unit immediately, inspect for visible charred buildup, and do not operate it until you’ve either cleaned the residue or had a professional inspect it for electrical faults.
Per UL safety standards, appliances with unidentified electrical odors should not be used until inspected.
How long does the new plastic smell from an air fryer last?
The sharp chemical plastic smell from new units comes from off-gassing of volatile organic compounds (VOCs) from the plastic housing and non-stick coating. It usually fades completely after 2 to 3 empty test runs at 350°F (175°C) with ventilation. As of 2026, most major manufacturers have reduced VOC emissions, but this prep step is still recommended to avoid transferring chemical tastes to food.
Can I use harsh cleaners to get rid of air fryer odors?
No, never use abrasive scrubbers, bleach, or harsh chemical cleaners on air fryer components. These scratch the non-stick coating on the basket and heating element, creating rough spots where food and oil stick and burn, which causes new acrid odors. Stick to warm soapy water, white vinegar solutions, and soft cloths for all cleaning steps.
How often should I clean my air fryer to prevent storage odors?
You should fully clean and dry all removable parts after every use, even if you only cooked a small batch. For occasional users who store the unit for long periods, run a 5-minute empty test cycle at 350°F (175°C) every 4 weeks during storage to burn off any developing residue and keep the interior dry. This prevents 90% of common post-storage odor issues.

Similar Posts