Air Fryer Sweet Potato Cubes Recipe
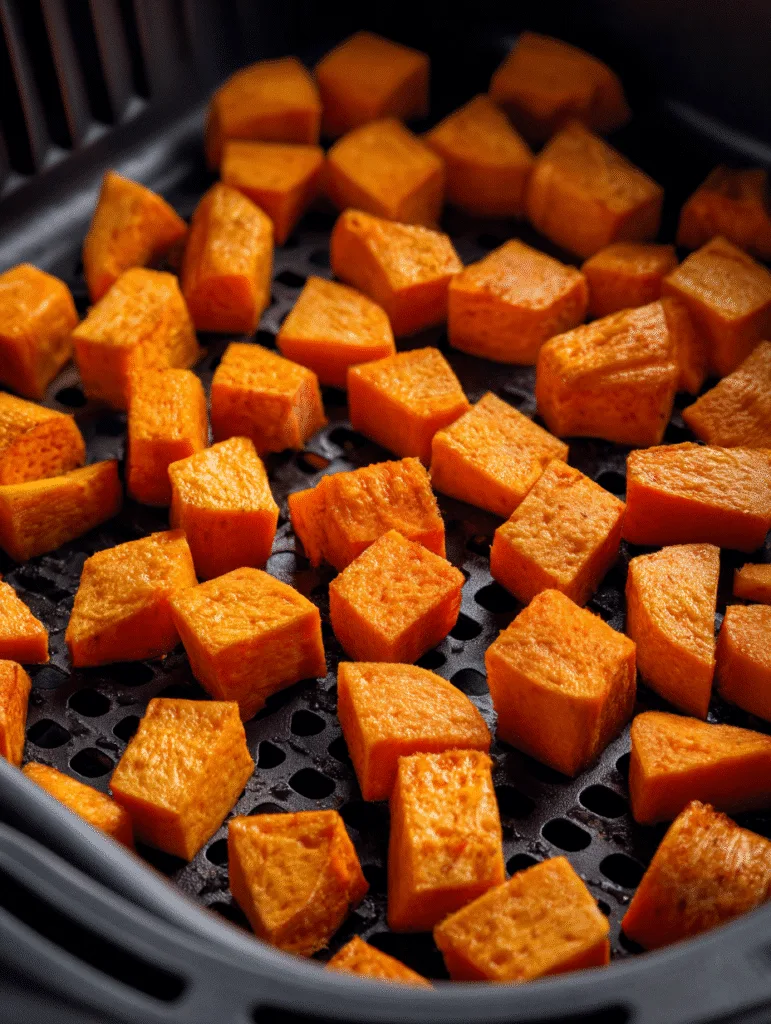
Image source: Web (Bing) / airfryerdiaries.com (Web image (fair-use with source credit))
Air fryer sweet potatoes cubes are one of those side dishes that feel like a magic trick. You get all the caramelized, crispy-edged goodness of oven roasting in a fraction of the time, with way less mess and oil. But if you've ever ended up with a batch that's burnt on the outside and raw in the middle, or frustratingly soggy, you know the trick isn't foolproof.
It's all about a few key visual and textural details that make all the difference.
Our research into dozens of recipes and user reports points to a consistent sweet spot: cooking at 375°F to 400°F for 12 to 20 minutes, depending on your cube size. The most common mistake isn't the time or temperature, though. It's failing to recognize the visual cues for doneness and texture that separate good cubes from great ones.
Let's look at what perfect really means and how to get there every time.
Quick Answer
For perfect air fryer sweet potato cubes, cut them into uniform ¾-inch pieces. Toss them in a little oil and seasonings. Cook in a preheated air fryer at 400°F for 15 to 18 minutes.
Shake the basket halfway through. They're done when the edges are crispy and golden brown and a fork pierces the center easily.
Why Sweet Potato Cubes Are a Perfect Air Fryer Match
The air fryer's superpower is its concentrated, high-velocity hot air. This is convection cooking on overdrive. For dense, starchy vegetables like sweet potatoes, that's a game-changer.
The hot air rapidly evaporates surface moisture, which is the first step to getting a crisp exterior. At the same time, it heats the cubes evenly from all sides, promoting that tender, fluffy interior we all love.
Oven roasting can achieve similar results, but it takes longer and often requires more oil to prevent sticking. The air fryer basket's perforations allow moisture to escape more efficiently than a sheet pan. This means you get more caramelization and crispness with less effort and energy.
It's an ideal method for a quick weeknight side or for meal prepping a versatile ingredient you can use all week.
The Visual Goal: What "Perfect" Cubes Should Look and Feel Like
You can't hit a target you can't see. Before you even turn on your appliance, know what you're aiming for. Perfect air fryer sweet potato cubes have a specific look and feel that signals success.
Recognizing Golden-Brown, Crispy-Edged Success
The color is your first clue. You're looking for a rich, appetizing golden brown, not a pale yellow or a dark, blackened char. This golden hue comes from caramelization, where the natural sugars in the sweet potato brown and develop complex flavors.
The edges should be slightly darker and visibly crisp. They shouldn't look wet or steamed. A perfectly cooked cube will have a slightly matte, textured surface from the crisping process, not a shiny, oily one.
The Texture Test: Tender Inside, Crispy Outside
The texture is a two-part harmony. When you pick up a cube, it should feel firm and hold its shape, not mushy. If you gently squeeze it between your fingers (careful, it's hot!), you should feel a slight resistance from the crispy shell.
The real test is biting into one or piercing it with a fork. The exterior should give a satisfying, subtle crunch. The interior should be uniformly soft, fluffy, and creamy all the way through, no hard, undercooked center.
If it's dry or chalky inside, it's overcooked. If it's hard, it needs more time.
Your Foundation: Choosing the Right Sweet Potato and Cube Size
Your final result is directly tied to your starting ingredients. Not all sweet potatoes are created equal, and their size and variety will influence your cooking time and final texture.
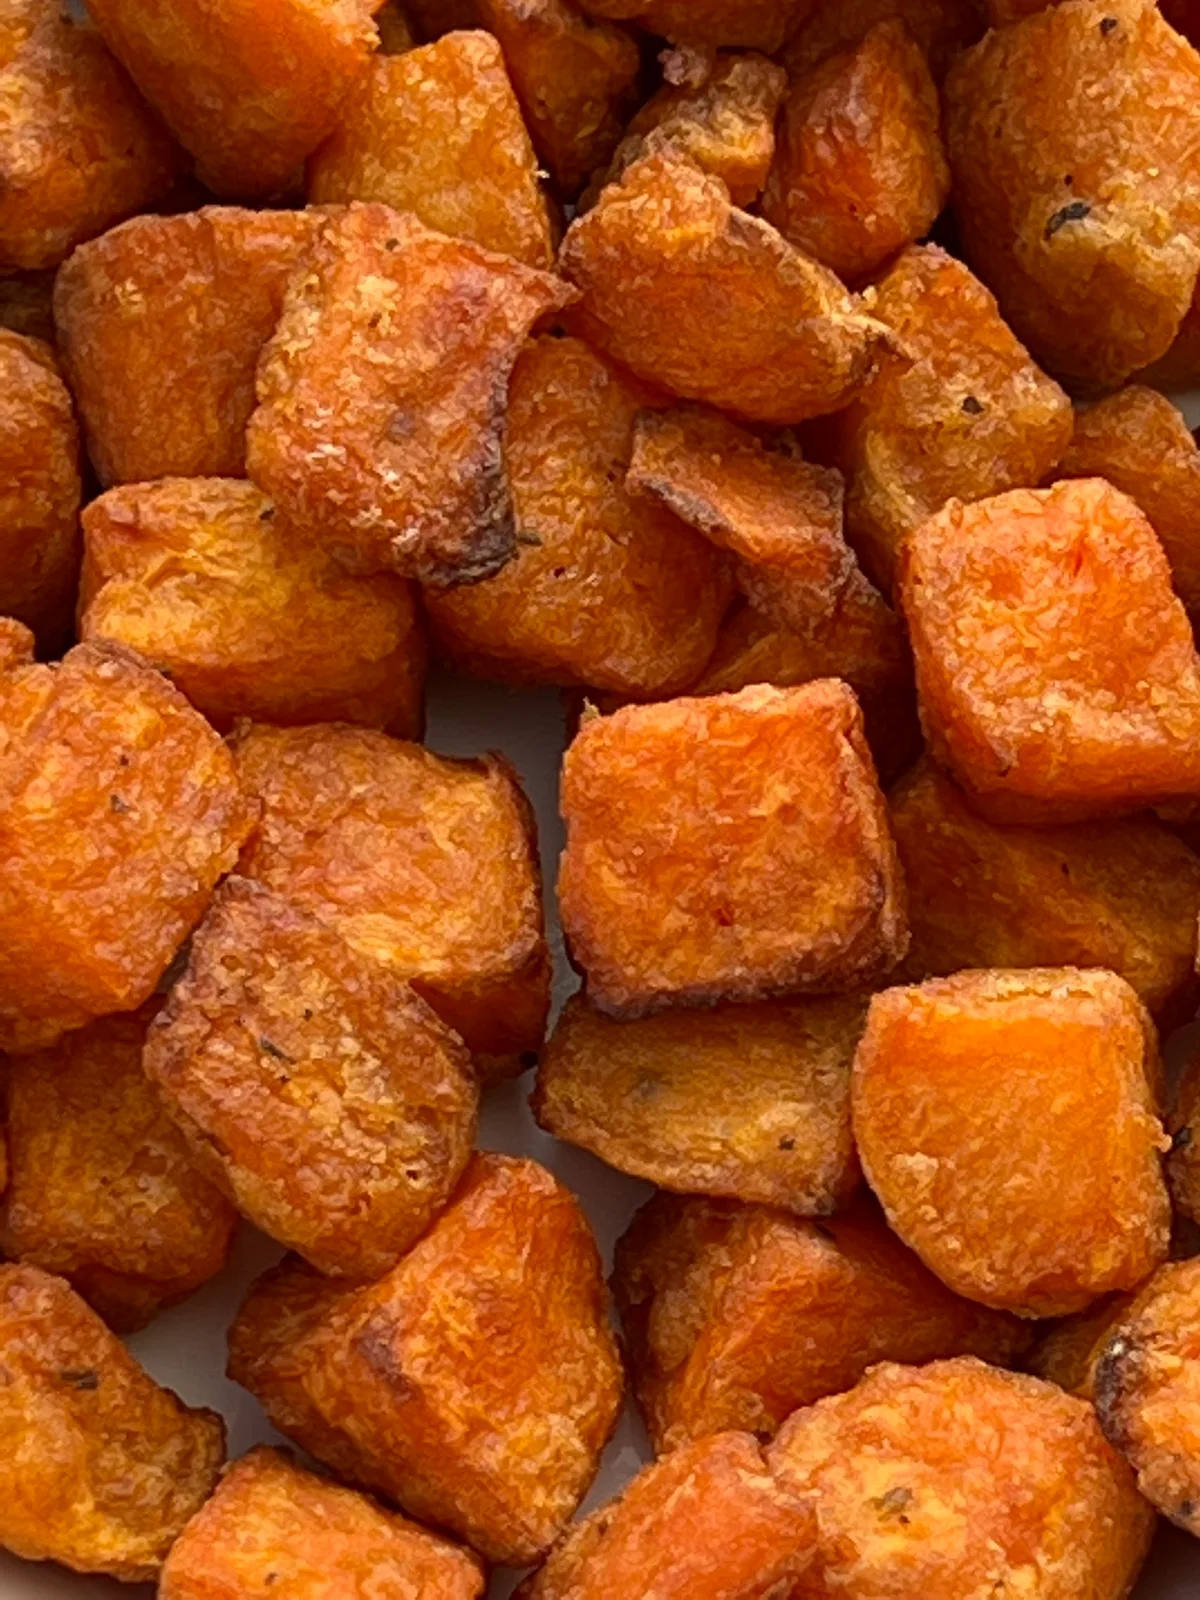
Image source: Web (Bing) / kitchengadgetsclub.com (Web image (fair-use with source credit))
Garnet vs. Jewel vs. Hannah: A Quick Visual Guide
You'll primarily find three types in most grocery stores, and knowing the difference helps set expectations.
- Garnet Yams / Sweet Potatoes: These have dark red-orange skin and vivid orange flesh. They are very moist and sweet, with a smooth, creamy texture when cooked. They caramelize beautifully and are the most common choice for cubing.
- Jewel Sweet Potatoes: Similar to Garnet but often slightly lighter in skin and flesh color. They share the same moist, sweet characteristics and are an excellent, reliable choice.
- Hannah (or White) Sweet Potatoes: These have tan skin and pale yellow or white flesh. They are starchier and less sweet than their orange cousins, with a drier, more potato-like texture that holds its shape very well. They won't caramelize as deeply but offer a firmer bite.
For the classic, sweet, and creamy result most people expect, go with Garnet or Jewel sweet potatoes. The Hannah variety is fantastic if you prefer a less sweet, more savory application.
The Golden Rule of Uniform Cubing (And How to Nail It)
This is the single most important prep step. Uniform size means uniform cooking. If your cubes are different sizes, the small ones will burn before the large ones are cooked through.
Aim for ¾-inch cubes. This is the ideal "bite-sized" dimension that allows the inside to cook through before the outside gets too dark. Here's a simple method:
- Peel the sweet potato (or scrub it well if leaving the skin on).
- Slice off a thin piece from one long side to create a stable base.
- Cut the potato into ¾-inch thick slabs.
- Cut each slab into ¾-inch wide strips.
- Cut the strips into ¾-inch cubes.
If you have a small, dense potato, ½-inch cubes work too, but you'll need to reduce the cooking time by a few minutes. Consistency is key. Don't stress over perfection, but avoid having tiny dice and large chunks in the same batch.
The Pre-Cook Prep You Can't Skip
What you do before the cubes hit the hot air is just as critical as the cooking itself. This stage is about moisture management and seasoning adhesion.
To Peel or Not to Peel? A Texture and Visual Choice
This is purely personal preference, but each choice has a visual and textural outcome.
- Peeled: Results in a more uniform, bright orange appearance and a slightly creamier, softer final bite on all surfaces. The seasoning sticks directly to the flesh.
- Unpeeled (scrubbed clean): Adds a rustic look and provides a bit more textural contrast. The skin becomes pleasantly chewy and crispy in the air fryer. It also contains additional nutrients. The skin can sometimes prevent seasoning from sticking as evenly to the flesh underneath.
For a classic side dish, most people peel. For a heartier, fiber-packed option with more visual interest, leave the skin on. Just be sure to scrub it thoroughly.
The Crucial Step Everyone Forgets: Drying Your Cubes
Sweet potatoes contain a lot of water. After you cut them, place the cubes on a clean kitchen towel or a few layers of paper towels. Pat them dry.
This removes excess surface moisture, which is the enemy of crispiness. If you put wet cubes in the air fryer, they'll steam first, leading to a soggy exterior that then has to crisp up, often resulting in overcooked insides by the time the outside is right.
Coating for Success: Oil Types and What "Evenly Coated" Really Means
You need a small amount of oil to promote browning and prevent sticking. A high-smoke-point oil is best for the high heat.
- Avocado Oil: Our top recommendation. Neutral flavor, very high smoke point (around 520°F), and promotes excellent browning.
- Grapeseed or Canola Oil: Neutral and effective.
- Extra-Virgin Olive Oil: Adds flavor but has a lower smoke point. It's fine at 400°F, but it can sometimes impart a slight bitter note if it gets too hot. It works well for savory dishes.
Use about 1 to 2 tablespoons of oil per large sweet potato. Place the dried cubes in a bowl, drizzle the oil over them, and toss with your hands or a spoon until every cube has a faint, shiny gloss. You shouldn't see dry, matte spots.
You also shouldn't see pools of oil at the bottom of the bowl. "Evenly coated" means a light, sheer film on each cube, not drenched.
Now is also the time to add your seasonings. Salt is essential. Beyond that, you can keep it simple with black pepper, or add garlic powder, smoked paprika, or rosemary for a savory twist.
For a sweeter version, a pinch of cinnamon works wonders. Toss the seasoned, oiled cubes until the spices are distributed. Avoid adding liquid sweeteners like maple syrup before cooking, as they can burn.
Add those after, if desired.
The Core Process: Temperature, Timing, and Visual Checkpoints
This is where the magic happens. Following these visual checkpoints turns a recipe into a reliable technique.
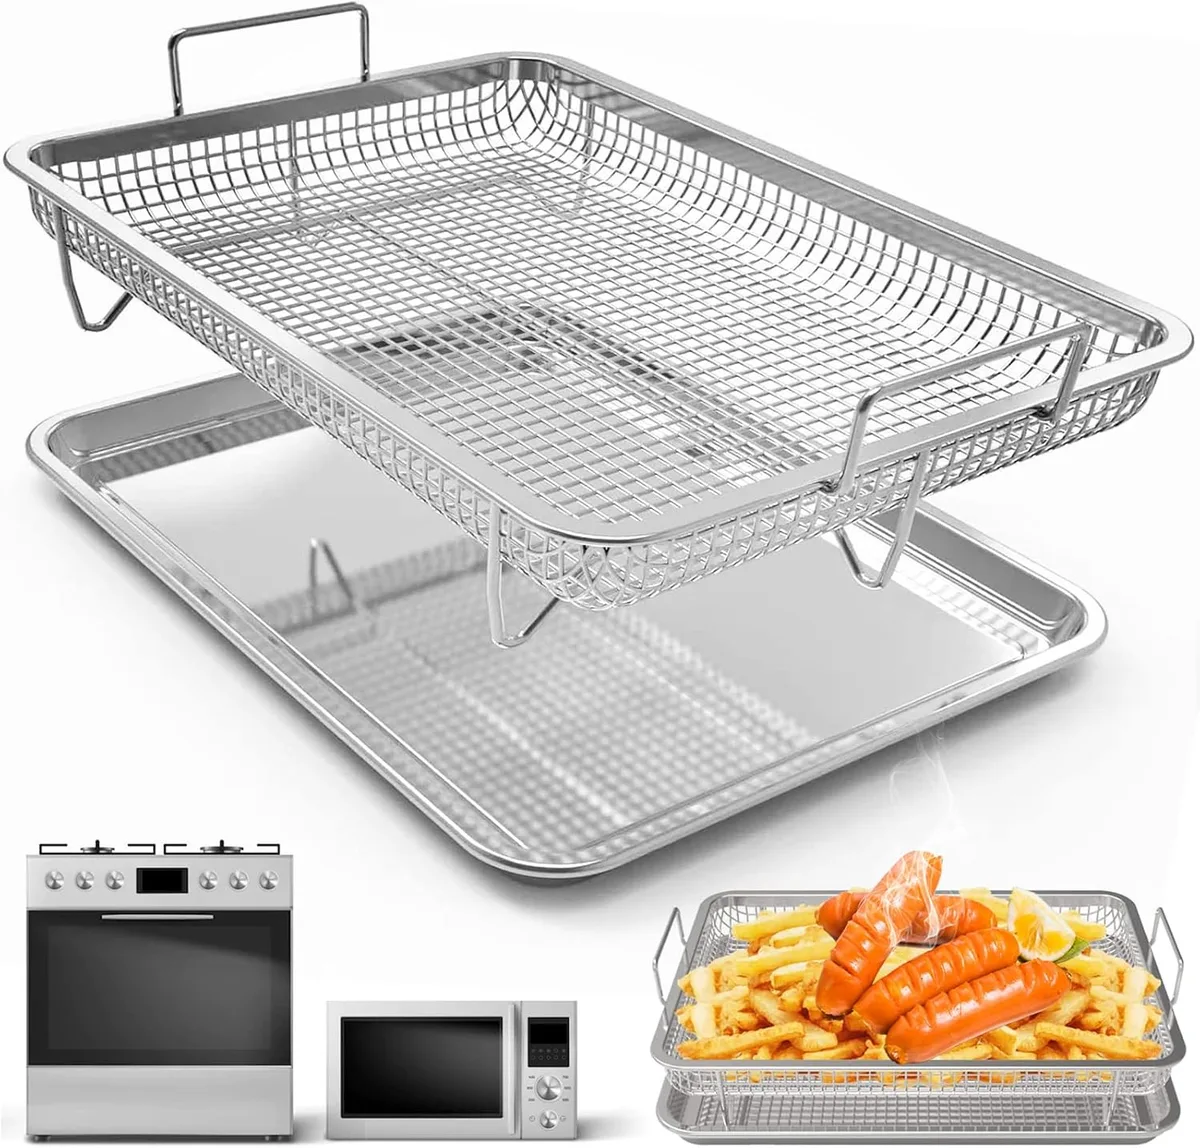
Image source: Web (Bing) / amazon.com (Web image (fair-use with source credit))
Why Preheating Matters (It's Not Optional)
Just like preheating an oven, giving your air fryer 3 to 5 minutes to reach temperature is crucial. Adding food to a cold chamber starts the cooking process with inconsistent, lower heat. This can lead to steaming instead of crisping.
Preheating ensures the hot air hits the cubes immediately, sealing the exterior and starting the caramelization process right away. Most modern air fryers have a preheat function, or you can simply run it empty at your target temperature for a few minutes.
Arranging Your Basket: What a True "Single Layer" Looks Like
Overcrowding is the second most common mistake (after uneven cubing). The hot air needs space to circulate around each piece.
A "single layer" means the cubes are lying flat on the basket with a little space between them, like cookies on a baking sheet. They can be close, but they shouldn't be piled on top of each other or touching on all sides. If you have to nudge them apart to see the basket floor underneath, you have too many.
Cook in batches if necessary. It's faster to do two perfect batches than one disappointing, steamed one. This principle is key for many successful air fryer projects, from chicken to nachos.
Setting Time & Temp: The 375°F to 400°F Sweet Spot
This range is your workhorse. 400°F is ideal for standard ¾-inch cubes. It gives you a great balance: hot enough for efficient browning and crisping, but not so hot that the outside burns before the heat penetrates the center.
- 400°F: Best for a standard batch. Expect 15-18 minutes.
- 375°F: A slightly gentler approach. Use this if you're worried about burning, or if your cubes are on the smaller side (½-inch). Expect 18-22 minutes.
Start with 400°F. You can always add time, but you can't un-burn a cube.
The Mid-Cook Shake: How to Do It Without Making a Mess
Around the 8 or 9-minute mark, pause the air fryer and pull out the basket. You'll notice the cubes on the bottom and around the edges are starting to brown faster. This is normal.
Giving the basket a vigorous shake, or using tongs to stir and flip the cubes, ensures even exposure to the heat. It prevents hot spots and gives you a uniform golden color.
Be careful when you open the basket, as a burst of hot steam can escape. Shake over the basket itself to keep any loose crumbs contained. This is also your first major visual checkpoint.
The cubes should be noticeably softer, and you should see the first signs of browning. If they still look pale and wet, they may have been too crowded or too wet to start.
The Doneness Decoder: How to Know They're Actually Done
Your timer is a guide, not a guarantee. Visual and textural checks are your final authority. Start checking around the 14-minute mark for a typical 400°F cook.
The Fork Test vs. The Squish Test
Both methods work, but they tell you slightly different things. The fork test is the most reliable. Take a cube from the center of the basket (where heat is often weakest) and pierce it with the tines of a fork.
The fork should slide into the center with almost no resistance. If you meet a hard spot, they need more time.
The squish test uses a pair of tongs. Gently squeeze a cube. It should yield easily and feel soft all the way through.
Be careful with this method, as overcooked cubes can become mushy and fall apart. The fork test gives you more precision.
Visual Cues: Spotting Caramelization vs. Burning
As of 2026, the consensus from culinary research is that caramelization of sweet potatoes occurs around 320°F. That rich brown color you see is a good sign. Burning happens when the sugars carbonize at higher sustained heat.
Look for an even golden-brown color across most of the cube's surface. The very edges may be a shade darker, almost amber. That's perfect.
If you see small, isolated black spots or if the edges are deep brown and look dry or brittle, that's the start of burning. If the entire cube is a uniform dark brown, it's likely overdone.
The Most Common Visual Mistakes (And How to Fix Them)
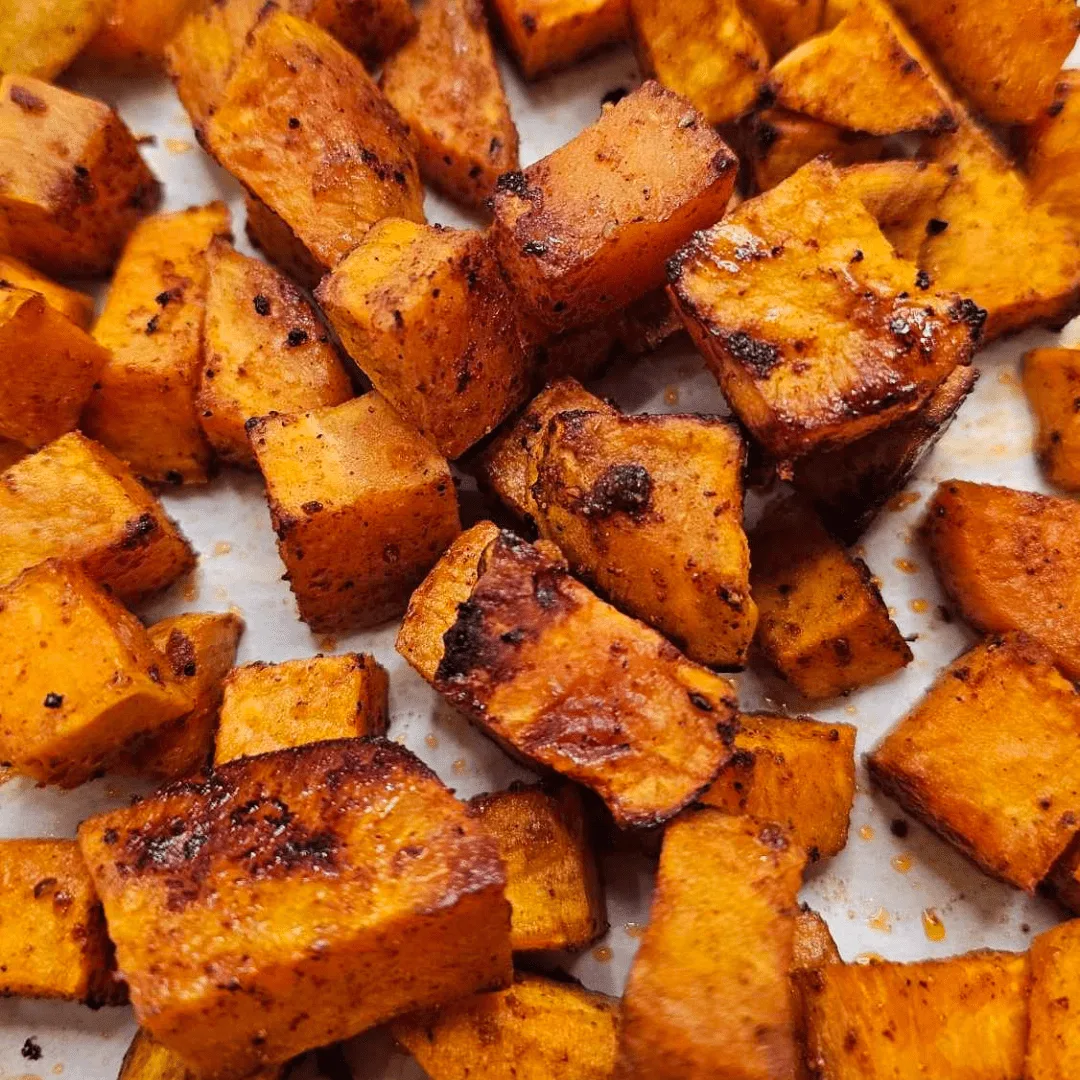
Image source: Web (Bing) / simplywanderfull.com (Web image (fair-use with source credit))
Even with the right steps, things can go sideways. Here's how to diagnose and solve the most frequent visual fails.
The Soggy Cube Syndrome: Overcrowding and Undercooking
If your cubes are limp, pale, and steaming instead of crisping, you have a moisture problem. The primary causes are overcrowding the basket or not preheating. When cubes are too close together, they steam each other.
The hot air can't circulate properly to wick away moisture.
The fix is simple. Cook in smaller, single-layer batches. Always preheat your air fryer.
Also, double-check that you dried the cubes thoroughly after cutting. A wet surface steams first.
The Charred-Outside-Raw-Inside Problem
This frustrating result means your heat was too high, your cubes were too large, or both. The exterior cooks and burns before the heat can travel to the dense center.
First, verify your cube size. If they're larger than 1-inch, they're not suitable for standard air frying times. Cut them smaller next time.
If size was correct, your temperature was likely too high. Try 375°F next time for more gentle, even cooking. You can also try a quick par-cook.
Microwave the cubes on a plate for 2-3 minutes to soften the interior before giving them the crisp treatment in the air fryer.
Why Your Seasoning Burns (And How to Stop It)
Have you ever seen black, bitter specks on your otherwise golden cubes? That's burnt seasoning, especially common with fine powders like garlic powder, onion powder, or paprika. These spices have a lower burn point than the potato itself.
The solution is to add them after the oil but before cooking. Mixing them with the oil helps coat and protect them. For especially delicate spices, or if you're cooking at the high end of the temperature range, consider adding half your seasoning before cooking and sprinkling the rest on as soon as the cubes come out of the basket.
The residual heat will wake up the flavors without burning them.
Pro-Level Variations: From Savory to Sweet
Once you've mastered the basic technique, a world of flavor opens up. The core process remains the same. Only the seasoning blend changes.
Crispy Savory Cubes: Seasoning Blends and Technique
For a savory side, start with the classic oil, salt, and black pepper base. From there, you can build complex flavors.
- Smoky & Spicy: Add smoked paprika, garlic powder, and a tiny pinch of cayenne.
- Herby: Toss with dried rosemary or thyme, and a little onion powder.
- "Everything Bagel" Style: After cooking, toss the hot cubes with Everything Bagel seasoning.
The key with savory blends is to ensure the spices are well-distributed. Toss the oiled cubes in a bowl with the dry spices until every piece is lightly coated. These make a fantastic, hearty addition to grain bowls or as a base for a loaded chicken salad.
Cinnamon Maple Cubes: Getting Glaze Without Gumminess
Sweet versions are tricky because sugar burns easily. Avoid adding liquid sweeteners before cooking. Instead, focus on dry spices and add glaze after.
Toss your oiled cubes with a mix of cinnamon, a little nutmeg, and a pinch of salt. Air fry as usual. When they're hot out of the basket, drizzle them with a very small amount of pure maple syrup or honey and toss gently.
The heat of the cubes will thin the syrup and help it coat evenly without making them soggy. You can also add a sprinkle of brown sugar in the last 2 minutes of cooking, but watch closely to prevent burning.
Air Fryer Cubes vs. Other Methods: A Quick Visual Comparison
Is the air fryer always the best tool? For sweet potato cubes, it's our top pick for speed and texture. But here’s how it stacks up against other common methods visually and practically.
Air Fryer vs. Oven: Side-by-Side on Texture and Time
This is the most common comparison. The oven can produce a similar result, but the process is different.
| Method | Typical Time & Temp | Visual & Texture Outcome | Best For |
|---|---|---|---|
| Air Fryer | 15-18 min @ 400°F | Crispier edges, more concentrated browning, less oil sheen. | Speed, small batches, maximum crispiness with less oil. |
| Oven (Roasting) | 25-35 min @ 425°F | Softer edges, slightly less caramelization, can dry out more. | Large batches, when you're already using the oven for other dishes. |
The air fryer's faster cook time and efficient circulation generally lead to a superior crisp-to-tender ratio. The oven method is better when you're feeding a crowd and have the time.
When to Use the Microwave (Hint: It’s for Pre-Softening)
We don't recommend microwaving alone for "roasted" style cubes. It steams them, leaving them soft and watery without any browning or crisp texture. However, the microwave is a brilliant partner.
If you're in a serious hurry or are worried about the raw-center issue, use the microwave to par-cook. Place your cubed, oiled, and seasoned sweet potatoes in a microwave-safe bowl. Cover and microwave on high for 3-4 minutes, until just starting to soften.
Then, finish them in the air fryer for 8-10 minutes. This hybrid method guarantees a tender inside and lets the air fryer focus solely on creating the perfect crispy exterior.
Frequently Asked Questions
People have a lot of the same questions when they start air frying sweet potatoes. Here are clear, direct answers based on common user experiences.
Why are my cubes sticking to the basket?
Sticking usually means not enough oil or a basket that wasn't preheated. The oil creates a non-stick barrier. Ensure each cube has that light, even coating.
Also, give the basket a quick spray with oil or use a parchment liner designed for air fryers. Preheating helps "sear" the cubes slightly on contact, which also reduces sticking.
Can I cook them from frozen? (And what changes visually)
Yes, you can cook frozen sweet potato cubes. You don't need to thaw them. The visual process changes.
They will release more steam initially, so expect less browning in the first half of the cook.
Add 5-7 minutes to the cooking time. Shake the basket every 5 minutes to break them apart. The final color may be slightly paler than fresh, but they'll still be tender inside.
This is a great shortcut for a fast, healthy side straight from the freezer.
My cubes are dry. What went wrong?
Dry cubes are overcooked. The moisture inside has completely evaporated. This happens from cooking too long, at too high a temperature, or with cubes that were too small.
Next time, reduce the temperature to 375°F or check for doneness several minutes earlier. Remember, they continue to cook a little from residual heat after you pull them out. Err on the side of slightly underdone.
You can always pop them back in for a minute more.
How do I store and reheat leftovers?
Let the cubes cool completely, then store them in an airtight container in the fridge for 3-4 days. For freezing, spread them on a baking sheet to freeze solid first, then transfer to a bag. They'll keep for 2-3 months.
Reheating in the air fryer is best. It restores the crispness. Reheat at 375°F for 3-5 minutes, shaking once.
The microwave will make them soft and is only good if you're adding them to something like a soup or a creamy chicken macaroni salad.
Is there a best type of air fryer for this?
Any model with a basket-style design and a convection fan will work. The key factor is wattage. A more powerful air fryer (1700W vs. 1400W) will generally cook faster and more evenly.
Our research indicates that models with a square or rectangular basket often provide a better single-layer surface area than round baskets. Ultimately, following the visual guidelines for your specific machine matters more than the brand.
Can I make sweet potato fries the same way?
The principle is similar, but the shape changes the game. Fries have more surface area and less center mass. They cook faster and can burn more easily.
For fries, we recommend a slightly lower temperature (380°F) and a watchful eye. Shake every 3-4 minutes. They are done when crispy and browned at the edges.
They are a fantastic, lighter alternative to serve alongside something like air fryer chicken tacos.