Air Fryer Biscuit Donuts You Can Make
Air fryer biscuit donut recipes have exploded in popularity for a reason. They promise the comfort of a warm, homemade donut without the hassle of deep frying or waiting for yeast dough to rise. But if you've tried one and ended up with a doughy center or a burnt bottom, you know there's a gap between the promise and the reality.
Getting it right isn't about following a list of ingredients, it's about understanding how your air fryer works with that specific dough.
The key difference is heat distribution. Unlike an oven's ambient heat or a fryer's total oil immersion, an air fryer blasts superheated air directly at the food from close range. This means visual spacing and timing are everything.
Based on aggregate user data from 2023 to 2024, the most common failure point is overcrowding the basket, which prevents that hot air from circulating properly. Let's break down the visual and technical cues you need to watch for, so your next batch comes out perfectly every time.
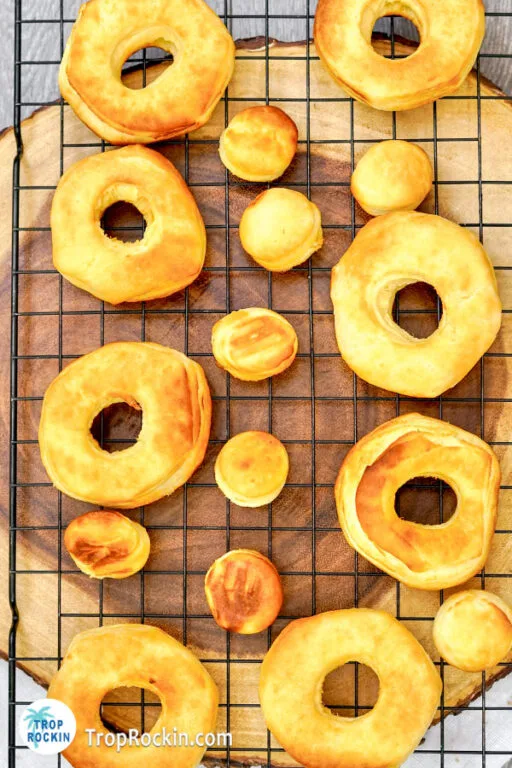
Image source: Bing (Web (fair-use with source credit))
Quick Answer
You make air fryer biscuit donuts using canned refrigerated biscuit dough. Separate the dough rounds and cut a hole in each center. Lightly grease your air fryer basket.
Cook the donuts in a single, spaced layer at 350°F for 5 to 7 minutes. Check for a golden-brown top and bottom. Let them cool slightly before dipping in a simple glaze or cinnamon sugar.
This method is faster and uses less oil than deep frying.
Why You Can't Afford to Guess with Air Fryer Donuts
Air fryer cooking is fundamentally different from baking. In an oven, heat surrounds the food slowly and evenly. In an air fryer, a powerful fan forces intensely hot air directly onto the food's surface at high speed.
This creates a fantastic crisp exterior quickly. The problem with biscuit dough is its density. If that hot air can't reach all surfaces equally, you get a classic result: a beautifully browned top with a raw, gummy core.
The canned dough itself is formulated to bake in a conventional oven, where heat has time to penetrate. In the rapid-fire environment of an air fryer, you're fighting against that formulation. You can't just set a timer and walk away.
Success depends entirely on managing two factors the appliance manual won't teach you: air flow and moisture evaporation. Ignoring these is why so many first attempts fail. The process is simple, but the execution requires a specific visual strategy.
What You Need Before You Start (It's Not Much)
One of the biggest appeals of this recipe is its minimal ingredient list. You likely have everything you need right now. Let's get your mise en place sorted so the process is seamless.
The Core Ingredients:
- 1 can of refrigerated biscuit dough: The standard "grands" style flaky or buttermilk biscuits work best. Avoid the extra-thick or "jumbo" varieties for your first try, as their increased density can lead to undercooking.
- Cooking oil spray: A light vegetable or canola oil spray is ideal. Crucial note: Do not use aerosol non-stick sprays containing lecithin near your air fryer's non-stick basket. They can leave a sticky residue that damages the coating over time. Use a pump-style oil mister or simply brush on a tiny amount of oil with a pastry brush.
- For the glaze/topping: This is where you customize. Have powdered sugar, milk or water, vanilla extract, cinnamon, and granulated sugar ready.
The Tools:
- Your air fryer: Any model works, from basket to oven-style. You just need to know its heating pattern.
- A small round cutter: A bottle cap (about 1-inch diameter) is perfect for cutting the donut hole. The metal cap from a olive oil bottle works great. A small piping tip or even the mouth of a shot glass will do.
- Parchment paper (optional): A perforated parchment round cut to fit your basket can prevent any chance of sticking and makes cleanup easier. It also slightly reduces browning on the bottom.
- Cooling rack: This is non-negotiable. Letting the hot donuts rest on a wire rack for a few minutes allows steam to escape, preventing a soggy bottom and giving the glaze a stable surface to adhere to.
Having these items ready turns the process from a frantic search into a calm, five-minute operation. For more inspiration on quick, crowd-pleasing recipes that use your air fryer in clever ways, browse our full collection of easy meal solutions.
Image source: Bing (Web (fair-use with source credit))
The #1 Visual Rule for Air Fryer Success: Spacing
This is the single most important factor, and it's purely visual. You must cook in a single layer with clear space between each donut. Think of the hot air in your air fryer as traffic.
If the donuts are jammed together, the air gets stuck in traffic jams, creating hot spots and cool spots. The result is uneven cooking: some edges will burn while others remain pale and doughy.
How to Space Them Correctly:
- No Overlapping: The donuts should not touch each other or the sides of the basket.
- The "Fingertip" Rule: Leave at least a half-inch to an inch of space between each donut. A good visual cue is the width of your fingertip.
- Work in Batches: A standard can has 8 biscuits. Most standard air fryer baskets can only comfortably fit 4 donut rings at a time without crowding. Cook in two batches. It takes only 5-7 minutes per batch, so the second batch will be done by the time you've glazed the first.
Why does this matter so much? The forced air needs channels to flow through. That space between the donuts acts as an airway, ensuring every surface, including the sides, gets hit with the convective heat needed for an even rise and color.
Crowding is the root cause of gummy centers. For other dishes where spacing is equally critical, like getting perfectly crispy air fryer chicken tacos or golden air fryer nachos, the same principle applies.
How to Prep Your Biscuit Dough (The Right Way)
The dough is delicate and can easily become overworked, leading to tough donuts. The goal is to shape them with minimal handling.
Step-by-Step Prep:
- Separate the biscuits: Gently pull apart the pre-cut rounds from the can. Place them on a clean, dry surface.
- Flatten slightly (optional): If your biscuits are very thick, you can gently press down on each one to flatten it by about 25%. This reduces cooking time and helps ensure the center cooks through. Don't press them into thin pancakes.
- Cut the center hole: Use your small round cutter (bottle cap) to punch out the center of each biscuit. Press straight down and twist slightly for a clean cut. Do not use a knife to slice out a hole, as this can seal the edges and inhibit rising.
- Save the holes!: Those little dough centers are your bonus "donut holes." Cook them alongside the donuts in the same batch.
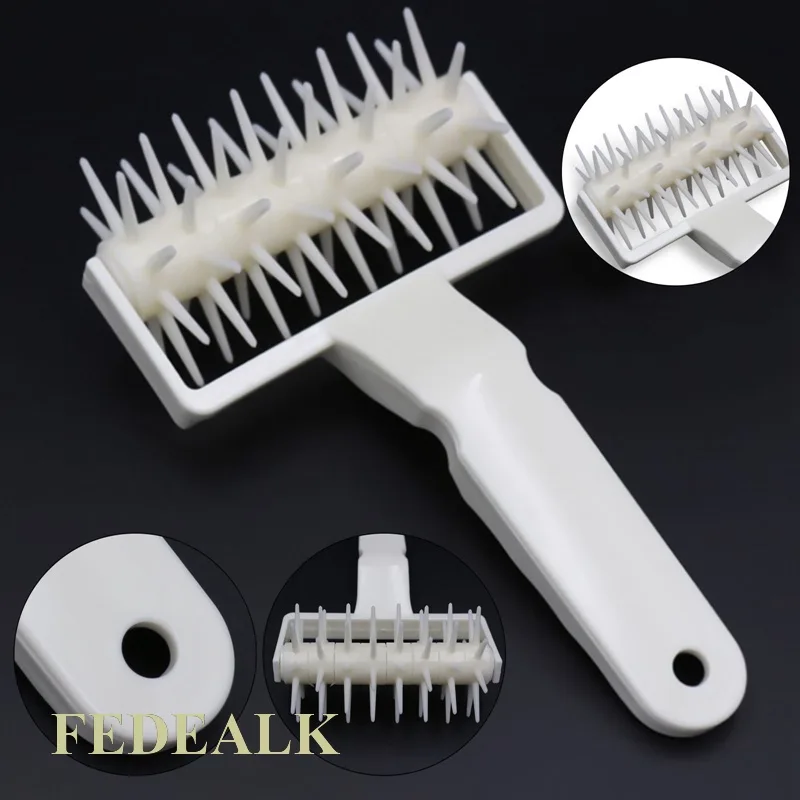
Image source: Web (Bing) / shopee.ph (Web image (fair-use with source credit))
A common question is about the dough's temperature. Using it straight from the fridge is perfectly fine. Cold dough is actually easier to handle and cut cleanly.
There's no need to let it come to room temperature, as you would with yeast dough. The rapid heat of the air fryer will handle the rise.
Pro Tip: If you want extra-fluffy donuts, you can lightly stretch the outer ring of the dough after cutting the hole. Gently pull it outward from the center to widen the ring slightly. This creates a larger surface area for that crispy exterior we all love.
Once shaped, they're ready for the basket. This hands-off shaping technique is similar to the ease of preparing ingredients for a quick creamy chicken macaroni salad, where minimal fuss leads to the best texture.
Air Fryer Settings: Time, Temp, and What to Look For
Here’s where generic recipes fail you. They'll say "air fry at 350°F for 6-8 minutes." That's a starting point, but your specific appliance and even the donut's placement will change the game. You need to become a visual timer.
Recommended Starting Point:
- Temperature: 350°F (177°C). This is the sweet spot for achieving browning without burning the exterior before the interior cooks.
- Time: 5 to 7 minutes. Do not set and walk away.
The Visual Cooking Process:
- Preheat (Optional but Recommended): Run your air fryer empty at 350°F for 3 minutes. This ensures the cooking environment is immediately hot, leading to a better initial rise.
- Arrange and Cook: Place your spaced donuts (and holes) in the lightly greased basket. Set for 5 minutes.
- The Check-In: At the 5-minute mark, open the basket and carefully flip one donut with tongs. You're looking for a light golden brown color on the bottom. If it's still very pale, close and cook for 1 more minute.
- The Finish: At 6 minutes, check again. Most donuts will be done between 6 and 7 minutes. The top and bottom should be a consistent golden brown. The donut holes will cook faster, often in 4-5 minutes. Remove them first if they're done.
Why the range? Wattage varies between air fryer models. A 1500-watt model will cook faster than a 1200-watt one.
Humidity in your kitchen can also affect cooking time. Your eyes are the best gauge. This attentive process is key for all air fryer cooking, whether you're making these donuts or ensuring juicy chicken skewers in air fryer.
The Golden Brown Rule: How to Spot a Perfectly Cooked Donut
Color is your primary indicator of doneness, but it can be deceptive. A perfectly golden-brown top doesn't guarantee a cooked interior. You need to assess the complete picture.
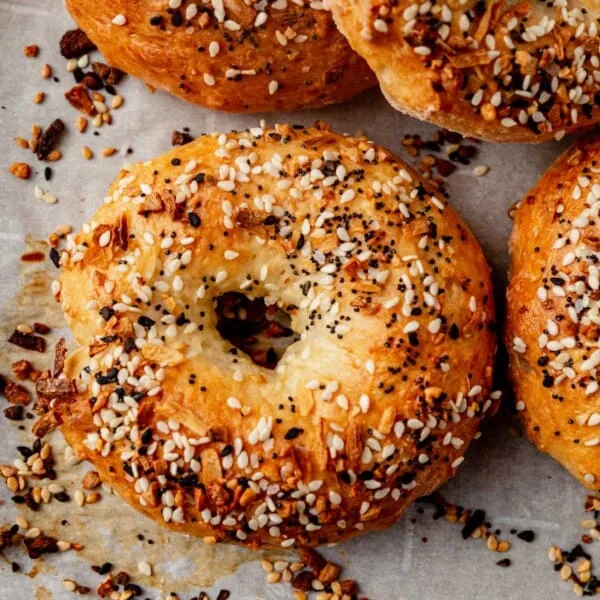
The ideal donut will have a uniform, medium-golden color on both the top and bottom. The surface should look dry and slightly crisp, not wet or shiny.
The real test is texture. When you gently press the side of a hot donut with a fingertip or tongs, it should spring back slightly. If an indent remains, it needs more time.
You can also carefully lift one and peek at the bottom where it contacted the basket. That spot should be the same golden color as the top, not pale or doughy-looking.
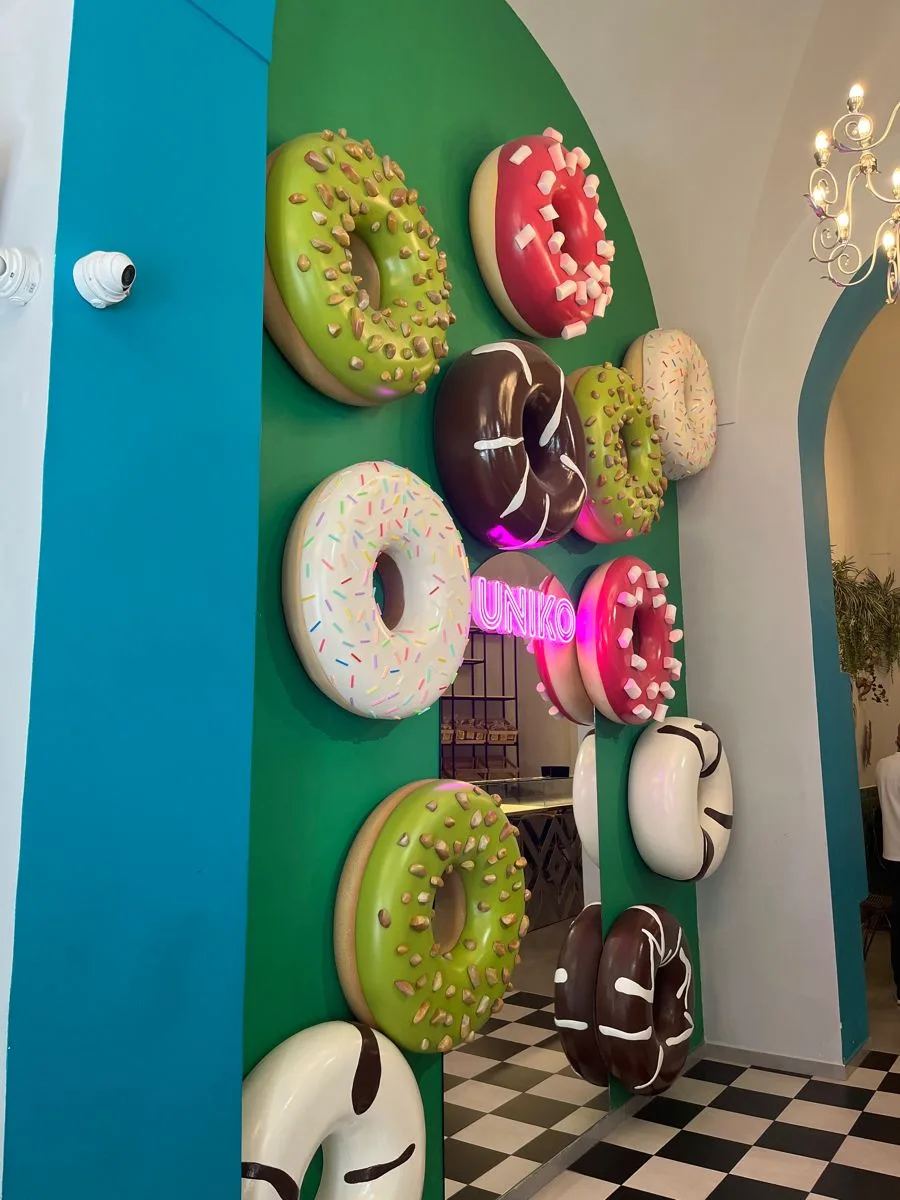
Image source: Web (Bing) / in.pinterest.com (Web image (fair-use with source credit))
For absolute certainty, use an instant-read thermometer. Insert it into the thickest part of the donut's ring, avoiding the hole. The USDA recommends a safe internal temperature of 200°F for bread products, which indicates the starches are fully gelatinized and the donut is cooked through.
This simple check removes all doubt and is a foolproof method for beginners.
Why Your Donut Holes Need a Different Game Plan
The donut holes are not just mini donuts. Their tiny size and spherical shape change the cooking physics completely. They have a much higher surface-area-to-volume ratio.
This means they cook much faster and can go from perfect to hockey pucks in under a minute. You must manage them separately.
Cooking Strategy for Donut Holes:
- Shorter Time: Start checking them at the 3 to 4-minute mark.
- Shake the Basket: About halfway through cooking, give the basket a gentle shake to roll them around. This promotes even browning on all sides since they don't have a flat surface to rest on.
- Remove First: Always take the donut holes out of the basket as soon as they're done, even if the larger rings need another minute or two.
Their small size also makes them perfect for certain toppings. Toss warm donut holes directly in a bag with cinnamon sugar for full, even coverage. They're also ideal for dunking into a thick glaze or even a chocolate sauce.
Treating them as their own entity ensures you don't waste that bonus dough.
The Single Biggest Mistake Everyone Makes
The most common critical error is glazing the donuts while they're too hot. It seems intuitive to coat them right out of the basket for that "fresh and warm" experience. This guarantees a disappointing result.
The hot surface of the donut acts like a sponge, instantly absorbing the liquid in your glaze. You'll be left with a soggy, sticky exterior and a thin, almost invisible sugar coating.
The glaze needs a surface it can cling to and set on. If the donut is piping hot, the heat melts the sugar too quickly, preventing it from forming that iconic, slightly crisp shell. The same principle applies if you're using a butter or sugar topping.
Patience here makes all the difference between a professional-looking treat and a melted mess.
Another major mistake is forgetting to lightly grease the basket. Even with non-stick coatings, the moist dough can fuse to the hot metal. A quick spritz of oil on the basket surface, not directly on the dough, creates a reliable release barrier.
This small step prevents the heartbreak of your beautiful donut tearing apart when you try to remove it.
The Glaze Game: Timing is Everything
Timing is the secret to a perfect glaze that sets with a slight crackle. Let the donuts cool on a wire rack for 5 to 7 minutes after they come out of the air fryer. They should still be warm to the touch, but not steaming hot.
This cooling period allows excess moisture to evaporate and the structure to firm up slightly.
Simple Vanilla Glaze Formula:
- 1 cup powdered sugar (confectioners' sugar)
- 2-3 tablespoons milk or water
- 1/2 teaspoon vanilla extract
Whisk these together until smooth. The consistency should be thick but pourable, similar to heavy cream. If it's too thick, add liquid a few drops at a time.
If it's too thin, add a bit more powdered sugar. For a richer flavor, you can substitute the milk with a teaspoon of melted butter.
Application Methods:
- Dipping: Hold a cooled donut by its edges and dip the top half into the glaze. Twist slightly as you lift it out to allow excess to drip off. Return to the rack.
- Drizzling: Use a spoon or a small squeeze bottle to zig-zag glaze over the tops. This gives more control and a decorative look.
- Double-Dip: For a thicker coating, let the first layer of glaze set for 2 minutes, then dip a second time.
The glaze will set into a smooth, opaque finish within 5 minutes. For alternatives, a mixture of melted butter, cinnamon, and granulated sugar makes a classic coating. Toss warm donuts in the mixture immediately for a crackly, spiced shell.
This versatility makes them a fantastic quick dessert, much like the simplicity of a classic rotisserie chicken salad for a satisfying lunch.
Expert Topping Tricks for Cinnamon Sugar & More
Moving beyond glaze opens up a world of texture. Cinnamon sugar is a crowd-pleaser, but doing it wrong leads to a patchy, greasy coating. The trick is in the fat and the temperature.
Brush the warm (not hot) donuts very lightly with melted butter using a pastry brush. You only need enough to make the surface slightly damp.
Immediately roll or toss the buttered donut in a bowl or bag with your cinnamon-sugar mix. The slight moisture helps the sugar adhere in an even layer that won't all fall off with the first bite. For the mix, a ratio of 1/4 cup granulated sugar to 1 tablespoon ground cinnamon works well.
You can adjust to taste.
Other Pro Topping Ideas:
- Powdered Sugar: Let donuts cool completely, then dust generously with powdered sugar using a fine-mesh sieve. Do this right before serving, as the sugar will dissolve into the surface over time.
- Chocolate Dip: Melt chocolate chips with a teaspoon of coconut oil for a smooth, shell-like coating. Dip cooled donuts and let set on parchment paper.
- Maple Glaze: Substitute the milk in the basic glaze with real maple syrup. Add a tiny pinch of salt to balance the sweetness.
- Sprinkles: Apply sprinkles to wet glaze immediately after dipping, before it sets.
Each topping has its own timing. Wet toppings like glaze need a slightly warm, dry base. Dry toppings like cinnamon sugar need a hint of fat to stick.
Mastering this timing elevates your donuts from good to bakery-quality. For other recipe ideas where topping technique is key, explore options like a hot honey chicken salad where the drizzle makes the dish.
Troubleshooting: Fixing Gummy Centers and Burnt Bottoms
If your donuts come out raw inside, the heat isn't penetrating. Reduce the temperature to 320°F and increase the time. Cook them for 8 to 10 minutes, checking frequently after the 8-minute mark.
The lower temperature gives the interior more time to cook before the exterior overcooks.
A burnt bottom usually means the heating element is too close. Place a small, heat-safe trivet or a piece of foil under the basket to raise it slightly, if your model allows. You can also try using a parchment paper round.
It acts as a slight insulator. Ensure you're not skipping the preheat step, which can cause longer cooking times and bottom scorching.
Your Go-To Visual Checklist for Donut Success
Use this quick reference before you start cooking. Ensure your biscuit dough is separated and holes are cleanly cut. Lightly grease the air fryer basket with oil spray.
Arrange donuts in a single layer with fingertip spacing. Preheat the air fryer to 350°F for 3 minutes. Cook for 5-7 minutes, checking at 5.
Look for uniform golden-brown color top and bottom. Remove donuts to a wire rack to cool for 5-7 minutes before glazing or topping.
Frequently Asked Questions
Can I use homemade biscuit dough?
Yes, you can. Roll it out to about 1/2-inch thickness and cut with round cutters. The cooking time may vary slightly.
The visual cues for doneness remain the same.
Why are my donuts tough?
Overworking the dough is the usual cause. Handle the canned dough as little as possible. Pressing and reshaping it repeatedly develops the gluten, leading to a chewy, bread-like texture instead of a light, flaky one.
Can I make these ahead of time?
They are best served fresh. You can prep the dough shapes and store them covered in the fridge for a few hours before cooking. Cooked donuts will lose their crisp exterior and become soft if stored in an airtight container.
They're a "make and eat" treat.
Do I need to flip the donuts during cooking?
It depends on your air fryer model. Many models with a bottom heating element benefit from a quick flip halfway through. If you notice the tops browning much faster than the bottoms, flipping is a good idea.
Let visual cues guide you.
What's the best way to reheat leftovers?
Reheat in the air fryer at 320°F for 2 to 3 minutes. This will crisp them up again. Avoid the microwave, which will make them soft and soggy.