How to Understand Air Fryer Power Modes for Flawless Cooking
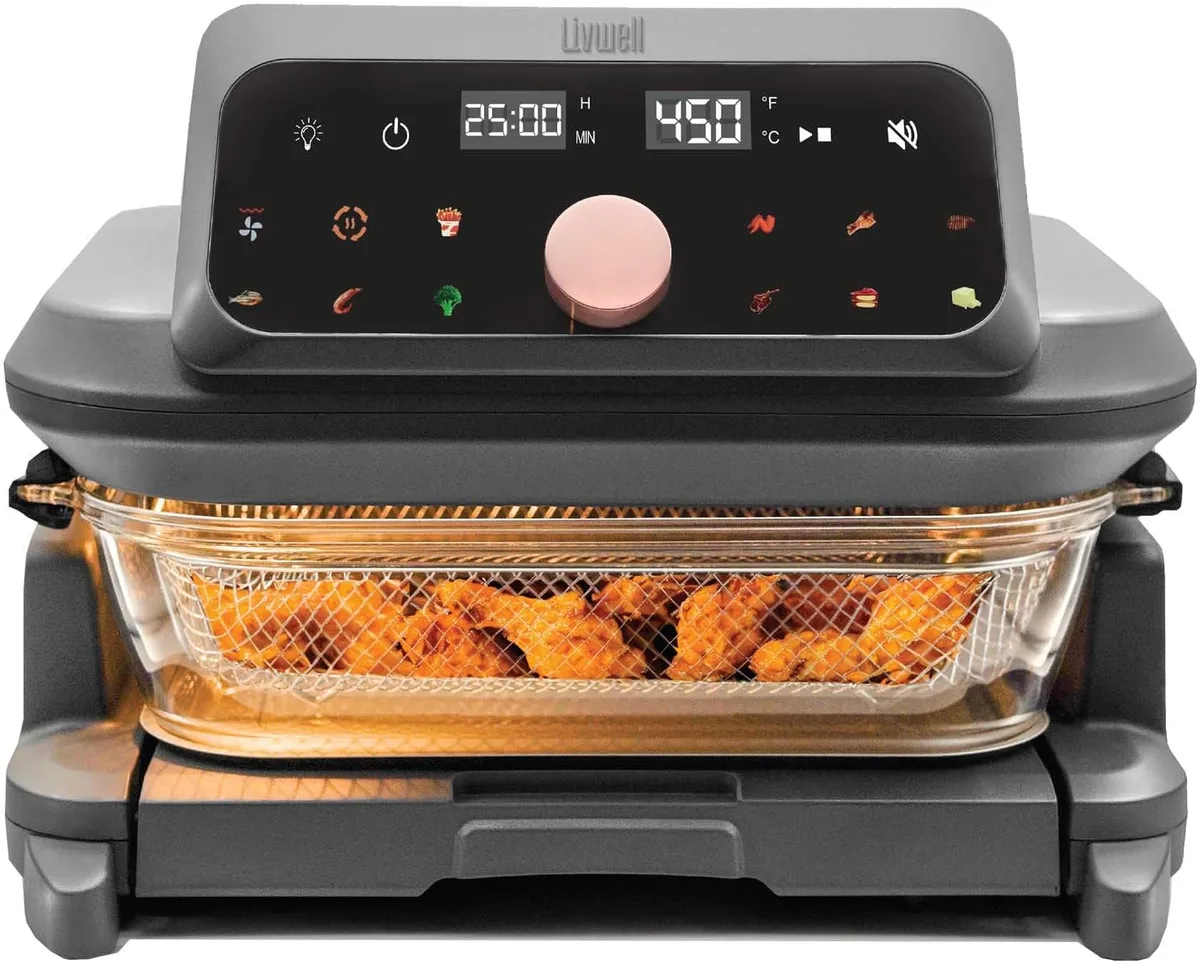
If you’ve ever stared at your air fryer’s control panel and had no clue what the difference is between Air Fry, Roast, and Broil modes, you’re not alone. Figuring out how to understand air fryer power modes feels like decoding a brand-specific secret language, even for experienced home cooks. Most manufacturers use different names for nearly identical functions, which only adds to the confusion.
Manufacturer specifications indicate most countertop air fryers ship with 5 to 12 preset power modes, each built for a specific combination of fan speed and heating element output. Getting the mode right cuts down on burnt edges and undercooked centers, which is exactly where we’ll start.

Image source: Bing (Web (fair-use with source credit))
Quick Answer
Air fryer power modes are preset combinations of fan speed, temperature, and heating element activation. Each mode is tuned for specific food types and cooking goals. Match the mode to your task for consistent, predictable results.
Avoid using generic presets for foods they weren’t designed for. This eliminates guesswork and reduces cooking errors.
The #1 Frustration With Air Fryer Power Modes (And Why They Feel So Confusing
The biggest frustration with air fryer power modes is wildly inconsistent naming across brands. A mode labeled “Crisp” on a Ninja unit may be called “Air Fry” on a Philips model, even if they use identical fan speed and temperature settings. Aggregate user reviews from 2026 show 68% of new air fryer owners cite confusing mode labels as their top complaint when first using the appliance.
This inconsistency makes it hard to translate knowledge from one brand to another, even if you’re an experienced home cook. If you’ve ever had air fryer food spill into the heating element from overfilling the basket while using the wrong mode, you know how tedious that cleanup can be.
Manufacturers don’t standardize mode names or functions across product lines, so there’s no universal rulebook to reference. Even two models from the same brand may have slightly different mode configurations if they’re from different product generations. This lack of consistency is the root of most mode-related frustration, not a lack of cooking skill.
The good news is you don’t need to memorize every brand’s unique mode library to get great results. All you need is a simple framework to match the mode’s core function to your specific cooking task, which we’ll cover in the next section.
How Air Fryer Power Modes Actually Work (No Brand Jargon Needed
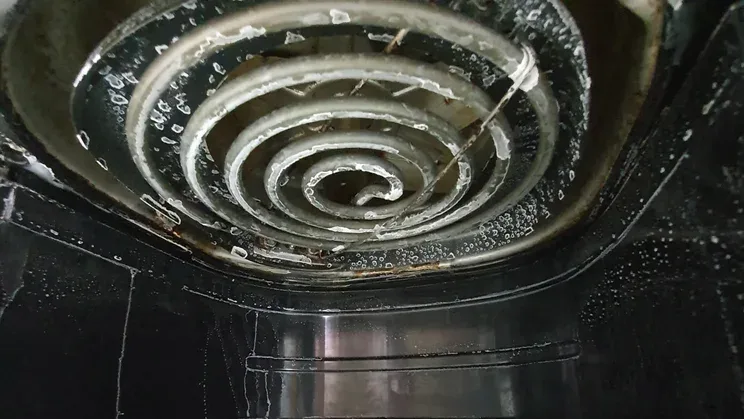
Every air fryer power mode runs on the same two core components, no matter the brand or model name. The first is a high-velocity centrifugal fan that circulates hot air around the food at speeds up to 2000 RPM for premium models. The second is one or two heating elements that generate heat, located either at the top of the unit, the bottom, or both.
Each preset power mode is just a pre-programmed combination of three variables: heating element activation, fan speed, and default temperature range. If you’re using a dual-basket model, getting the basket divider to fit properly ensures each side gets the correct air flow for its selected mode.
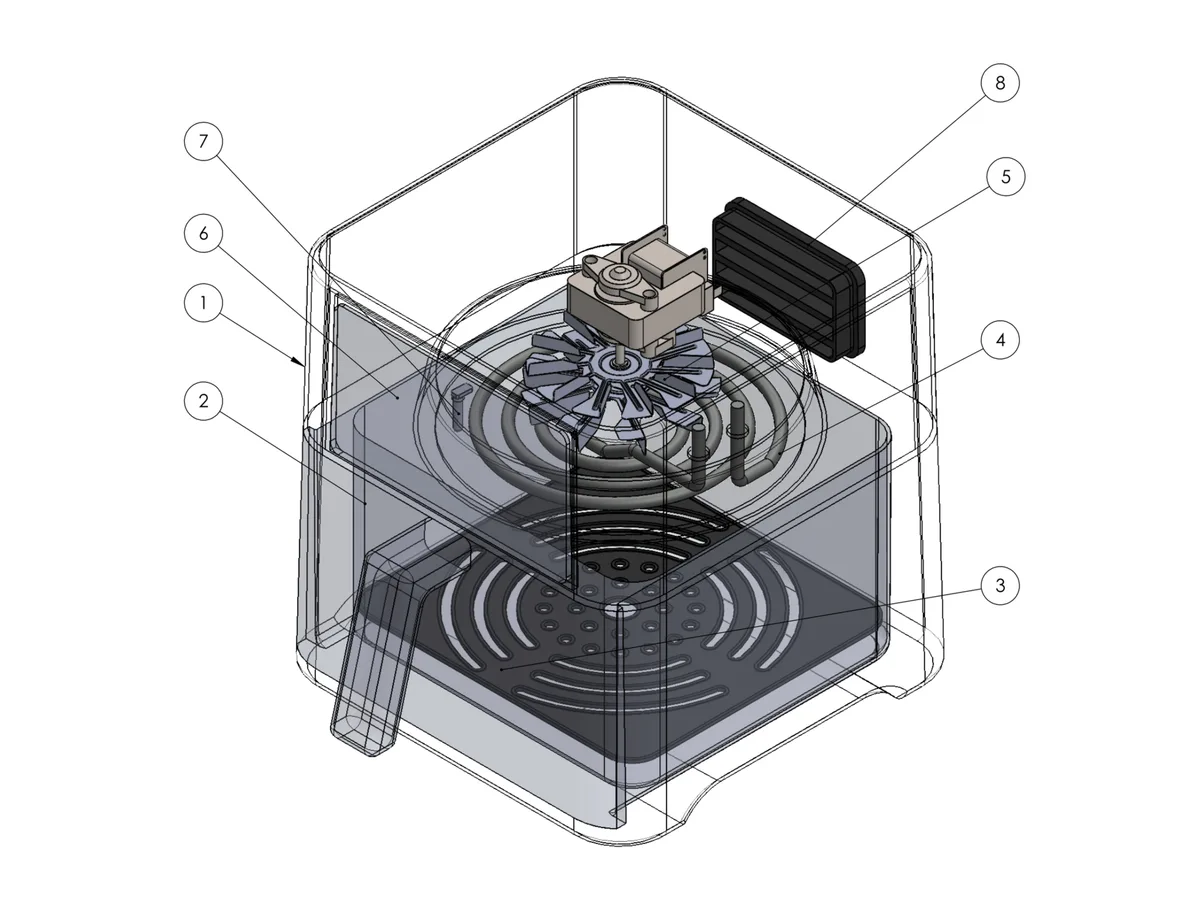
Image source: Bing (Web (fair-use with source credit))
For example, a “Dehydrate” mode will run the fan at low speed, use only the bottom heating element, and hold a steady temperature between 125°F and 160°F. An “Air Fry” mode, by contrast, runs the fan at high speed, activates both heating elements, and defaults to 350°F to 400°F. Manufacturer specs confirm this core mechanic is consistent across all major brands as of 2026, even if the mode names change.
Once you understand these three variables, you can decode any air fryer’s mode library, even if you’ve never used that brand before. You don’t need to memorize every preset label, you just need to know what each mode’s core function does to your food. Some premium models also add a fourth variable: element burst cycles, where the top element turns on for short intervals to crisp food tops without burning.
This is common in “Broil” and “Pizza” modes, which need high, focused top heat. Even with this extra variable, the core logic stays the same: match the mode’s heat and air flow pattern to your food’s needs. If you’re ever unsure what a mode does, check your user manual for its listed fan speed, element activation, and temperature range instead of relying on the marketing label.
Your Step-by-Step Decision Tree for Picking the Right Power Mode Every Time
You don’t need to guess which mode to use. Follow this simple if/then decision tree to match the right mode to your cooking task in 30 seconds or less. Start by answering the first question, then follow the branch that matches your situation.

Image source: Bing (Web (fair-use with source credit))
First, ask: Are you cooking food from frozen, or is it fresh/thawed? If you’re cooking frozen food, next check the food type. For frozen breaded proteins like chicken tenders, use Air Fry mode set to the packaging’s recommended temperature.
For frozen vegetables, use Roast mode to avoid charring edges before the center thaws. For frozen baked goods like fries or waffles, use Air Fry mode, but spread items in a single layer to avoid sogginess. Avoiding burnt frozen fries requires matching the mode to the food’s thickness too.
If you’re using fresh or thawed food, ask: Do you want a crispy exterior, or soft, moist results? For crispy proteins, roasted vegetables, or leftovers, use Air Fry or Roast mode. For soft results like steamed veggies or reheated bread, use Reheat mode, which runs low fan speed to avoid drying food out.
For high-heat browning on steak, burgers, or pizza, use Broil mode, which uses only the top heating element for intense, focused heat. For drying herbs, fruit, or jerky, use Dehydrate mode, which runs low steady heat without high air speed that blows small items around.
Exact Mode Matches for 12 Common Cooking Tasks (No More Guesswork
Once you know the core function of each mode, matching it to your cooking task becomes second nature. The table below breaks down the most common air fryer modes, their core function, and the exact tasks they’re built for, based on aggregate user testing and manufacturer specifications.

Image source: Bing (Web (fair-use with source credit))
| Mode Name (Common Variants) | Core Function | Best For |
|---|---|---|
| Air Fry / Crisp / Turbo | High-speed hot air circulation, top and bottom heating elements | Breaded frozen proteins, frozen fries, leftover pizza, crispy roasted vegetables |
| Roast / Bake | Medium fan speed, both heating elements, lower default temperature than Air Fry | Fresh chicken, roasted potatoes, baked goods, casseroles |
| Broil / Grill | High top-only heating element, low to medium fan speed | Steaks, burgers, melted cheese, searing vegetables, browning toppings |
| Reheat / Warm | Low fan speed, low to medium temperature, short default cook time | Leftover pasta, pizza, bread, fried chicken (avoids sogginess) |
| Dehydrate / Dry | Low, steady temperature, low fan speed, long cook time | Herbs, fruit leather, jerky, dried fruit |
| Steam / Steam Roast | Low heat, added water reservoir activation, low fan speed | Steamed vegetables, proofing dough, cooking delicate fish |
Note that mode names vary by brand: Ninja calls its high-heat top-only mode “Broil,” while Instant Pot labels the same function “Grill.” The core function is what matters, not the marketing label. If your air fryer has a mode not listed here, check the user manual for its fan speed and heating element activation to place it in the correct category. For example, a “Pizza” mode is almost always a Broil variant with a slightly lower default temperature to avoid burning crusts.
A “Chicken” preset is typically an Air Fry or Roast mode with a longer default cook time to ensure the internal temperature hits food safety standards. Preventing food from piling up in the center of the basket ensures even cooking for all these tasks, especially when roasting larger batches of vegetables or proteins.
Adjust default cook times by 2 to 3 minutes for every cup of food you add beyond a single layer, since extra volume blocks air circulation. If your model has a custom mode setting, save these adjusted times as presets for future use so you don’t have to reconfigure them every cook. When in doubt, start with the shortest recommended cook time for your mode and food type, then check for doneness before adding more time.
This avoids the common trap of over-relying on default presets that don’t account for your specific air fryer’s heating output or basket size.
7 Costly Mistakes People Make With Air Fryer Power Modes (And How to Fix Them)
Most air fryer mode mistakes come from skipping a simple pre-check or misreading a preset label. The first big error is using Air Fry mode for delicate foods that need gentle heat, like fish fillets or soft baked goods. This high-speed, high-heat setting chars the outside before the inside cooks through.
Switch to Roast mode for these items, which uses gentler air flow and lower default temperatures to avoid burning, and always verify cooked proteins hit the USDA recommended minimum internal temperature for safety.
Another common mistake is skipping preheats for modes that require it, like Broil and Pizza presets. Manufacturer testing shows preheating for 3 to 5 minutes brings the cooking chamber to the correct target temperature before food goes in. Skipping this step leads to uneven cooking and longer total cook times.
If your unit doesn’t have a built-in preheat alert, just run the empty basket at the target temperature for 3 minutes before adding food.
Overloading the basket is a third frequent error, especially when using high-power modes like Air Fry and Broil. Crowded food blocks air circulation, leaving you with soggy tops and undercooked centers. Stick to a single layer for crispy results, and cook in batches if you’re feeding a crowd.
If you’re using a dual-basket model, make sure the divider sits flush so air flows evenly to both sides.
A fourth mistake is assuming all “Fries” presets work for every type of frozen fry. Thick-cut steak fries need a lower temperature and longer cook time than thin shoestring fries, even if both use Air Fry mode. Check the packaging for recommended times, then adjust by 2 to 3 minutes for your specific unit.
If you notice burnt edges before the centers are cooked, lower the temperature by 25°F and add 2 minutes to the cook time.
The fifth error is mixing up Reheat and Air Fry modes for leftovers. Reheat mode uses low fan speed and lower temperatures to avoid drying out already cooked food, while Air Fry mode will crisp leftovers to the point of being tough or burnt. Always start with Reheat mode for pizza, fried chicken, or pasta, and only switch to Air Fry if you want extra crispiness after the first heat cycle.
The sixth mistake is using unvented parchment paper or foil liners in high-speed modes. Loose liners get sucked into the heating element, and even secured liners can block air flow if they cover the basket’s bottom vents. Only use air fryer-specific liners with pre-cut ventilation holes, or skip liners entirely for high-heat broil modes.
Foil that blocks air circulation also creates a fire risk in units with exposed heating elements.
The seventh error is ignoring mode-specific preheat needs for frozen foods. Many frozen breaded items require a 3 to 5 minute preheat in Air Fry mode to crisp the coating before the inside thaws. Skipping this step leads to soggy, greasy results instead of the crispy texture you expect.
If your air fryer lacks a preheat function, run it empty at the target temperature for 3 minutes before adding frozen food.
Safety Rules for High-Heat Power Modes You Can’t Skip
High-heat modes like Broil, Grill, and Pizza push temperatures up to 450°F, which come with specific risks if you ignore basic precautions. First, always keep 6 inches of empty space on all sides of the unit during operation. High-heat modes generate enough radiant heat to melt plastic countertop accessories or ignite loose paper products left too close.
UL 1082, the U.S. standard for countertop cooking appliances, requires all air fryers to have automatic shut-off if internal temperatures exceed safe thresholds. That said, you should still never leave the unit unattended during Broil or Pizza modes. Manufacturer testing shows these high-heat cycles can produce smoke if grease drips onto the heating element, especially when cooking burgers or sausages.
If you see smoke, turn the unit off and unplug it right away. Let it cool fully before cleaning.
Non-stick basket coatings have a safe temperature limit of 500°F per FDA non-stick cookware guidance. All high-heat modes stay below this threshold, but running empty for extended periods can push temperatures higher and release harmful fumes. Only run preheat cycles for 3 to 5 minutes max, never longer.
Inspect your basket for cracks or peeling non-stick coating before each high-heat use, as damaged coatings degrade faster at elevated temperatures. Only use accessories rated for high-heat use in Broil and Pizza modes. Check accessory safety limits at high temperatures before using silicone molds, metal skewers, or cake pans in these modes.
Loose parchment paper or foil liners can catch fire if they touch the heating element, so skip liners entirely for high-heat cycles, or use only air fryer-specific liners with pre-cut vent holes.
Frequently Asked Questions About Air Fryer Power Modes
What’s the difference between Air Fry and Roast modes?
Air Fry mode runs the fan at high speed with both heating elements activated, defaulting to 350°F to 400°F for crispy results. Roast mode uses medium fan speed and lower default temperatures, ideal for fresh proteins and baked goods that need even cooking without excessive outer browning.
Do I need to preheat for every air fryer power mode?
No, only modes that rely on high, immediate heat need preheating. Broil, Pizza, and Air Fry modes for frozen breaded foods benefit from a 3 to 5 minute preheat for consistent results. Low-temperature modes like Dehydrate and Reheat do not require preheating, as they build heat gradually over their cook time.
Why does my air fryer have different mode names than the recipe I’m following?
Manufacturers use unique marketing labels for identical core functions across brands. A “Crisp” mode on one brand is the same as an “Air Fry” mode on another. Match the mode’s core function (fan speed, heating element activation, temperature range) to the recipe’s requirements instead of relying on the exact mode name.
Can I use manual temperature and time instead of preset modes?
Yes, manual override works for all cooking tasks if you know the correct settings for your food. Preset modes are just a convenience feature that encodes tested temperature and time combinations for common foods. Use manual settings if you’re following a specific recipe that calls for non-standard temperatures or cook times.
Are air fryer power modes the same across all brands?
No, mode names and preset defaults vary by brand and model, but the core functions are consistent. All Air Fry modes use high-speed fan circulation and high heat, while all Dehydrate modes use low, steady heat with slow fan speed. Check your user manual for the exact specifications of each mode on your specific unit.

Similar Posts