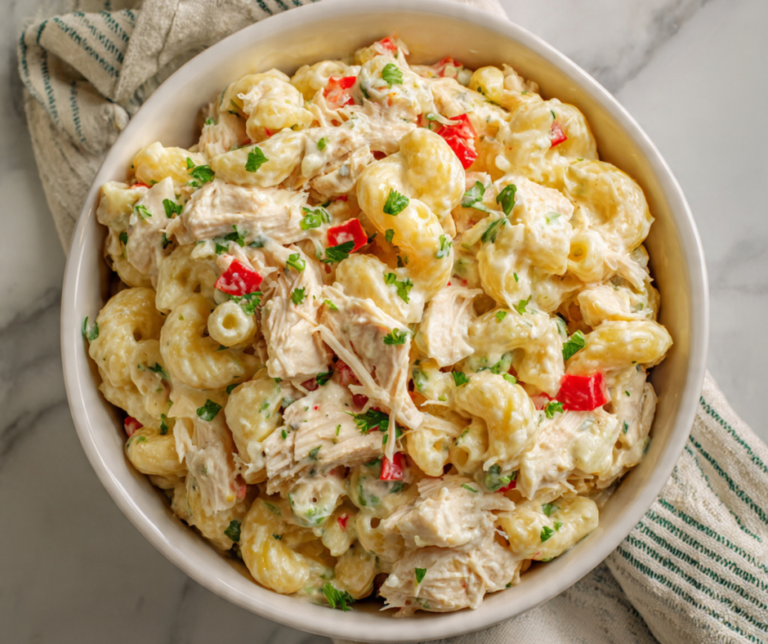
Hot Chicken Salad with Potato Chips: The Crispy Comfort Food
Hot chicken salad with potato chips is the casserole that reminds everyone why potlucks exist. But it's also the one that goes wrong more often than it should. Soggy chips.
Bland filling. A topping that burns before the middle even warms. Let's fix that.
USDA Food Safety and Inspection Service guidance says cooked chicken needs to reach 165°F for safe reheating, and leftovers belong in the fridge within two hours. As of 2026, those rules still apply to any casserole. Build it right, and the whole thing comes together in under an hour.
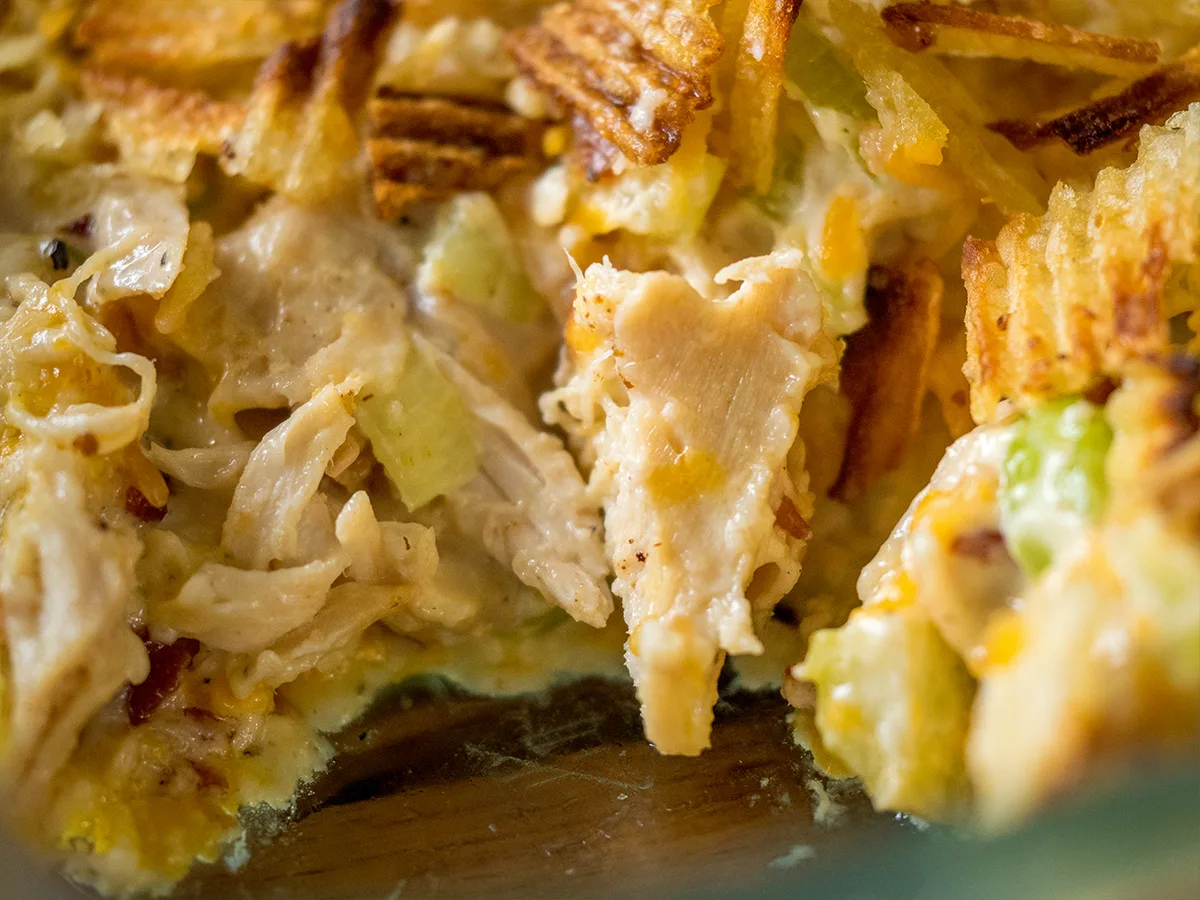
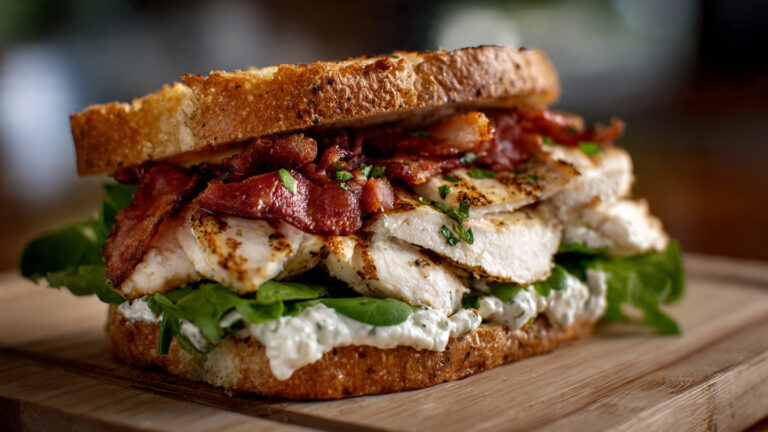
Image source: Web (Bing) / recipeler.com (Web image (fair-use with source credit))
The Problem: Why Your Hot Chicken Salad Turns Out Soggy or Bland
Three culprits ruin most versions. Moisture overload, chip timing, and weak seasoning.
Start with moisture. Chicken, mayonnaise, sour cream, condensed soup, and celery all release liquid as they heat. That liquid hits the chips on top, and the crunch dies fast.
Celery is the worst offender. It's mostly water. If you fold in a full cup of raw celery, you're baking a puddle.
Then there's seasoning. Mayo and sour cream mute flavor. Undersalted chicken makes it worse.
The chips bring salt, but they only sit on the surface. The filling underneath needs its own seasoning before it ever sees the oven.
If your mixture tastes flat before baking, it will taste flat after. If it looks soupy, the chips will sink and soften. If it looks dry and tight, the topping will toast while the middle stays chalky.
Chip placement matters too. Chips added too early to a warm mixture soak before they bake. Chips crushed to dust turn into paste.
Chips layered too thick clump instead of crisping. Any of those mistakes gives you a casserole that's sad on the plate.
The 30-Second Answer: What a Great Hot Chicken Salad Looks Like
A great hot chicken salad is creamy, crunchy, and salty. The filling stays rich, not runny. The chips stay crisp, not soggy.
The formula is simple. Use 3 cups shredded chicken, 1 cup binder, 1 cup cheese, and 1.5 cups chips. Bake at 350°F for 20 to 30 minutes.
Here's the baseline you can build on:
| Ingredient | Amount | Notes |
|---|---|---|
| Shredded cooked chicken | 3 cups | Rotisserie, poached, or leftover |
| Creamy binder | 1 cup | Mayo, sour cream, or condensed soup |
| Diced celery | 1/2 cup | Dice fine to limit water |
| Shredded cheddar | 1 cup | Sharp cheddar gives more flavor |
| Crushed potato chips | 1 to 1.5 cups | Coarse pieces, not dust |
| Baking dish | 9×13 inches | Butter it before filling |
Get that ratio right, and the filling is rich without being runny. The chips turn golden, not burnt. The edges bubble and brown.
And after a five-minute rest, it slices like a proper casserole should.
If you want a deeper dive into the classic baked version, our full casserole guide walks through the traditional method step by step.
Before You Start: Key Decisions That Shape the Whole Recipe
This casserole is a choose-your-own-adventure. The three decisions that matter most are the chicken, the binder, and the add-ins.
Pick Your Chicken Base
| Chicken Type | Flavor | Texture | Best For |
|---|---|---|---|
| Rotisserie chicken | Rich, seasoned | Moist, shreds easily | Weeknight dinners |
| Poached chicken breast | Neutral, lean | Firm | Healthier versions |
| Leftover roasted chicken | Great | Tender | Using up leftovers |
| Canned chicken | Salty, mild | Soft, mushy | Emergency backup |
If you go the rotisserie route, you're in good company. Picking the meat off a store-bought bird saves time and adds seasoned flavor that plain boiled chicken just doesn't have. If you want a Southern-style spin with extra seasoning, our mayo-forward Southern take is worth a look.
Choose Your Creamy Binder
The binder is what holds everything together. It also decides whether the casserole feels rich or light.
- Mayonnaise: classic, tangy, rich. The standard choice.
- Sour cream: tangy and lighter, but less stable under high heat.
- Cream of chicken soup: savory and thick, holds moisture well.
- Half mayo, half sour cream: the most balanced option for most people.
If you want a tangier, brighter filling, go half mayo and half sour cream. If you want a heartier, gravy-like texture, reach for the condensed soup. And if you're watching calories, a lighter yogurt-based option swaps cleanly into the same ratio.
Decide on Add-Ins
- Celery: adds crunch, but it also adds water. Dice it fine.
- Water chestnuts: crisp and they stay crisp through baking.
- Slivered almonds: nutty, but they soften as they cook.
- Pimentos: mild sweetness and a pop of color.
If you use celery, keep it to half a cup and dice it small. If you want guaranteed crunch that survives the oven, water chestnuts beat every chip on the table.
The Chip Topping Showdown: Which Potato Chip Wins?
Not all potato chips are equal. Since the topping is the whole point of this dish, the chip you pick matters more than you'd think.
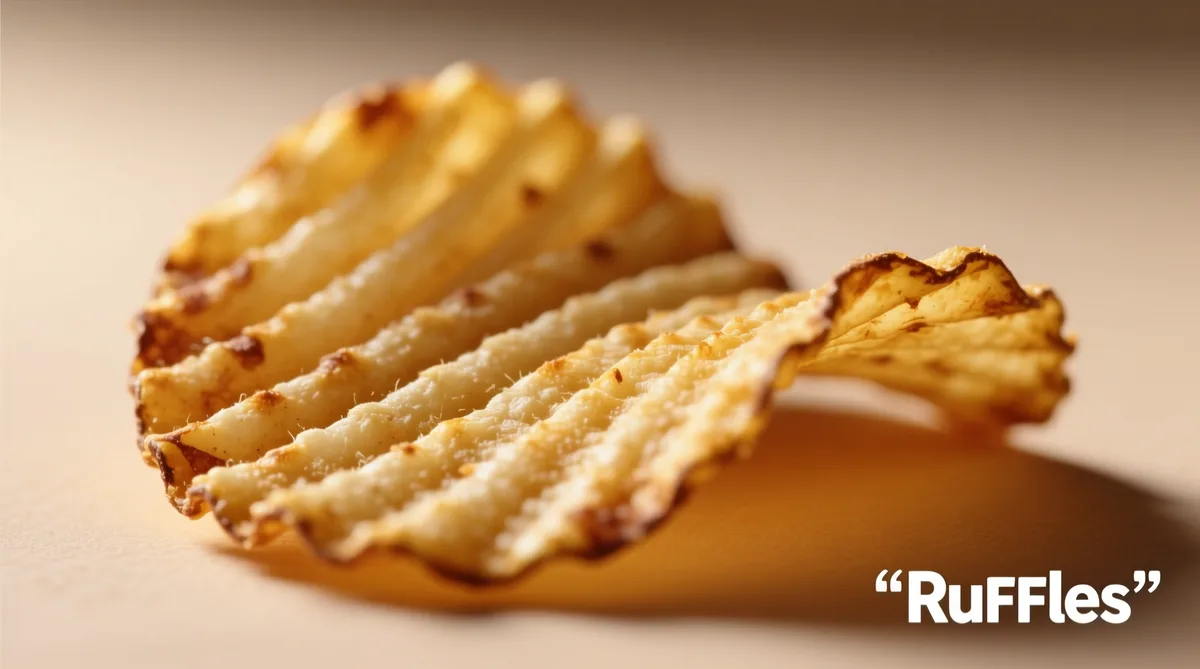
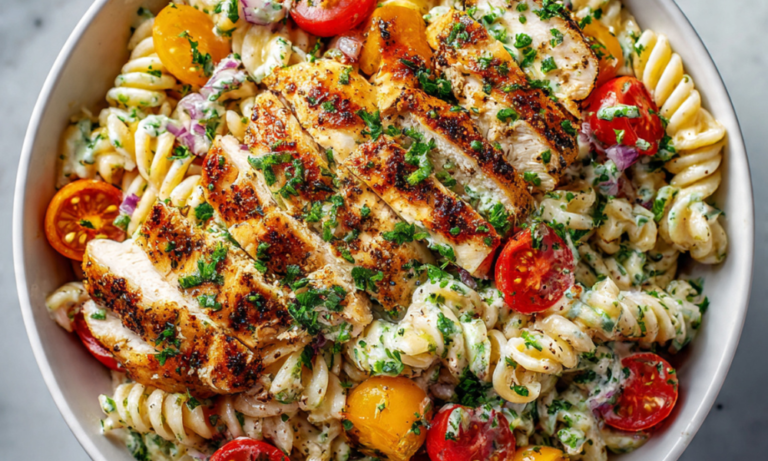
Image source: Bing (Web (fair-use with source credit))
Kettle-Cooked vs. Regular
Kettle-cooked chips are thicker and crunchier. They hold their structure under heat and stay crisp longer. Regular thin chips crisp faster, but they go limp the moment the filling steams up underneath them.
Ridged vs. Flat
Ridged chips have more surface area. That means they catch cheese and butter better, and they stand up to moisture longer. Flat chips crush more easily, which sounds nice, but they turn into a pasty layer when they hit the hot filling.
Flavored Chips: Genius or Risk?
Flavored chips can elevate the dish or wreck it. Sour cream and onion adds a nice savory note, but the powder can burn on top. Barbecue brings smoky sweetness, but it can overpower the chicken.
Salt and vinegar clashes with the mayo in a way that rarely works.
Here's how the main styles stack up:
| Chip Style | Crunch Factor | Oven Performance | Best Use |
|---|---|---|---|
| Kettle-cooked | High | Holds up well | Main topping |
| Regular thin | Low | Goes soggy fast | Crushed mix-in |
| Ridged | High | Stays crunchy | Main topping |
| Flavored | Medium | Powder can burn | Bold flavor twist |
If you want the safest, most reliable crunch, use plain kettle-cooked ridged chips. If you want to experiment, sour cream and onion is the best flavored option, just watch the baking time.
Step-by-Step: How to Assemble and Bake It Right
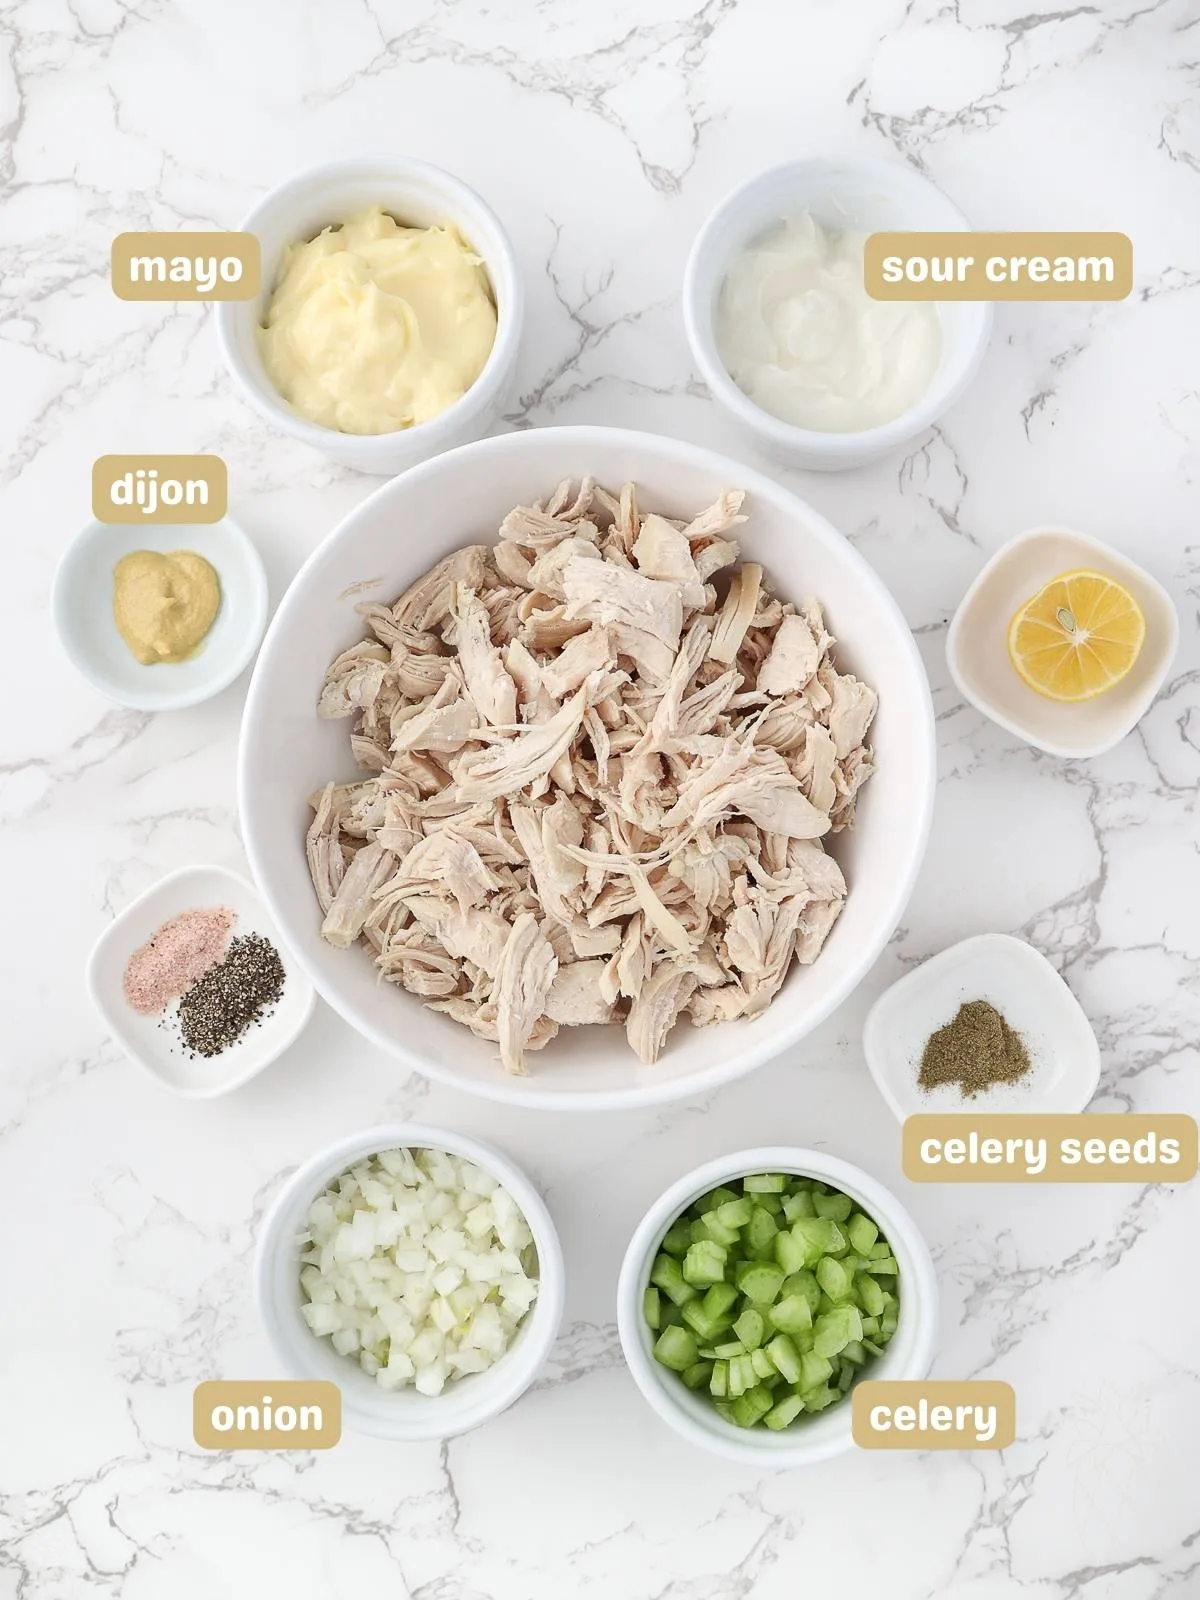
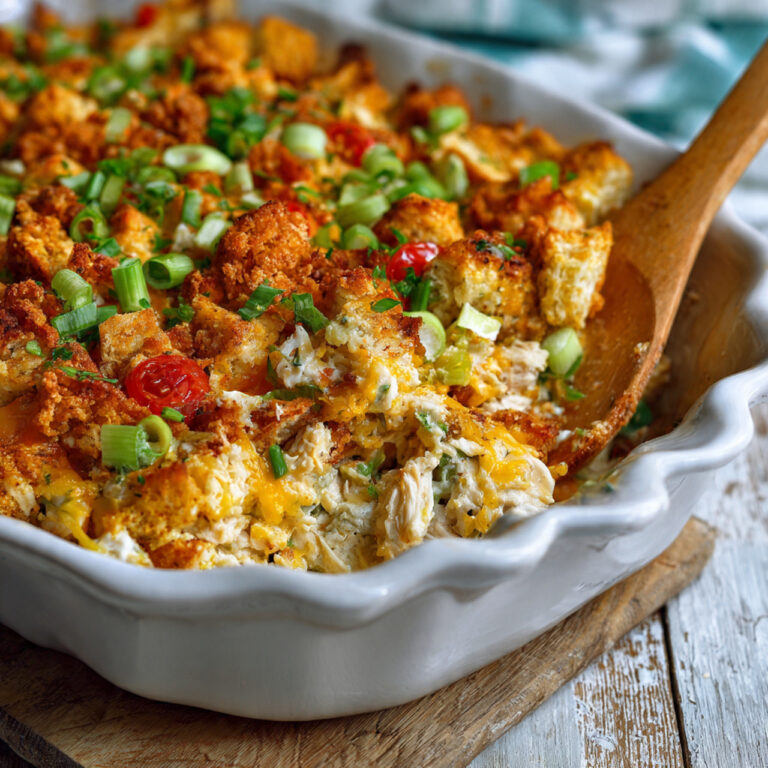
Image source: Web (Bing) / intentionalhospitality.com (Web image (fair-use with source credit))
Follow this sequence and you'll get a crisp topping every time.
- Preheat the oven to 350°F. Let it come to temperature while you work.
- Shred the chicken into bite-size pieces. Uniform pieces bake more evenly.
- Mix the binder, celery, onion, and seasonings in a large bowl. Taste it here. Adjust salt and pepper before adding the chicken.
- Fold in the chicken and any add-ins. Don't stir vigorously. You want the chicken coated, not mashed.
- Butter or spray a 9×13 baking dish. This prevents sticking and adds flavor.
- Transfer the mixture and spread it evenly. Smooth the top with a spatula.
- Top with shredded cheese. This layer sits between the filling and the chips.
- Crush the chips by hand into coarse pieces. Aim for nickel-sized chunks.
- Sprinkle the chips evenly over the cheese. Cover the whole surface.
- Dot with butter if you like. A few thin pats help the chips brown.
- Bake for 20 to 30 minutes. Wait until the edges bubble and the chips turn golden.
- Rest for 5 minutes before serving. This lets the filling set and the chips firm up.
The chip size is the critical detail. Coarse, nickel-sized pieces stay crunchy. Fine crumbs turn to paste.
Whole chips leave gaps. And don't stir the chips into the filling. They belong on top, where the dry heat reaches them.
The cheese layer matters too. It melts into the filling while the chips stay dry. That barrier is what keeps the crunch alive through the whole bake.
If you're cooking for a crowd, this same recipe scales up cleanly into a foil pan. Just add roughly 10 minutes to the bake time and check the center before pulling it out.
Temperature and Timing: How to Get Bubbly Edges Without a Burnt Topping
The oven temperature does two jobs at once. It heats the filling through, and it crisps the chips on top. The problem is that both jobs want different conditions.
At 350°F, and 30 minutes is the sweet spot. The filling bubbles and thickens, while the chips turn golden without scorching. If your oven runs hot, drop to 325°F and add 5 minutes.
If it runs cool, check at the 20-minute mark.
Here's what to look for when you open the oven door:
- Bubbly edges: small bubbles popping along the sides mean the filling is hot.
- Golden chips: a deep gold color, not brown, means the topping is crisp.
- Light jiggle: the center should barely move when you shake the dish.
- Internal temperature: 165°F in the middle confirms it's fully heated.
The temptation is to crank the heat to crisp the chips faster. Don't. High heat burns the chip powder and cheese before the middle warms up.
The USDA's Food Safety and Inspection Service recommends reheating leftovers to 165°F throughout, so use a thermometer if you're unsure.
One more thing. Let the casserole rest for 5 minutes after it comes out. The filling sets, the chips firm up, and the first scoop actually holds its shape instead of collapsing into a pile.
Common Mistakes and How to Fix Them
Every hot chicken salad failure comes down to a handful of repeatable mistakes. Here's how to spot and fix each one.
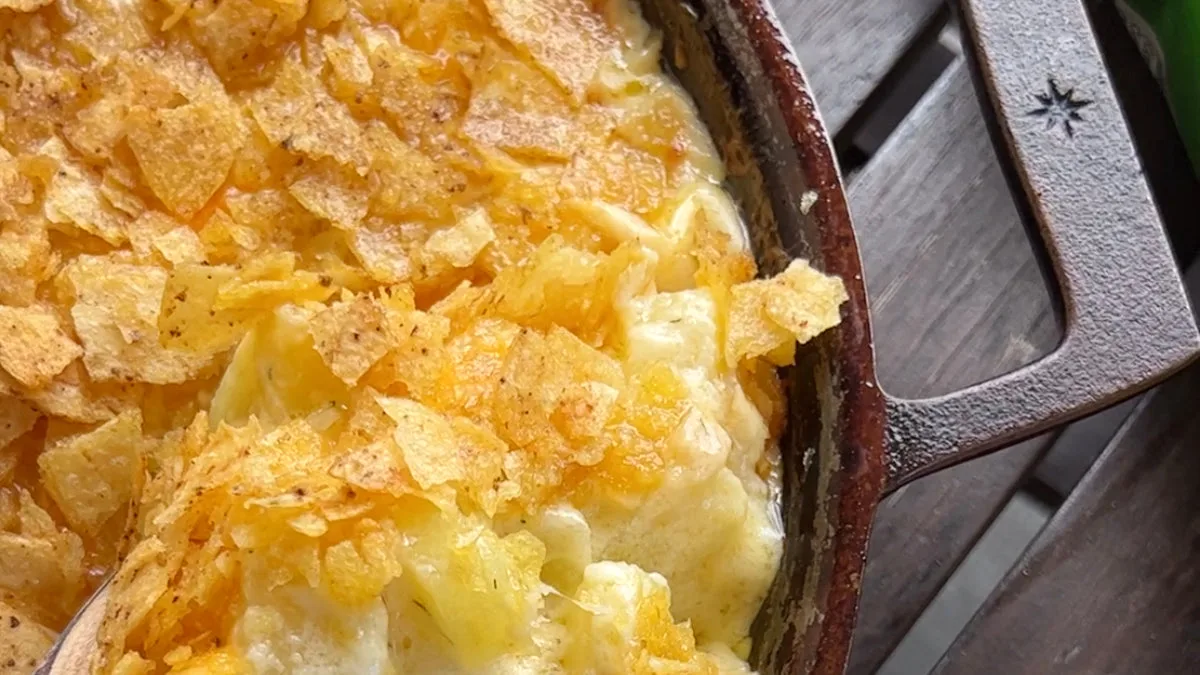
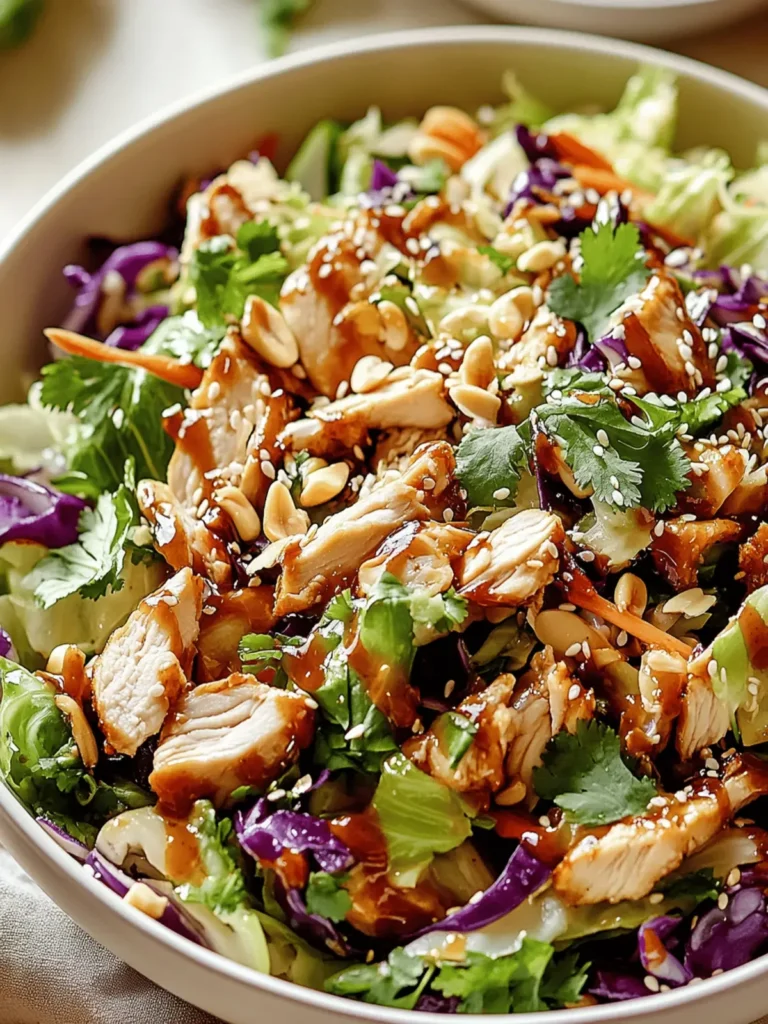
Image source: Web (Bing) / stargazercastiron.com (Web image (fair-use with source credit))
Soggy Chips
The chips absorb steam from the filling and go limp. Fix it by crushing the chips coarsely, adding them only at the end, and keeping a cheese layer between filling and chips. If your filling looks watery before baking, stir in a tablespoon of flour or a handful of crushed chips into the mix.
Bland Filling
Mayo and sour cream mute flavor. Taste the filling before you add the chicken. If it's flat, add salt, pepper, and a squeeze of lemon juice.
Season the chicken separately too, especially if you're using plain poached breasts.
Burnt Topping
The chips brown faster than the filling heats. Drop the oven to 325°F and cover the dish with foil for the first 15 minutes. Remove the foil for the last 10.
This steams the filling and crisps the top without scorching.
Greasy, Separated Filling
Too much mayo or sour cream makes the casserole split under heat. Stick to the 1-cup binder per 3-cup chicken ratio. And if you're using skin-on chicken, the rendered fat can pool in the bottom of the dish.
Blot shredded rotisserie chicken with paper towels before mixing.
Dry, Chalky Middle
This happens when the chicken is overcooked or the binder is skimpy. Add a little extra binder to the mixture before baking. If the casserole is already in the oven, Brian's trick is to spoon hot chicken broth over the top before serving.
It rehydrates the filling without touching the crisp chips.
Make-Ahead and Reheating: Prepping It Without Ruining the Crunch
Yes, you can assemble this ahead of time. The trick is knowing when to add the chips.
If you're prepping a day in advance, mix the filling and spread it in the dish. Cover and refrigerate. Add the cheese and chips right before baking.
Chips left sitting on a cold, moist filling will soften within a few hours.
If you're prepping the same day, you get a little more leeway. Assemble the whole casserole, add the chips, and bake within 2 hours. After that, the chips start absorbing moisture from the filling.
Leftovers are a different story. The chips will soften overnight no matter what you do. Reheat single servings in a toaster oven or air fryer at 350°F for 5 to 7 minutes.
That brings back some crunch. The microwave works, but it turns the chips to mush.
For storage, keep leftovers in an airtight container in the fridge for up to 3 days. Reheat to 165°F before serving. If you've got a batch of shredded chicken already made, this casserole is a quick weeknight win.
Pair it with air fryer chicken tacos for a fun, low-effort dinner lineup.
Serving Ideas and Use Cases: When This Dish Shines
This casserole is a workhorse. It shows up at potlucks, church suppers, family reunions, and weeknight tables. It's easy to transport, feeds a crowd, and tastes better than most cold salads.
Here are the best ways to serve it:
- As a main dish: with a green salad and crusty bread.
- As a side: smaller portions beside grilled meat.
- On a sandwich: spoon cold leftovers onto toasted bread. It's basically a hot chicken salad melt.
- Over greens: top a bed of lettuce with a warm scoop for a deconstructed salad.
The casserole also shines when you're using up leftovers. A store-bought rotisserie chicken from the night before becomes a completely different meal. If you're meal-prepping, portion it into single-serve ramekins and bake as needed.
And if you're looking for other high-protein lunch options, our high-protein chicken salad is a solid cold alternative.
This dish is also a great base for creativity. Swap cheddar for pepper jack. Add a can of diced green chiles.
Fold in crispy bacon. The structure holds up to substitutions, so it works for nearly any crowd.
Scaling the Recipe: From an 8×8 Pan to a Foil Pan for a Crowd
The recipe scales with simple math. The base ratio stays the same. 3 cups chicken, 1 cup binder, 1 cup cheese, 1.5 cups chips. Multiply by the number of batches you need.
Here's the quick reference:
| Pan Size | Batch Size | Bake Time | Serves |
|---|---|---|---|
| 8×8 inch | Half batch | 20 to 25 min | 3 to 4 |
| 9×13 inch | Single batch | 25 to 30 min | 6 to 8 |
| 10×15 inch | Double batch | 35 to 40 min | 10 to 12 |
| Foil pan (half) | Double batch | 35 to 40 min | 10 to 12 |
The foil pan is the potluck champion. It's cheap, disposable, and holds a double batch. But foil conducts heat differently than glass or ceramic.
Check the center early, and expect a slightly longer bake. If the chips brown too fast, cover with foil for the first 20 minutes.
For a half batch in an 8×8 pan, scale everything down linearly. Use 1.5 cups chicken and a half cup binder. The bake time drops to about 22 minutes.
The thinner layer cooks faster, so check the middle before you pull it out.
If you're feeding a bigger crowd, you can also bake two 9×13 pans at once. Rotate them halfway through for even browning. And if you want to round out the spread, all the recipes on our site are organized by course and protein, so you can build a full menu without overthinking it.
Your Decision Guide: A Quick Reference for the Perfect Batch
Use this cheat sheet when you're staring at a kitchen counter full of ingredients.
| If you want… | Use… | Skip… |
|---|---|---|
| Maximum crunch | Kettle-cooked ridged chips | Regular thin chips |
| Tangier filling | Half mayo, half sour cream | All mayonnaise |
| A lighter dish | Greek yogurt binder | Condensed soup |
| Faster prep | Rotisserie chicken | Poached breasts |
When in doubt, stick to the base ratio. 3 parts chicken, 1 part binder, 1 part cheese, 1.5 parts chips. That formula never lets you down.
Frequently Asked Questions
Can I use Greek yogurt instead of mayonnaise?
Yes. Plain Greek yogurt swaps in directly for mayo or sour cream. It's tangier and lower in fat, and it holds up well in the oven.
Just add a little extra salt to make up for the missing richness.
Why did my chips turn soggy?
The filling released too much moisture, or the chips sat on it too long. Keep chips coarse, add them right before baking, and use a cheese barrier. Water-heavy add-ins like extra celery make it worse.
Dice them fine or skip them.
Can I freeze hot chicken salad?
You can freeze the unbaked filling for up to 3 months. Thaw it overnight in the fridge. Add fresh cheese and chips just before baking.
The baked casserole doesn't freeze well because the chips soften and the mayo can separate.
How long do leftovers last?
Store leftovers in the fridge for up to 3 days. Reheat to 165°F per USDA guidelines. The chips will soften overnight.
Bring back some crunch with a toaster oven at 350°F for 5 to 7 minutes. The microwave works, but the topping goes limp.