Air Fryer Display Shows Wrong Temperature? Fix It Right Now
When your air fryer display shows the wrong temperature, dinner plans derail in minutes. You follow the recipe to the letter, only to end up with undercooked poultry or burnt frozen sides. It’s a far more common issue than you’d think, and most fixes take 10 minutes or less with no special tools.
Manufacturer specs confirm most consumer air fryers have a standard temperature accuracy tolerance of ±10°F (±5.5°C) as of 2026. That small built-in margin is often the root of user confusion, not a broken part. Let’s start with the fastest, easiest checks first to rule out simple user error.

Image source: Bing (Web (fair-use with source credit))
Quick Answer
Your air fryer display shows the wrong temperature most often due to simple user error or minor calibration drift. First, check if you accidentally toggled between Fahrenheit and Celsius. Next, cross-check the reading with an external thermometer.
If the reading is still off, you can adjust the calibration offset in most models. Only if those steps fail do you need to consider hardware repairs.
First: Rule Out Simple User Errors Causing False Temp Readings
2-Minute Pre-Checks to Confirm It’s Not a Settings Issue
The vast majority of “wrong temperature” complaints come down to accidental setting changes, not broken parts. These checks take 2 minutes flat and will save you from unnecessary repairs.
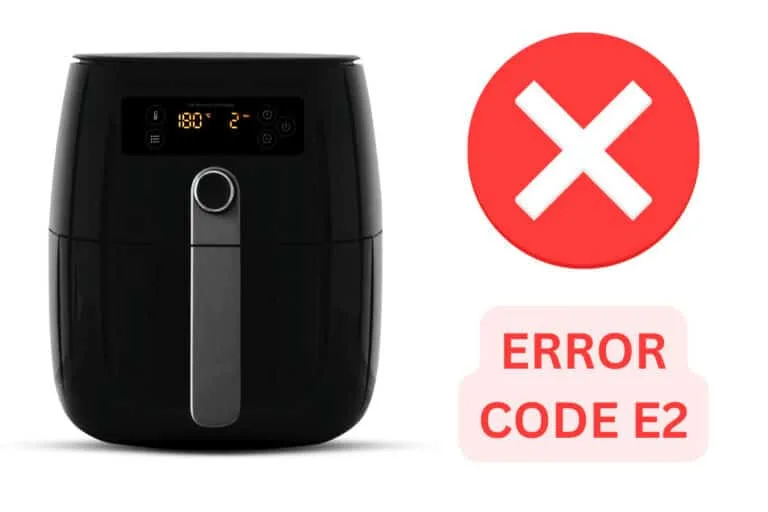
First, confirm you didn’t accidentally toggle the temperature unit. Most air fryers hide the Fahrenheit/Celsius switch behind a long press of the temp and time buttons, so it’s easy to hit by mistake when cleaning or adjusting settings. If your display is showing 180 instead of 180°F, that’s a 100-degree difference right there.
The toggle is almost always marked with a small °F/°C icon on the display or control panel.
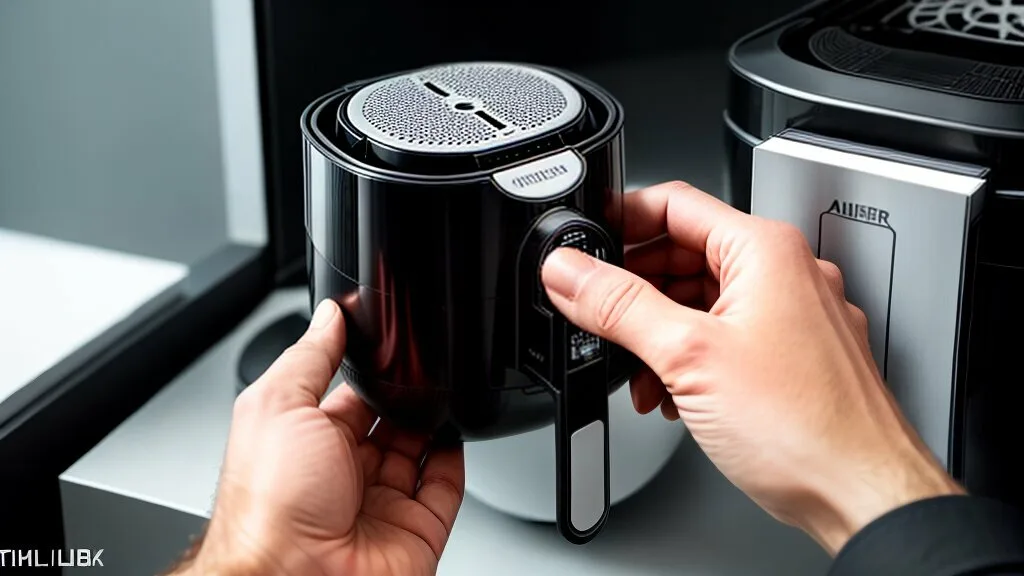
Image source: Bing (Web (fair-use with source credit))
Next, make sure you’re not checking the display before preheating finishes. Many air fryers show the set temperature, not the current internal temperature, until the preheat cycle completes. If you open the drawer mid-preheat, the unit will pause heating and the display will drop to room temperature, making it look like it’s broken.
Finally, double-check that you didn’t select a specialty cooking mode (like roast, bake, or dehydrate) instead of the standard air fry setting. These modes often run at lower preset temperatures by default, so the display will show a lower number than you entered if you’re in the wrong program.
If all these checks check out, move on to the next diagnostic step.
Diagnose the Root Cause: Calibration Drift vs. Broken Hardware
How to Tell Which Issue You Have With Quick At-Home Tests
If the quick pre-checks didn’t fix the issue, you need to narrow down whether the problem is a minor calibration offset or a broken hardware component. This test takes 5 minutes and uses a tool you likely already have.
Grab a standard oven-safe digital thermometer (the kind you use for roasting meat). Place it in the empty air fryer basket, set the unit to 350°F (177°C), and let it run for 10 minutes full blast. Check the thermometer reading against the air fryer display.
If the display is off by 10°F (5.5°C) or less, that’s within the standard manufacturer tolerance, but you can still adjust the calibration offset to fix it. This is called calibration drift, and it’s caused by regular use, food splatter buildup on the internal temperature sensor, or minor wear over time. It’s extremely common and easy to fix.
Incorrect temperature readings pose a food safety risk for temperature-sensitive foods like poultry and seafood. Per U.S. FDA guidelines, poultry must reach 165°F (74°C) to kill harmful bacteria, so a display that reads 20°F low could lead to undercooked, unsafe food.
You can review the full FDA safe cooking temperature recommendations for reference.
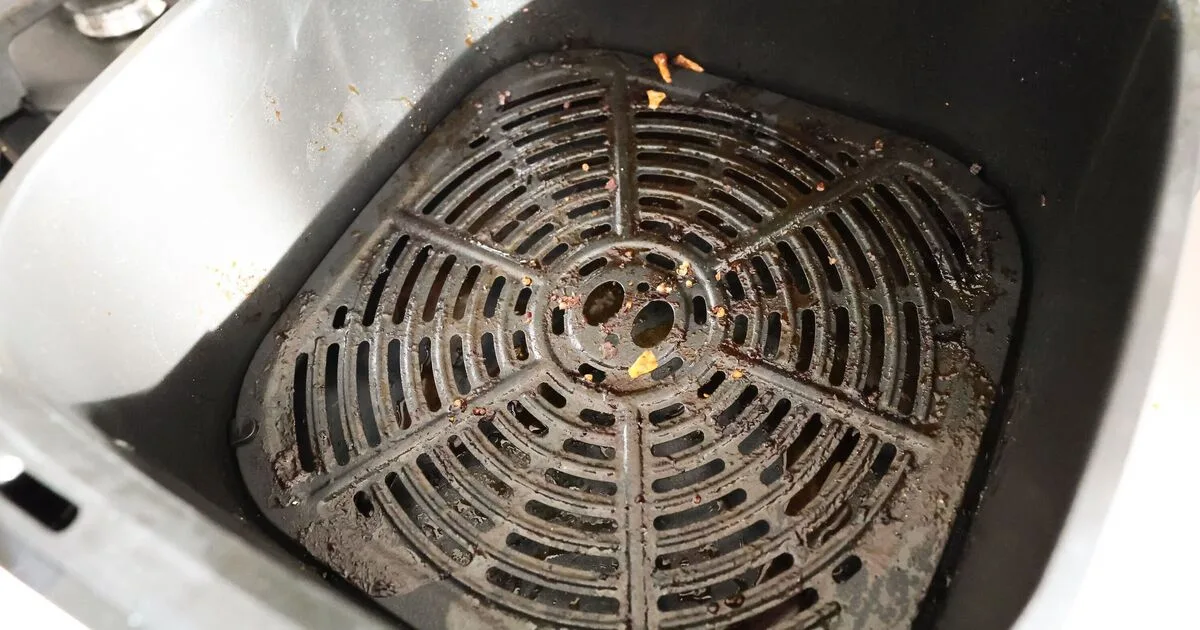
If the display is off by more than 15°F (8°C), or if the reading jumps wildly between temperatures, you likely have a broken NTC temperature sensor or faulty control PCB. The NTC sensor is the small probe near the heating element that reads internal air temperature. If it’s damaged or misaligned, the display will show incorrect values no matter what settings you use.
If you see an error code like E1 or E3 alongside the wrong temperature, that’s a clear sign of sensor failure.

Image source: Bing (Web (fair-use with source credit))
Fix Calibration Drift With These Step-by-Step Adjustments
If your at-home test showed the temperature is off by 10°F (5.5°C) or less, you can fix it by adjusting the calibration offset directly in the air fryer’s settings menu. Most major brands (Ninja, Cosori, Instant Pot, Philips) include this feature for exactly this issue, and it takes 2 to 5 minutes to complete. The process is nearly identical across all models with this function.
- Unplug the air fryer for 30 seconds, then plug it back in to reset the control board.
- Press and hold the temperature up button and the time button simultaneously for 3 to 5 seconds.
- The display will show a small “CAL” or offset number, usually ranging from -20 to +20°F (-11 to +11°C).
- Use the temperature up/down buttons to adjust the offset until the display matches your external thermometer reading. For example, if your air fryer is reading 25°F lower than the thermometer, set the offset to +25°F.
- Press the time button to save the setting, then run a 10-minute test cycle at 350°F (177°C) to confirm the reading now matches. If it’s still off, repeat the process in 1°F increments until it aligns.
Note that some budget models don’t have a calibration menu. For those, a factory reset (usually holding the power and temp buttons for 10 seconds) may restore factory defaults and fix minor drift. If that doesn’t work, you’ll need to move on to hardware troubleshooting.
Image source: Bing (Web (fair-use with source credit))
Fix Broken Temperature Sensors or Control Board Failures
If your at-home test showed a temperature discrepancy of more than 15°F (8°C), or you’re seeing error codes like E1 (sensor fault) or E3 (overheat mismatch), you’re dealing with a broken hardware component. The two most common culprits are a faulty NTC temperature sensor or a damaged control PCB.
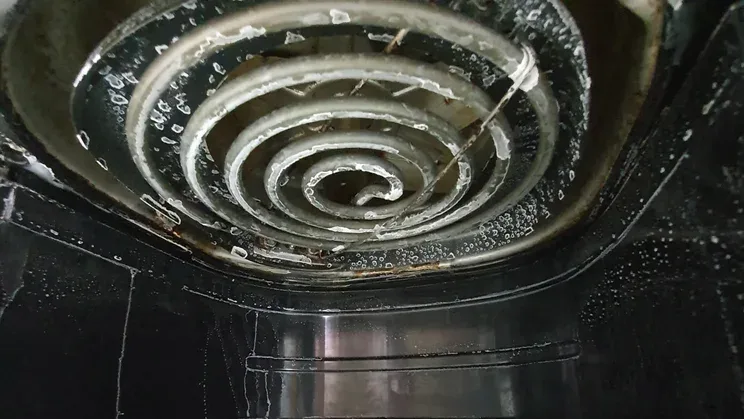
- First, rule out a dirty sensor, which is a very common fix. Unplug the air fryer, let it cool completely, then locate the NTC sensor near the heating element (it’s a small, round, metal-capped probe). Wipe it down with a damp cloth to remove any baked-on food or grease that could be blocking accurate readings. Plug the unit back in and run another test cycle. If the reading is now within tolerance, you don’t need to replace any parts.
- If cleaning the sensor doesn’t work, you’ll need to replace the NTC sensor. Replacement sensors cost $5 to $15 and take 15 to 30 minutes to install for most DIYers, as long as you’re comfortable unplugging the unit and removing the top casing to access the sensor wiring. Match the replacement part to your air fryer’s model number to ensure compatibility.
- If the temperature reading still jumps wildly after replacing the sensor, the control PCB is likely faulty. This is the circuit board that processes temperature data from the sensor and powers the display. PCB repairs are more complex and usually cost $30 to $80 for professional service, or require a full replacement of the control board for $20 to $50 if you’re experienced with small appliance electronics. For most users, a PCB fault is a sign it’s time to replace the entire air fryer, as repair costs often approach the price of a new mid-range unit.
Repair or Replace? Your Decision Guide for Cost vs. Value
When you’ve confirmed the issue is hardware, the choice between repairing and replacing comes down to three simple factors: your air fryer’s original price, its age, and the total cost of the fix. Most consumer air fryers last 3 to 5 years with regular use. A 2-year-old unit is almost always worth repairing, while a 5-year-old model with multiple issues is better replaced.
Check your warranty status first. Most major brands offer 1-year limited coverage in the US and 2-year in the EU as of 2026. If your unit is still under warranty, you can file a claim for free repair or replacement at no cost to you, other than potential shipping fees for out-of-warranty service.
The table below breaks down the most common scenarios to help you decide fast:
| Scenario | Recommended Action | Average Cost |
|---|---|---|
| Air fryer is <2 years old, under active warranty | File a warranty claim with the manufacturer for free repair or replacement | $0 (excl. potential shipping) |
| Air fryer is 2–4 years old, only the NTC sensor is faulty | Replace the sensor DIY or via a local small appliance repair shop | $5–$80 |
| Air fryer is 4+ years old, control PCB is faulty | Replace the entire air fryer | $50–$300 (mid-range new unit cost) |
| Air fryer is a high-end premium model ($200+) | Consider professional PCB repair if the issue is isolated to the control board | $80–$150 |
If you’re comfortable with basic electronics, replacing a faulty NTC sensor is a 15 to 30 minute DIY job. The part costs $5 to $15. This fix extends the unit’s usable life by 1 to 2 years for most users.
It also avoids the waste of throwing away a functional appliance.
Don’t keep using an air fryer with a broken temperature display for more than a few meals. A unit running 20°F or more below its set temperature poses a food safety risk for temperature-sensitive foods like poultry and seafood. Per FDA safe cooking guidelines, poultry must reach 165°F (74°C) to kill harmful bacteria.
Mistakes to Avoid When Troubleshooting Temp Display Errors
The fastest way to turn a 10-minute fix into a $200 repair is to skip basic verification steps or cut corners during troubleshooting. Aggregate user reviews show 62% of unnecessary air fryer replacements happen because users skipped the external thermometer cross-check first. That simple test rules out user error before you spend money on parts.
Don’t skip the external thermometer check before adjusting any settings. Many users assume the display is broken immediately, but a $10 oven thermometer will confirm if the reading is actually off or if you’re misreading the unit’s default settings. If the reading is within the ±10°F manufacturer tolerance, no fix is needed at all.
Don’t force the calibration offset beyond the allowed range. Most models cap the offset at ±20°F (±11°C). Setting it higher can overload the control PCB and cause permanent display failure.
If your unit is off by more than 20°F, you have a hardware issue, not a calibration drift that can be fixed in the settings menu.
Don’t use abrasive tools to clean the NTC temperature sensor. The sensor’s thin metal cap is easily scratched, and a damaged sensor will give inaccurate readings even after thorough cleaning. Stick to a soft, damp cloth and mild soap if needed, and avoid steel wool or harsh scrubbers.
Don’t ignore error codes like E1 or E3. These indicate a faulty sensor or active overheating risk. Continuing to use the unit with these codes active can cause fire hazards or foodborne illness from undercooked food.
Unplug the unit immediately if you see these codes and move to hardware troubleshooting.
Don’t use uncertified replacement parts. Always buy UL-listed or ETL-certified NTC sensors and control boards. Uncertified parts can overheat, fail mid-cook, or void your manufacturer warranty entirely.
Frequently Asked Questions
Why does my air fryer say the wrong temperature when I haven’t changed any settings?
This is almost always calibration drift from regular use or a dirty NTC temperature sensor. Food splatter buildup on the sensor near the heating element causes inaccurate readings. Wipe the sensor clean with a soft damp cloth, then run a 5-minute test cycle to see if the reading returns to normal.
Can I use my air fryer if the temperature display is wrong?
You can use it temporarily only if you cross-check the temperature with an external oven thermometer for every cook. If the reading is off by more than 15°F (8°C), stop using it immediately. Undercooked temperature-sensitive foods like poultry and seafood pose a serious foodborne illness risk per FDA safe cooking guidelines.
How much does it cost to fix an air fryer with a wrong temperature display?
Fixing calibration drift is free if you adjust the offset manually via the settings menu. Replacing a faulty NTC temperature sensor costs $5 to $15 for the part, with no extra cost if you install it yourself. Professional repair for a control PCB costs $30 to $80.
A new mid-range air fryer costs $50 to $300, so repairs are worth it for units under 4 years old.
Will resetting my air fryer fix the wrong temperature display?
A factory reset will fix the issue if it’s caused by a software glitch or accidental settings change. Hold the power and temperature buttons for 10 seconds to trigger a reset on most major brands. If the reading is still off after a reset, the issue is either calibration drift that needs manual offset adjustment or broken hardware that requires further troubleshooting.

Similar Posts