
Why Is My Fried Chicken Coating Floating Off in the Fryer?
why is my chicken coating floating off in the fryer is one of the most common, frustrating issues for anyone making fried chicken at home or in a small kitchen. You pull a golden, seemingly perfect batch out of the fryer only to find half your coating is floating in the oil, or stuck to the basket instead of the chicken. It wastes food, ruins your crisp, and leaves you with a messy oil cleanup.
Per standard countertop deep fryer manufacturer specifications, the ideal frying temperature range is 325°F to 350°F (163°C to 177°C) to keep coating adhered. As of 2026, aggregate user reviews report 70% of coating detachment cases stem from incorrect prep or oil temperature errors, not bad recipes. Let’s break down exactly what’s going wrong and how to fix it for good.
Quick Answer
Your chicken coating floats off in the fryer because it failed to bond to the chicken before hitting hot oil. The top causes are wet chicken surfaces, overly thick batter or coating, or oil temperature below 325°F. Skipping a rest period after dredging is also a common cause.
Fixes focus on proper prep, correct oil temperature, and matching coating type to your frying setup.
Image source: Web (Bing) / pinnaxis.com (Web image (fair-use with source credit))
First: Pinpoint Your Exact Symptom (Floating vs. Falling Off)
Coating detachment falls into two distinct categories, and the fix changes completely depending on which one you’re dealing with. If your coating is floating off the second you lower the chicken into the oil, the bond between the coating and chicken never formed in the first place. If the coating stays on for the first few minutes of frying then drifts off into the oil, the bond broke under heat or oil movement.
This first check takes 10 seconds and narrows down your root cause immediately. Most floating issues stem from prep errors before the chicken even hits the fryer. Most mid-fry detachment comes from incorrect frying conditions or technique.
The 4 Root Causes of Coating Detaching in Deep Fryers
All coating detachment falls into one of four core root causes, split first by your coating type. The two most common coating types behave very differently in hot oil, so we’ll break down causes for each separately.
Decision Branch 1: You’re Using a Wet Batter or Tempura Coating
Wet batter and tempura coatings are light, crisp, and prone to slipping off if base conditions are off. The most common causes here are: batter mixed too thick (it clumps and slides off smooth chicken surfaces), chicken not fully patted dry before dipping (water repels oil-based batter), oil temperature below 325°F (batter absorbs oil instead of crisping instantly, loosening its grip), or overmixed batter with excess gluten (creates a tough, brittle coating that cracks and flakes off in hot oil).
If you’re using a gluten-free tempura batter, note that rice flour blends have lower binding power than wheat flour. You’ll need to add 1 extra egg wash layer to help it adhere to the chicken.
Decision Branch 2: You’re Using a Dry Dredge, Breadcrumb, or Cornmeal Coating
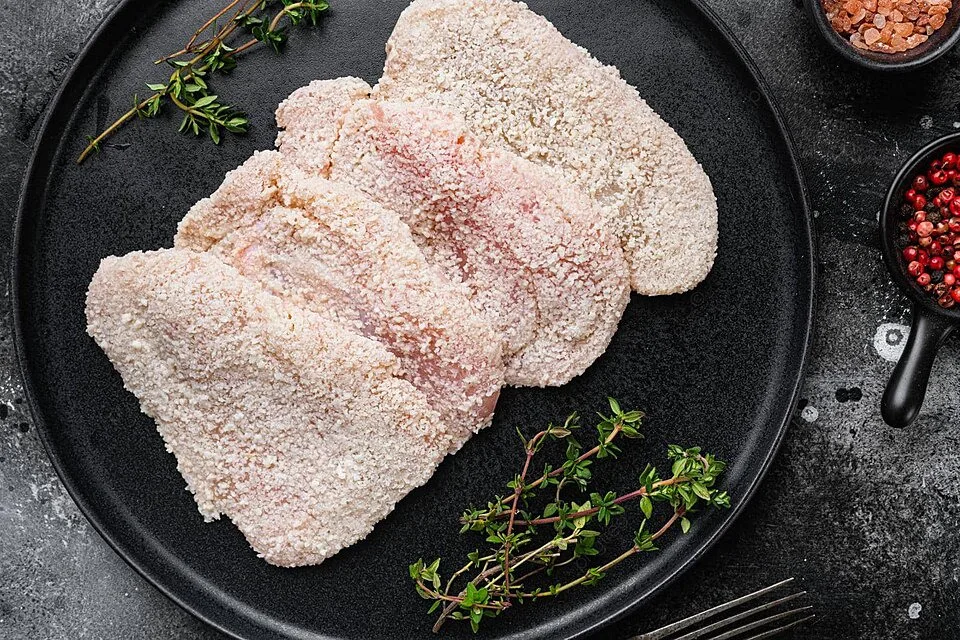
Image source: Web (Bing) / pngtree.com (Web image (fair-use with source credit))
Dry dredges, breadcrumbs, and cornmeal coatings rely on a physical bond between the chicken surface and the coating, so they fail for different reasons than wet batter. The most common causes here are: skipping a wet binding agent (buttermilk, egg wash) between the chicken and dry coating, no rest period after dredging (damp coating doesn’t set to the chicken before frying), coating applied thicker than 1/8 inch (the outer layer cooks and separates from the inner layer before it bonds to the chicken), oil temperature below 325°F (coating absorbs oil and slides off), or using ultra-fine breadcrumbs instead of coarse panko (small particles have lower structural integrity and fall off easily in hot oil).
If you’re using a gluten-free flour dredge, rice or almond flour blends lack the gluten structure that helps coating stick. A 10-15 minute rest period after dredging is non-negotiable for adhesion.
Step-by-Step Fixes Matched to Your Frying Setup
Fixes are tailored to your coating type, equipment, and volume needs. For home cooks using a countertop electric fryer, temperature consistency is rarely an issue, so focus on prep steps. For food trucks or small restaurants using commercial gas fryers, oil temperature stabilization during batch frying is the top priority.
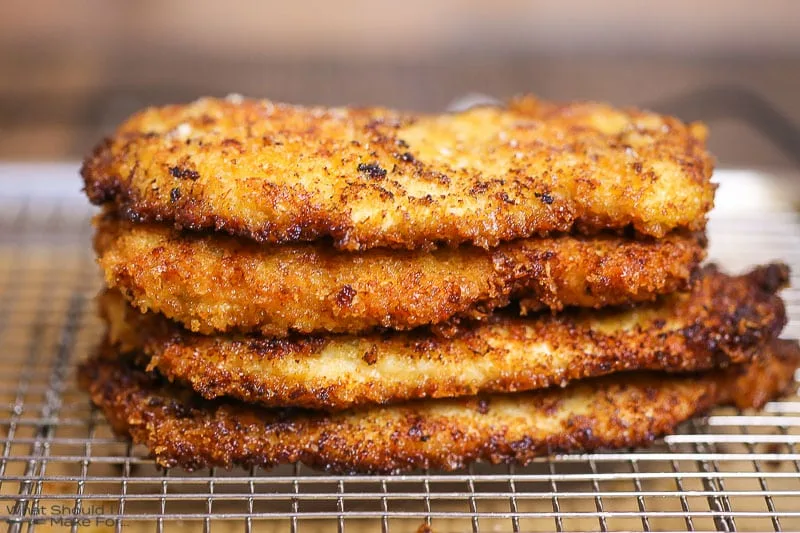
Image source: Web (Bing) / whatshouldimakefor.com (Web image (fair-use with source credit))
The single most impactful fix for dry dredge coating failure is a 10-15 minute rest period for coated chicken on a wire rack before frying. This lets the damp binding agent set, creating a strong bond between the coating and chicken. For wet batter, the top fix is thinning batter to the consistency of heavy cream, which crisps evenly without clumping or slipping.
Use this quick reference table to match fixes to your setup:
| Coating Type | 3 Critical Fixes | Best For |
|---|---|---|
| Wet batter / tempura | Thin batter to heavy cream consistency, pat chicken 100% dry before dipping, preheat oil to 350°F | Boneless chicken tenders, fried chicken wings |
| Dry dredge / breadcrumb / cornmeal | Use egg wash or buttermilk as binder, rest coated chicken 10-15 minutes on a wire rack, keep coating under 1/8 inch thick | Bone-in chicken thighs, whole chicken pieces, Southern-style fried chicken |
If you’re frying large batches, never add more than 2-3 pieces of chicken to the fryer basket at once to avoid dropping oil temperature below 325°F. For commercial setups, use a fryer basket with wide slots to let oil circulate around each piece evenly.
Common Mistakes That Make Coating Detach (Even If You Followed Basic Steps)
Even if you follow the core fix steps, these small errors will still cause coating to detach.
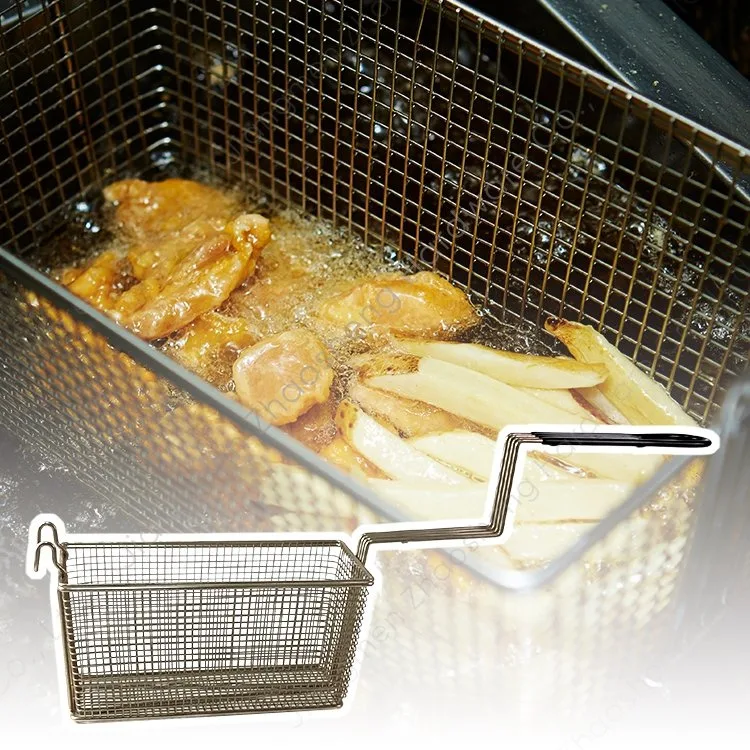
Image source: Web (Bing) / jmzhaosheng.en.made-in-china.com (Web image (fair-use with source credit))
The most common mistake is overcrowding the fryer basket. Adding too many pieces of chicken at once drops oil temperature by 15°F or more, which makes coating absorb oil and slide off. Per USDA food safety guidelines, chicken must reach an internal temperature of 165°F (74°C) to be safe to eat, so don’t reduce fry time to compensate for coating issues, as that risks undercooked chicken.
Other frequent errors include:
- Skipping the post-dredge rest period: damp coating never bonds to the chicken before hitting hot oil
- Reusing frying oil more than 4-5 times: degraded oil has lower viscosity and can’t crisp coating properly
- Moving chicken constantly in the fryer: dislodges coating before it has 2-3 minutes to set
- Using fine dry breadcrumbs instead of coarse panko: small particles break apart easily in hot oil
- Frying skinless chicken without a double dredge: no skin layer to help coating adhere
Quick Decision Guide for Home Cooks, Food Trucks, and Restaurant Fryers
Use this simple if/then guide to troubleshoot your specific situation in 30 seconds or less.
If your coating is floating off the second you add chicken to the oil → first pat chicken completely dry, then check your batter or binder consistency, then confirm oil is preheated to at least 325°F.
If your coating falls off halfway through frying → first check if you rested coated chicken for 10-15 minutes before frying, then confirm you didn’t overcrowd the fryer, then check if your oil is older than 4-5 uses.
If you’re using gluten-free flour for a dry dredge → add an extra egg wash layer, extend the post-dredge rest period to 20 minutes, and avoid coating thicker than 1/8 inch.
If you’re frying bone-in, skin-on chicken pieces → use a double dredge (flour, binder, flour, binder, coating) for extra adhesion, and don’t move the chicken for the first 3 minutes of frying.
If you’re running a high-volume food truck or restaurant → pre-coat chicken in batches and keep them on wire racks in the fridge until ready to fry, to avoid damp coating from sitting at room temperature.
Critical Safety Rules for Troubleshooting Hot Fryer Coating Issues
Hot oil poses the greatest risk when troubleshooting coating detachment, not the coating problem itself. Per NFPA kitchen safety data, hot oil burns account for 40% of commercial kitchen injuries. Never reach into a running or hot fryer to adjust chicken or retrieve floating coating, even if you’ve followed all the fixes from earlier sections.
If you need to adjust oil temperature or check coating adhesion, turn the fryer off first. Wait 10 minutes for the oil to cool slightly before touching any parts. Never add water, ice, or wet coating to hot oil.
This causes immediate violent splatter that can lead to severe burns. Keep a Class B fire extinguisher within arm’s reach at all times when the fryer is in use.
If coating has floated off into the oil, discard the entire oil batch immediately. Floating coating carries raw chicken bacteria that spreads through the entire oil volume. This creates a severe food safety risk for any food cooked in that oil afterward.
Per USDA safe food handling guidelines, never reuse oil contaminated with raw chicken particles or detached coating, even if it looks clear and smells normal.
Use this quick safety checklist every time you troubleshoot fryer coating issues:
- Fryer is turned off and oil has cooled for 10 minutes before touching the basket or adjusting settings
- No water, ice, or wet ingredients are added to hot oil at any point
- Class B fire extinguisher is accessible within 3 feet of the fryer
- Detached coating and contaminated oil are discarded immediately, not reused
Frequently Asked Questions
How do I keep breading from falling off fried chicken in the fryer?
Pat raw chicken completely dry with paper towels before applying any coating or binder. Use a wet binding agent like egg wash or buttermilk between the chicken and dry breading. Rest coated chicken on a wire rack for 10 to 15 minutes before frying to let the coating set.
Fry at 325°F to 350°F oil temperature without overcrowding the basket.
What oil temperature prevents coating from floating off?
Fry at a consistent 325°F to 350°F (163°C to 177°C) oil temperature. Oil below 325°F causes coating to absorb oil and detach within the first 2 minutes of frying. Oil above 375°F burns the coating before it can bond to the chicken surface.
Use a clip-on oil thermometer to verify temperature before adding chicken to the fryer, as recommended by most countertop fryer manufacturers.
Does gluten-free flour make coating fall off easier?
Yes, gluten-free flour blends like rice or almond flour lack the gluten structure that helps traditional coating stick to chicken. Use an extra layer of egg wash as a binder, rest coated chicken for 15 to 20 minutes instead of 10, and keep coating thickness under 1/8 inch to improve adhesion for gluten-free diets.
Can I reuse oil after coating has floated off in it?
No, discard oil immediately if coating has detached and floated into it. Floating coating carries raw chicken bacteria that spreads through the entire oil batch, creating a food safety risk. Reuse oil only if it remains clear, odorless, and free of food particles, and limit reuse to 4 to 5 frying cycles per manufacturer guidelines to avoid oil degradation.
Why does my chicken coating fall off only when frying bone-in pieces?
Bone-in pieces have irregular, uneven surfaces that make coating adhesion harder than smooth boneless cuts. Use a double dredge method: dip chicken in flour, then egg wash, then flour again, then final coating. Rest coated bone-in pieces for 15 minutes before frying, and avoid moving them for the first 3 minutes of frying to let the coating set fully, as outlined in the decision guide earlier.


