
Simple How to Get Breading to Stick to Fried Chicken
Here's how to get breading to stick to fried chicken: dry the surface, press the coating on firmly, and rest the pieces before they hit the oil.
Miss any one of those three, and the crust lifts off in sheets, usually mid-flip. In our research across food science texts and test-kitchen methods, almost every adhesion failure traces back to those same three steps.
The stakes are real. USDA guidance sets poultry's safe internal temperature at 165°F (74°C), so a crust that fails halfway means longer cooking and greasier meat. The fixes cost nothing and take minutes.
Start with why coatings let go, because the symptom tells you which step you skipped.

Image source: Wikimedia Commons / Gaurav Dhwaj Khadka (CC BY-SA)
How to Get Breading to Stick to Fried Chicken: The 30-Second Answer
How to get breading to stick to fried chicken comes down to four moves. Pat the chicken completely dry before dredging. Press the seasoned flour on firmly so it bonds.
Rest the breaded pieces 10 minutes before frying. Then fry at 325 to 350°F without crowding the pan.
Why Breading Falls Off Fried Chicken in the First Place
Breading doesn't fail at random. It responds to three variables: surface moisture, bonding mechanics, and oil heat. Get one wrong and the crust lets go at that exact stage.
The Moisture Problem Nobody Talks About
Wet chicken repels flour. Raw poultry carries surface water, and marinades leave a slick film that dry flour can't grip. The coating needs a tacky surface, not a soaked one.
Pat the pieces dry with paper towels until the skin feels dry to the touch. If you've brined or marinated, shake off the excess first, then blot. You want a thin, even film of moisture, never puddles.
Salt helps here too. Salting the meat 30 minutes ahead draws moisture out, then the meat reabsorbs it, leaving the surface tacky and seasoned. Food scientists call the extracted protein myosin, and it acts like glue for the coating.
What Actually Bonds Coating to Chicken
Adhesion is mechanical and chemical at the same time. Flour hydrates against that moist protein surface and forms a paste. Heat then gelatinizes the starches and sets the gluten into a rigid lattice.
That's why the crust turns crisp instead of pasty.
Pressure decides how strong the bond gets. A light dusting just sits on top. A firm press forces flour into every crevice and locks it in.
References like Harold McGee's On Food and Cooking treat this as basic starch chemistry, not luck.
Craggy texture adds anchor points. Those shaggy ridges on great fried chicken aren't cosmetic. They're extra surface area gripping the meat underneath.
Why Oil Temperature Makes or Breaks the Crust
Oil below 325°F dissolves the bond instead of setting it. Cool oil seeps into the coating before the starches can set, and the crust saturates, sags, and slides. That's how batches end up with bald spots and greasy meat.
Heat past 375°F causes the opposite problem. The outside scorches while the inside stays raw, and burnt patches flake away from the surface.
The working window is 325 to 350°F, measured with a thermometer, not guessed. Below it you also miss the Maillard reaction, the browning chemistry that builds golden color and flavor. Expect the temperature to drop 25 to 50°F when the chicken goes in, so preheat slightly higher and adjust the flame between batches.
Diagnose Your Failure Point Before You Change Anything
Don't change your recipe yet. Find out when the coating fails, because each failure point points to a different missing step. Match your last batch to the symptom below, then apply the paired fix.
Breading Slides Off Before the Chicken Hits the Oil
If the coating rubs off between cutting board and skillet, the surface was too wet or too slick. Work down this list:
- If marinade pools on the surface, shake off the excess and blot the pieces dry.
- If the flour won't grab at all, add a thin binder layer, like a milk dip or beaten egg.
- If you never salted ahead, salt the chicken 30 minutes before dredging so the surface turns tacky.
Crust Lifts Off in Sheets During Frying
If whole patches peel away in the oil, the coating never bonded before the heat hit. Then run these checks:
- If you dusted lightly instead of pressing, press the flour on firmly for five seconds per side.
- If pieces went straight from dredge to oil, rest them 10 to 15 minutes so the coating hydrates and sets.
- If the oil ran cool, verify 325 to 350°F with a clip-on thermometer before every batch.
Coating Turns Soggy After Cooking or Reheating
Sogginess after cooking is a draining problem, not a recipe problem. Steam is the culprit, and it comes from three habits:
- If bottoms go soggy on paper towels, drain on a wire rack set over a sheet pan instead.
- If stacked pieces soften, hold finished chicken in a single layer in a 200°F oven.
- If reheated crust goes limp, rewarm it uncovered in a 400°F oven or air fryer, never the microwave.
Match the Fix to Your Coating System
Every coating system fails differently, so each one gets its own correction. Find yours below.
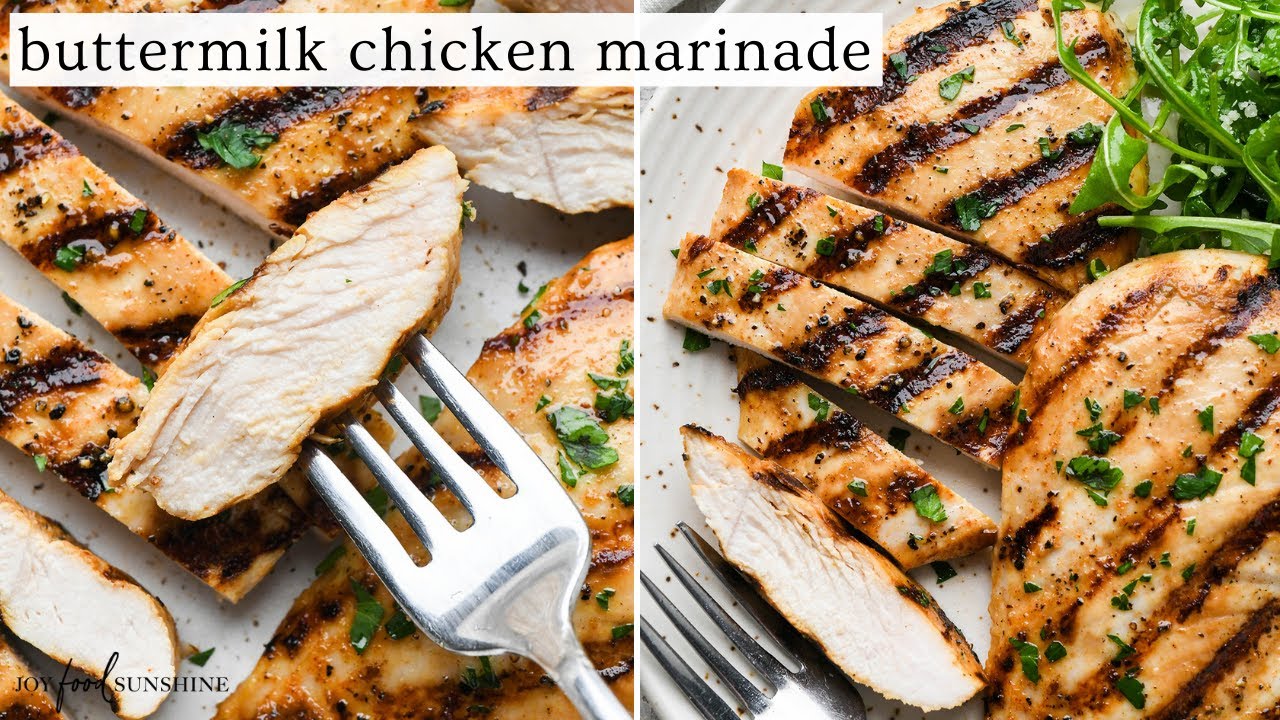
Image source: YouTube / JoyFoodSunshine (YouTube thumbnail (fair-use with source credit))
Buttermilk-Soaked Chicken: Drain, Don't Wipe
Buttermilk does double duty. Its acid tenderizes the meat, and its milk proteins give the flour something to grip. That's why Southern-style recipes lean on it so heavily.
The classic mistake is wiping the chicken dry after the soak. Drain the pieces well and shake off the excess, but leave the thin, tacky film behind. That film is the glue.
Press the seasoned flour on hard, and consider a double dredge: back into the buttermilk, then into the flour again. The second coat builds the shaggy crust that survives flipping.
Egg Wash Dredge: Thin Beats Thick
A thick egg layer slides. A thin one grips. Beat one or two eggs with a spoonful of water or milk, then let the excess drip off for a few seconds before the flour bowl.
Chefs call the full flour-egg-crumb sequence the standard breading procedure, though fried chicken usually stops at the flour stage. Pair the wash with a blend cut with cornstarch, roughly three parts flour to one part starch. Test-kitchen methods favor this combo for tenders and sandwich fillets because it sets into a glassy, extra-crisp shell.
Flour-Only, No Binder: Build Grip Into the Mix
No binder? Make the flour itself sticky. Three options work:
- Cut the flour with 10 to 25 percent cornstarch, which sets harder than wheat starch alone.
- Use self-rising flour, whose leavening puffs the crust away from the grease.
- Try the water-dip method: dip the chicken in cold water, let the excess run off, then dredge in heavily seasoned flour. The water and flour form a paste that sets in the oil.
For gluten-free versions, rice flour behaves much the same way once pressed and rested. Either way, season aggressively. With no marinade underneath, the coating carries all the flavor.
The Full Workflow That Locks Breading On
Run the steps in order and the coating has no reason to let go. Skip one and you'll know exactly where things broke.
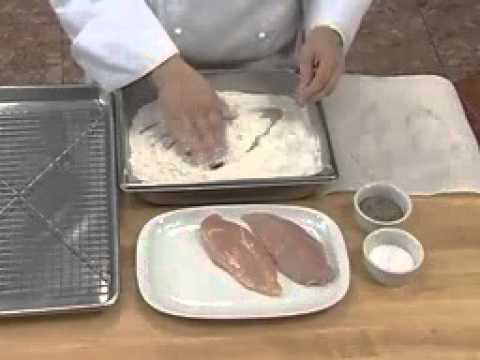
Image source: YouTube / raine (YouTube thumbnail (fair-use with source credit))
Prep: Dry Surface, Salted Meat
Start with paper towels and pressure. Blot every piece until the surface feels dry, then salt it directly or submerge it in buttermilk. A buttermilk soak runs 4 to 24 hours in the refrigerator.
A quick salt-only rest needs just 30 minutes.
Either route ends the same way: drained, blotted, and tacky, never dripping.
Dredge: Press Firmly, Keep One Hand Wet and One Dry
Dredging simply means dragging wet food through dry coating so it adheres. Set up two bowls, wash on the left, seasoned flour on the right. Use your wet hand for the chicken and your dry hand for the flour.
Alternating hands keeps the dredge from clumping into glue.
Press the flour into each piece for about five seconds per side, then shake off the loose stuff. For a thicker crust, dip back through the wash and repeat. That double dredge is what stands behind Korean and Nashville-style coatings.
Rest: The 10-Minute Wait Most Cooks Skip
Freshly dredged chicken sheds coating because the flour is still dry and loose. Give it 10 to 15 minutes at room temperature and the flour hydrates against the surface, turning from dust into glue.
Resting longer than 30 minutes? Refrigerate the pieces, uncovered. Covered trays trap condensation, and condensation undoes everything you just fixed.
Fry: Batch Size, Flip Timing, and Rack Draining
Heat 1 to 1.5 inches of neutral oil, like peanut or canola, in a heavy skillet or Dutch oven. Clip a thermometer to the side and hold 325 to 350°F. When the chicken goes in, expect a drop of 25 to 50°F and nudge the flame back up.
Fry in small batches with room between pieces. Crowding crashes the oil temperature and steams the crust loose. Flip every few minutes, pulling bone-in pieces after 12 to 18 minutes and tenders after 6 to 10.
Chicken is done at 165°F internal, per the USDA Food Safety and Inspection Service, a threshold unchanged as of 2026. Verify it with an instant-read thermometer in the thickest piece. Many cooks take dark meat closer to 175°F for better texture.
Drain on a wire rack and salt while hot.
| Step | Key Move | Time |
|---|---|---|
| Dry and salt | Blot dry, salt the surface | 30 minutes |
| Marinate (optional) | Buttermilk soak, refrigerated | 4 to 24 hours |
| Dredge | Press flour firmly, shake off excess | 5 seconds per side |
| Rest | Uncovered at room temperature | 10 to 15 minutes |
| Fry | 325 to 350°F, small batches | 12 to 18 minutes |
| Drain | Wire rack, salt while hot | Immediately |
Which Binder and Starch Combo Actually Works Best
There's no single best binder. The right combo depends on what you're frying and how much crunch you want. Here's how the main setups stack up.
| Setup | Adhesion | Crunch | Best For |
|---|---|---|---|
| Buttermilk + seasoned flour | Strong | Classic craggy | Bone-in pieces |
| Egg wash + flour-cornstarch blend | Strongest | Extra crisp | Tenders, sandwich fillets |
| Milk wash + self-rising flour | Moderate | Light, tender | Quick weeknight fry |
| Water dip + rice flour | Moderate | Shattery crust | Gluten-free versions |
Buttermilk wins for whole birds because the soak tenderizes while it binds. Egg wash wins for skinless cuts, where there's no skin helping with grip. Self-rising flour suits cooks who want speed over maximum crunch.
Rice flour earns its own mention. It contains no gluten, so it sets brittle instead of chewy. That's why Japanese katsu and gluten-free recipes both lean on it.
Blend it half-and-half with cornstarch for an even glassier shell.
Unsure where to start? Go buttermilk and seasoned flour. It's the most forgiving system, and every fix in this guide maps straight onto it.
Mistakes That Break the Bond Every Time
Most adhesion failures trace back to a handful of repeat offenders. Test-kitchen methods keep surfacing the same eight. Check your last batch against this list.
- Wiping the marinade off completely. You want the excess gone, not the film. A tacky sheen is the glue.
- Dusting instead of pressing. Loose flour sits on top and slides at the first flip. Five seconds of firm pressure per side fixes it.
- Covering breaded chicken while it waits. Plastic wrap traps condensation, and condensation dissolves the bond you just built. Rest uncovered, always.
- Crowding the pan. Too many pieces crash the oil below 300°F fast. Cool oil steeps the coating loose instead of setting it.
- Flipping constantly. Every early flip tears the crust before it sets. One or two flips, max.
- Draining on paper towels. Trapped steam softens the underside within minutes. A wire rack keeps air moving underneath.
- Under-seasoning the flour. In a flour-only system, the coating carries most of the flavor. Season it like you mean it.
- Reusing a clumpy dredge. Once the flour turns pasty, it coats unevenly and falls off unevenly. Mix fresh.
Pro Tips for a Restaurant-Style Craggy Crust
Those pebbly ridges on great fried chicken aren't luck. Cooks build them deliberately, and the tricks are simple enough for any home kitchen.
Make Crunchy Bits From Hot Oil
Ladle two or three tablespoons of hot frying fat into your seasoned flour and work it in with a fork. The fat forms small clumps that fry into extra-craggy nuggets. Press them onto the chicken during the second dredge.
Drizzle Buttermilk Into the Flour
A few tablespoons of buttermilk stirred into the dredge creates shaggy clusters. Those clusters hydrate against the chicken and fuse into the crust. It's the classic Southern double-dredge texture.
Try Wondra for a Thin Shell
Wondra instant flour is pregelatinized, so it hydrates instantly and sets fast. Aggregate reviews report it produces a delicate, cracker-thin crust on pan-fried cutlets. Use it straight or blended with all-purpose.
Rest Breaded Pieces on a Rack
Give dredged pieces their 10-minute rest on a wire rack instead of a plate. Air moves underneath, the surface dries slightly, and the coating tightens its grip. A slightly dried coating also splatters less when it hits the oil.
Temps, Times, and Ratios Worth Writing Down
Frying rewards precision, and precision means numbers. Clip a thermometer to your pot and keep this chart within reach.
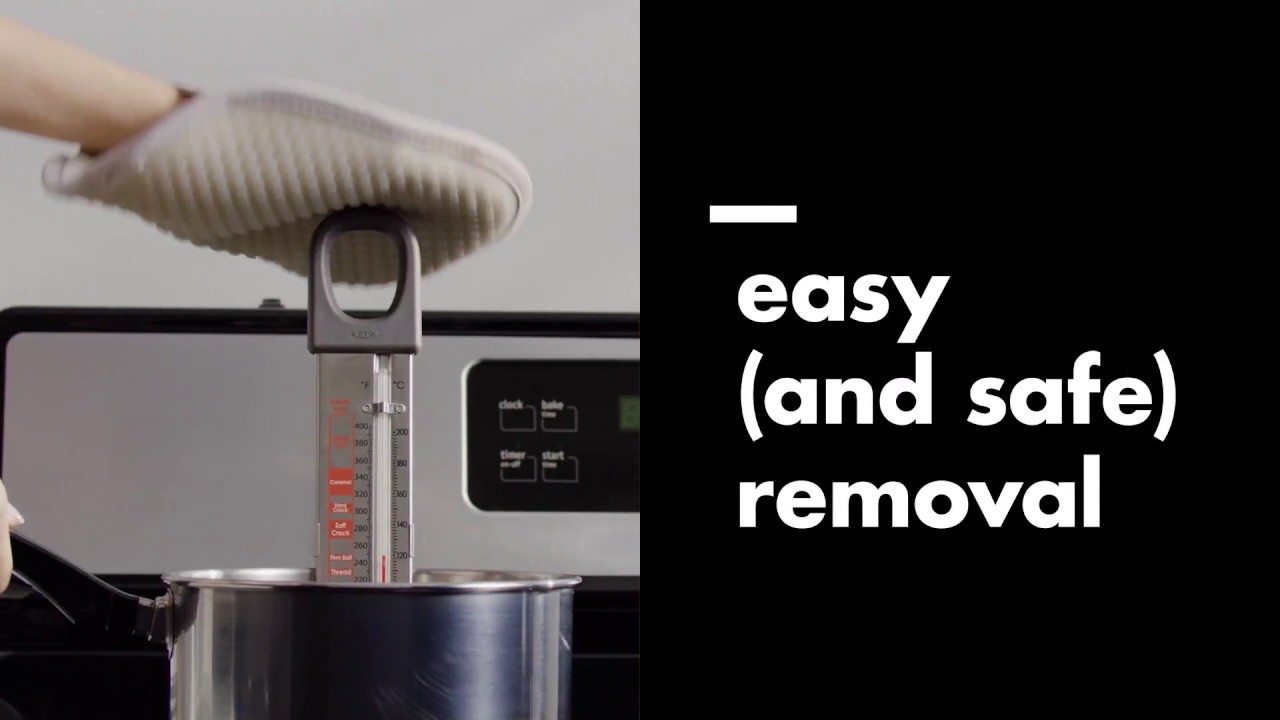
Image source: YouTube / OXO (YouTube thumbnail (fair-use with source credit))
| Measurement | Value |
|---|---|
| Frying temperature | 325 to 350°F (163 to 177°C) |
| Expected temp drop per batch | 25 to 50°F |
| Safe internal temperature | 165°F (74°C) |
| Dark meat sweet spot | 175 to 185°F |
| Bone-in fry time | 12 to 18 minutes |
| Tenders and cutlets | 6 to 10 minutes |
| Flour-to-cornstarch ratio | 3:1 |
| Cornstarch share of blend | 10 to 25 percent |
| Oil depth, shallow fry | 1 to 1.5 inches |
| Pre-fry rest | 10 to 15 minutes |
| Holding oven | 200 to 225°F |
Two numbers matter most. Hold the oil steady in its window, and pull the chicken at its target internal temp. Everything else just fine-tunes texture.
Food Safety Basics While You Fry
Adhesion technique never outranks safe handling. Raw poultry demands clean separation, exact temperatures, and real respect for hot oil.
- Keep raw chicken isolated. Use a dedicated cutting board and scrub hands for 20 seconds afterward. Per FoodSafety.gov guidance, anything raw chicken touched needs hot, soapy water before it meets cooked food.
- Verify doneness by temperature, not color. Juice clarity and crust color both lie. An instant-read thermometer in the thickest piece is the only honest check.
- Never pour water on an oil fire. Water superheats and erupts, spreading burning grease across the kitchen. Smother the pot with a metal lid, or dump baking soda on small flames.
- Retire smoking oil immediately. Oil pushed past its smoke point breaks down and turns acrid. Toss it, cool the pan, start fresh.
- Reuse oil carefully. Strain cooled oil through a fine sieve, refrigerate it, and use it within three or four days. Anything dark, cloudy, or off-smelling goes straight out.
FAQs About Getting Breading to Stick
Can I Bread Chicken Ahead of Time?
Yes, up to a few hours ahead. Rest the breaded pieces uncovered on a wire rack in the refrigerator so air keeps the surface dry. Beyond that, the coating absorbs moisture and starts to lift.
Why Does My Breading Fall Off When I Flip?
The crust wasn't set yet when you disturbed it. Starches need several minutes of steady heat to harden into a shell. Wait until the edges look golden and firm before the first flip.
Do I Need Eggs to Make Breading Stick?
No. Buttermilk, plain milk, or even cold water all work as binders. Eggs add the strongest grip, which is why they suit skinless tenders best.
How Long Should Chicken Rest After Dredging?
Ten to fifteen minutes at room temperature is the sweet spot. That's long enough for the flour to hydrate into glue. Past thirty minutes, refrigerate the pieces uncovered instead.
Why Is My Breading Soggy Underneath?
Paper towels trap steam against the hot crust. Drain on a wire rack set over a sheet pan instead. Air moving underneath keeps the bottom as crisp as the top.
Can I Save a Batch That Already Lost Its Coating?
Partly. Press the bare spots back through seasoned flour mixed with a spoonful of the pan fat, then return them to 350°F oil for two minutes. It won't match a fresh dredge, but it beats bald chicken.
The Decision Guide: Your Exact Fix at a Glance
Match your last failure to its fix below. One change per batch tells you exactly which step was slipping.
| Symptom | Root Cause | Your Fix |
|---|---|---|
| Coating rubs off raw | Surface too wet | Blot dry, salt 30 minutes ahead |
| Flour won't grab at all | No binder layer | Add milk dip or thin egg wash |
| Crust peels mid-fry | No bond formed | Press firmly, rest 10 to 15 minutes |
| Greasy, sagging crust | Oil too cool | Hold 325 to 350°F, fry smaller batches |
| Bald spots after flipping | Flipped too early | Wait for golden, set edges |
| Soggy bottoms | Steam trapped | Wire rack draining, single-layer holding |
| Limp leftovers | Microwave reheating | Rewarm uncovered at 400°F |
Run the full workflow once, end to end, and most of these fixes become automatic. Dry surface, firm press, patient rest, honest oil temperature. That's the whole game.


