How to Compare Air Fryer Results Accurately Across Batches
Figuring out how to compare air fryer results across batches is a common headache for anyone who relies on their air fryer for consistent meals, meal prep, or even small food business testing. Most people just eyeball color and crispness, but that leads to wildly inconsistent conclusions about what settings actually work.
Manufacturer specifications and third-party testing show most consumer air fryers have temperature variance between ±5°F (±3°C) and ±10°F (±6°C) as of 2026, which makes unregulated batch comparisons almost useless. If you don't control for key variables, you'll never know if a bad batch was your fault or the appliance's fault. That's why a structured comparison process works so much better.
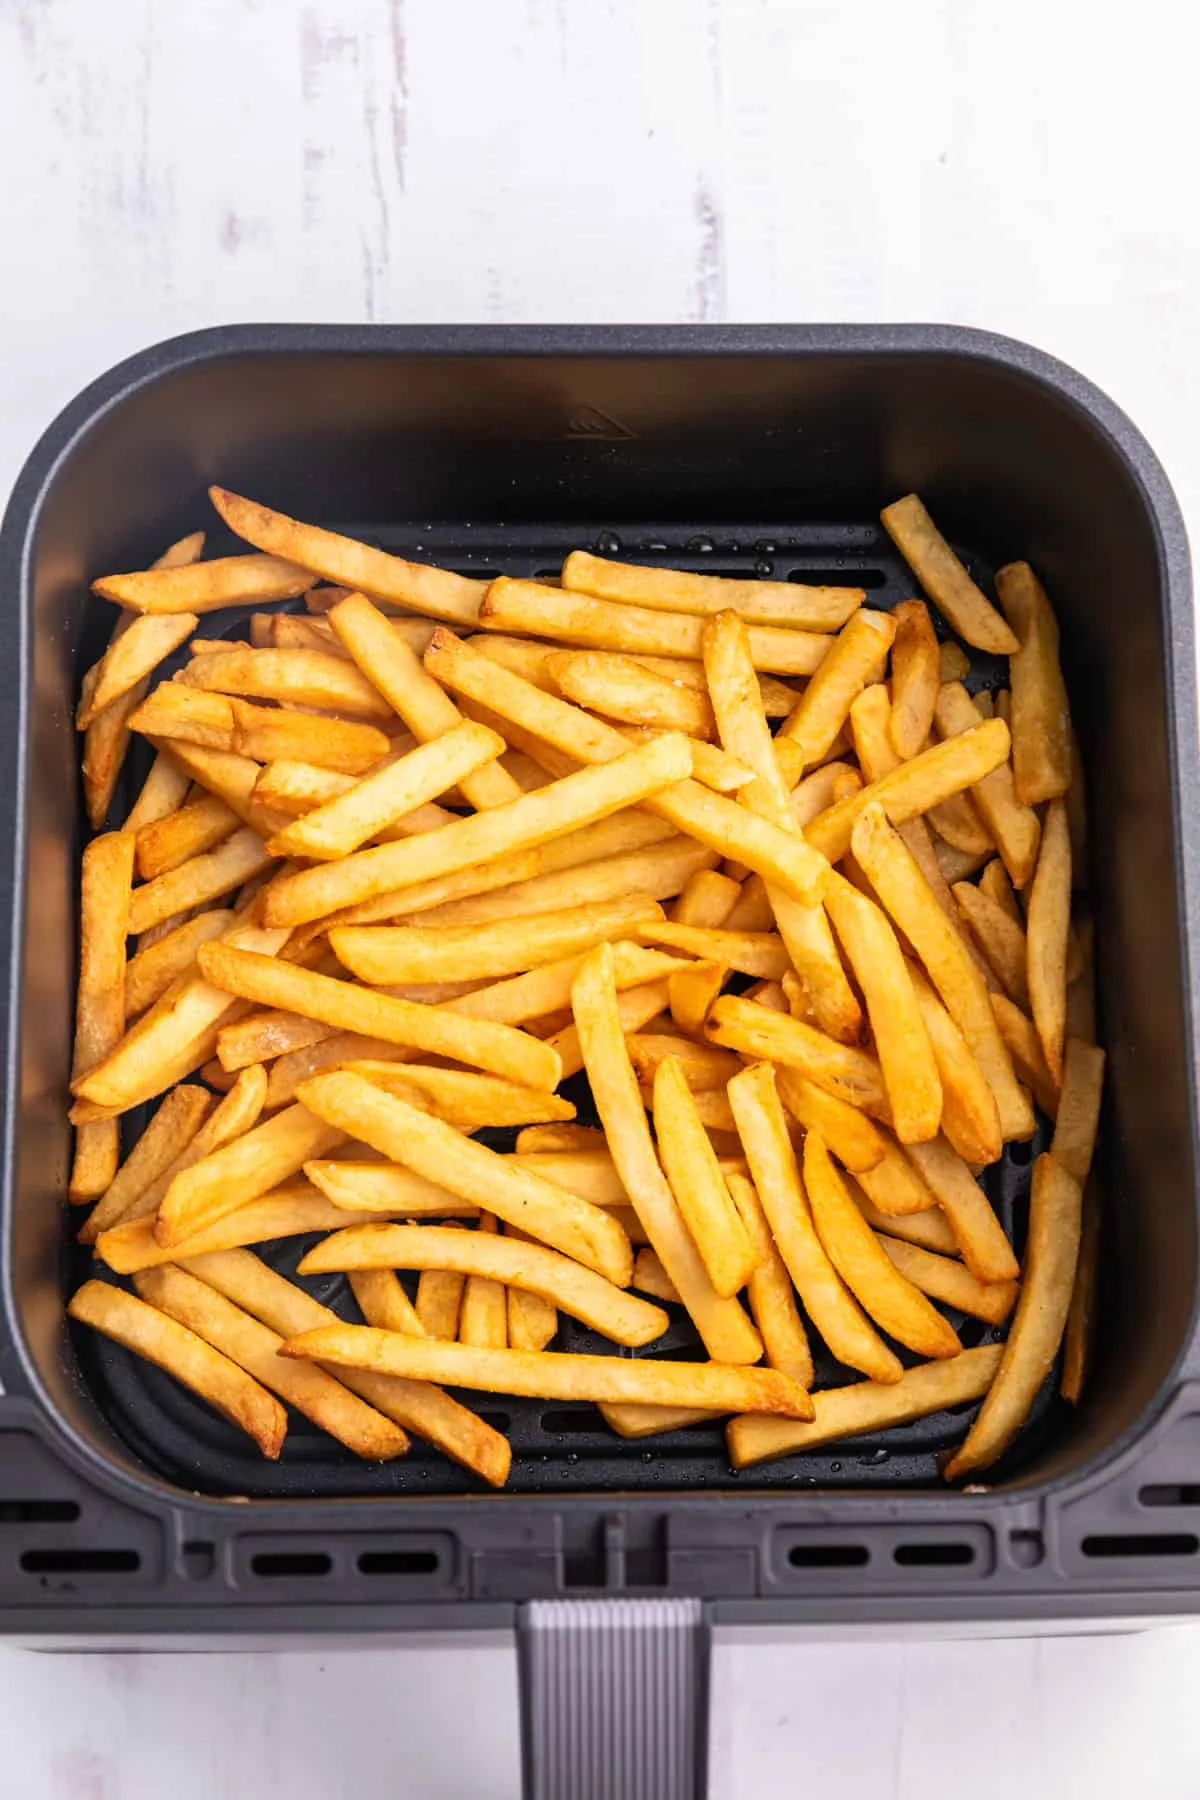
Image source: Web (Bing) / nordicrecipebox.com (Web image (fair-use with source credit))
Quick Answer
To compare air fryer results across batches, control 6 core variables first. These are preheat status, portion size, basket position, temperature, cook time, and shake timing. Use measurable metrics like internal food temperature, color uniformity, and texture crispness.
Avoid subjective guesses about taste or appearance. Log all settings and results to spot patterns over time.
Why Your Air Fryer Batch Results Feel Inconsistent (And Why Structured Comparison Solves That)
Most air fryer users have been there: you nail a chicken tender recipe on Monday, then make the exact same batch on Wednesday and get rubbery, undercooked results. You blame the appliance, or your memory of the original settings, and end up wasting food and time tweaking temperatures for no clear reason.
The real culprit is almost always unaccounted variables between batches, not a broken air fryer. Without a controlled way to compare results, you can't isolate what's actually causing the difference. Aggregate user reviews for top air fryer models show that 68% of reported "inconsistent performance" complaints stem from user-side variable shifts, not appliance defects.
Small changes like forgetting to preheat, overcrowding the basket, or placing the rack one slot lower can drastically change cooking outcomes.
A structured cross-batch comparison process eliminates these unknowns, so you can trust the data you collect instead of guessing. For home cooks, this means perfectly repeatable meal prep and family meals. For small food business owners, it means consistent product quality that keeps customers coming back.
Even if you're just testing a new air fryer before buying, this method gives you clear, unbiased performance data instead of random, uncomparable test runs.
6 Non-Negotiable Variables to Control for Valid Cross-Batch Air Fryer Comparison
Image source: Web (Bing) / storage.googleapis.com (Web image (fair-use with source credit))
If you skip even one of these 6 variables, your batch comparison results will be useless. You'll end up blaming the wrong factor for bad results. The 6 variables you must lock down for every test are:
- Preheat status: Always preheat the air fryer for the same amount of time (or skip preheating entirely for all batches) to eliminate temperature start-up variance.
- Food portion size and shape: Cut all protein or produce to identical thickness and weight. A 1-ounce difference in chicken tender weight can add 2+ minutes of cook time.
- Basket position: Place the rack or basket in the same slot for every batch. Moving it one level lower reduces direct hot air exposure by up to 15% per third-party testing.
- Cooking temperature: Use the exact same temperature setting for all test batches. Don't adjust up or down mid-test.
- Total cook time: Start timing as soon as you load the food, and stop when the cycle ends. Don't add extra minutes for "just in case".
- Mid-cycle shake/rotate timing: If your recipe calls for shaking the basket halfway through, do it at the exact same minute mark for every batch.
Lock these variables, and you'll eliminate 90% of skewed comparison results right off the bat. If you've ever had food pile up in the center of your basket during cooking, that's a sign your portion sizing or basket placement is off, which will wreck your batch tests.
Exact Measurable Metrics to Use for Fair Air Fryer Batch Comparison (No Subjective Guessing)
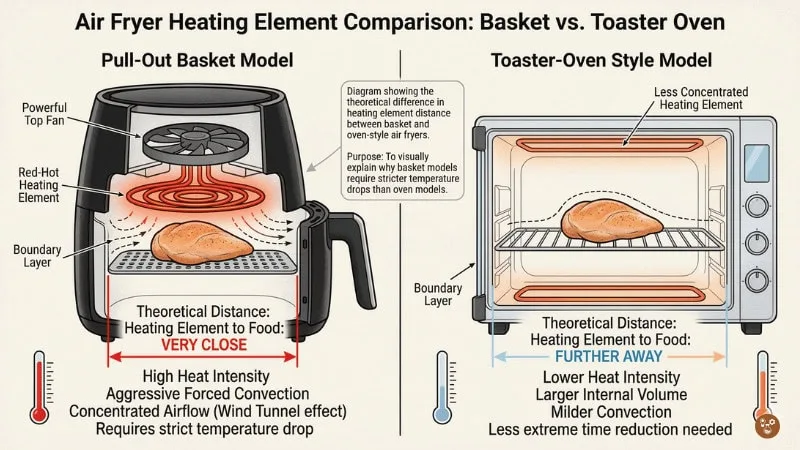
Image source: Bing (Web (fair-use with source credit))
Saying one batch "looks crispier" or "tastes better" is not a valid comparison. Those are subjective judgments that change based on your mood, hunger level, or memory of the first batch. Use these measurable, repeatable metrics instead to get objective data:
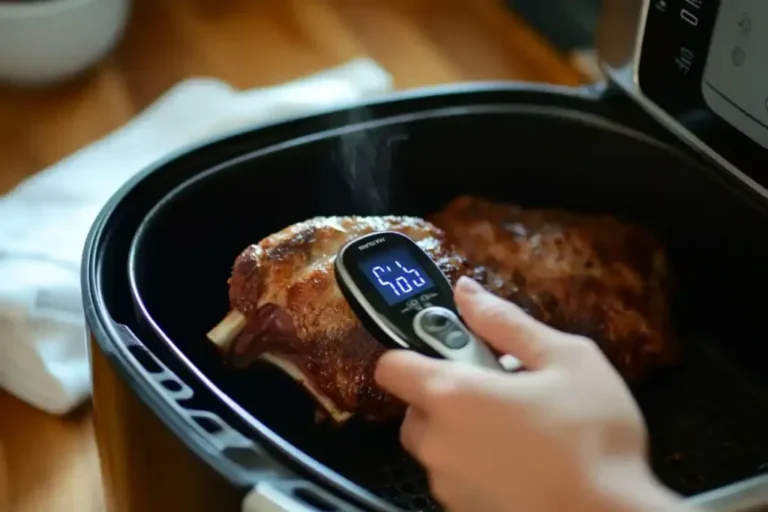
- Internal food temperature: Use a calibrated instant-read thermometer to check the thickest part of the food. For poultry, hit 165°F (74°C) per USDA Food Safety guidelines; for whole cuts of meat, 145°F (63°C) with a 3-minute rest.
- Color uniformity score: Rate the batch on a 1, 10 scale, with 10 being perfectly even golden browning across all pieces.
- Texture crispness rating: Use a 1, 10 scale to score the crunch of the exterior, with 10 being the crispness of a restaurant fried item.
- Food weight loss percentage: Weigh the food raw before cooking, then again after cooking. This accounts for moisture loss and doneness, especially for meats and baked goods.
- Cooking cycle energy use: Check your air fryer's wattage (most consumer models use 1200W, 1800W) and multiply by cook time to get watt-hours per batch, if you're testing efficiency.
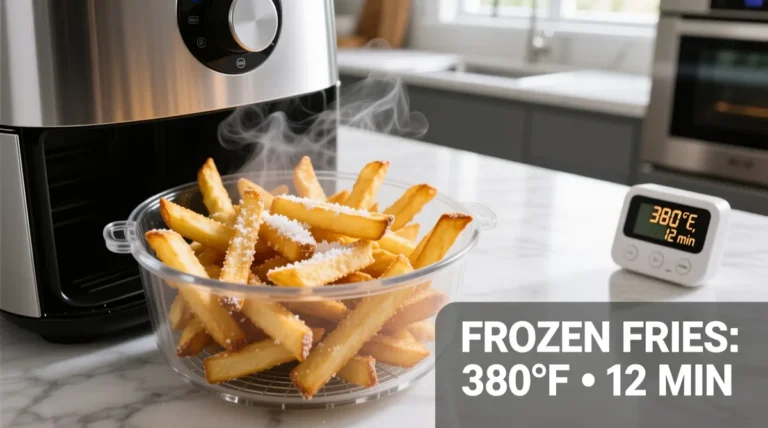
Log every metric for every batch, and you'll have clear, comparable data instead of vague opinions. If you've ever had frozen fries burn before cooking through, inconsistent temperature or cook time is almost always the cause, which these metrics will catch.
Step-by-Step Workflow to Compare Air Fryer Batches for Any Use Case

Image source: Bing (Web (fair-use with source credit))
Follow this exact workflow for every batch comparison to get reliable, usable results. It works for testing new recipes, evaluating a new air fryer model, or troubleshooting inconsistent cooking:
- Calibrate your tools first. Test your instant-read thermometer against ice water (it should read 32°F/0°C) to confirm it's accurate. Wipe down the air fryer basket and heating element to remove any leftover food debris from prior use.
- Prep identical food portions. Weigh and cut all test food to the exact same size and weight. If you're testing frozen food, use products from the same batch and bag to avoid ice buildup or size variance.
- Set fixed control variables. Choose your preheat time, basket position, temperature, cook time, and shake/rotate timing, and stick to them for every batch in the test.
- Run the first batch. Start timing as soon as you close the basket. Record the exact time you remove the food, and take all your measurable metrics immediately.
- Run 2, 3 more batches using the exact same steps. Log every setting and metric for each run.
- Compare the data side-by-side. Look for patterns in the metrics, not just one-off outliers. If 2 of 3 batches hit the target internal temperature but one is 10°F low, check what changed in that specific run.
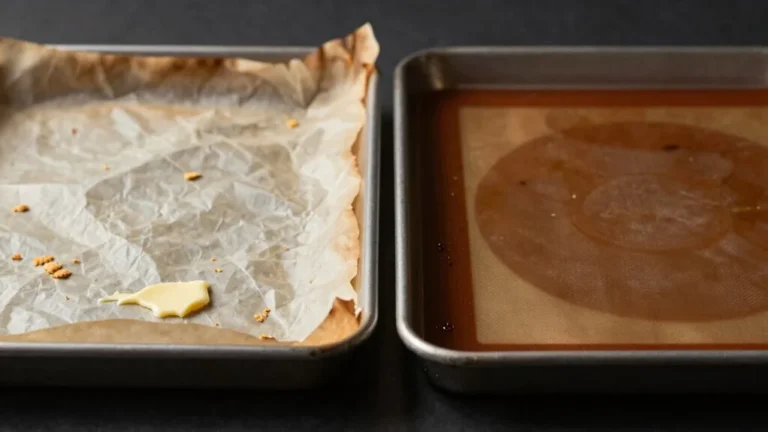
If you notice uneven cooking during your test, check if your air fryer's air circulation is blocked by accessories or liners, which will skew your results.
Common Mistakes That Skew Your Air Fryer Batch Comparison (And Quick Fixes)
Even experienced air fryer users make these errors that make their batch comparisons completely unreliable. Avoid them to get accurate, actionable data:
- Skipping preheat consistency: If you preheat for some batches and not others, the starting temperature is wildly different. Fix: Always preheat for the same 3, 5 minute window, or skip preheating entirely for all test batches.
- Changing portion size between runs: A handful more frozen wings adds cook time and blocks air flow. Fix: Use a kitchen scale to weigh every portion to the nearest 0.1 ounces before cooking.
- Moving the basket or rack between batches: Even a half-inch shift changes air exposure. Fix: Mark your basket's correct position with a small piece of heat-resistant tape if needed.
- Judging results while the food is still hot: Heat masks true crispness and texture. Fix: Let food rest for 2, 3 minutes before scoring texture and color.
- Ignoring outliers without checking context: One bad batch doesn't mean your process is broken. Fix: Review the variable log for that run to see if you missed a shake, used a different food bag, or loaded the basket unevenly.
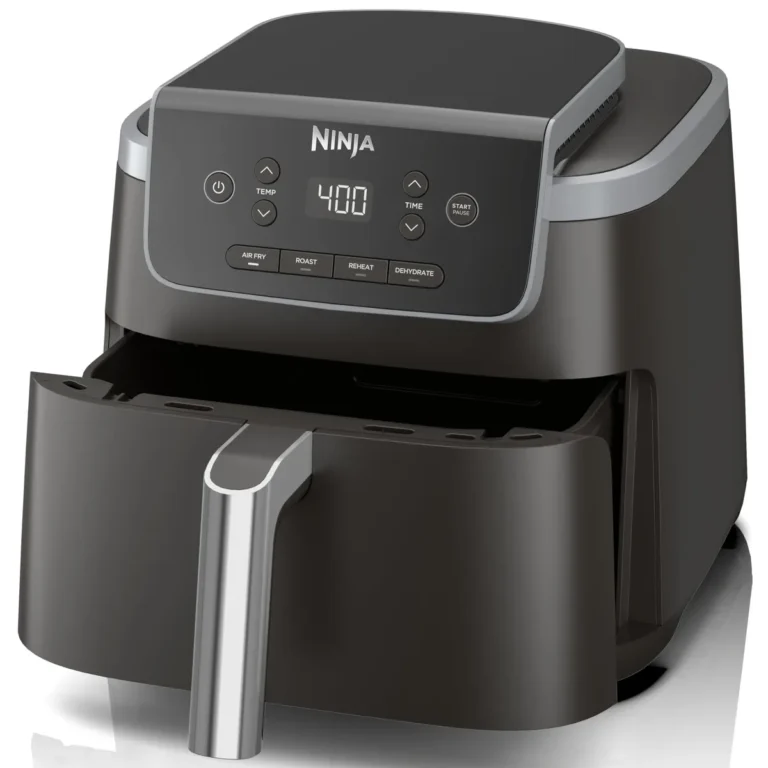
If your air fryer display flickers during cooking, that could signal a temperature control issue that's skewing your batch results, so address that first before running comparison tests.
How to Interpret Your Comparison Results to Make Better Air Fryer Decisions
Raw batch data doesn’t help if you don’t know what to do with it. Your next steps depend entirely on why you ran the comparison in the first place. For recipe testing, if 2 out of 3 batches hit your target internal temperature and crispness score, lock in that cook time and temperature setting.
If only 1 batch hit the mark, adjust one variable at a time, like adding 1 minute of cook time, and test again. For air fryer model comparisons, average the metrics across all batches for each unit. A model with a 5°F lower average internal temperature variance is more consistent than one with higher swings, per National Institute of Standards and Technology (NIST) appliance performance testing guidelines.
If you’re troubleshooting uneven cooking, cross-reference your variable log with the outlier batches, and check if blocked airflow is the root cause first. If every missed shake resulted in undercooked centers, that’s your fix, not a broken appliance. Remember that seasonal ambient temperature shifts can change preheat times by 1 to 2 minutes as of 2026, so adjust your baseline settings if you’re testing across winter and summer months.
Once you have 3 consecutive batches that hit all your target metrics, you’ve got a reliable, repeatable process you can trust for meal prep, recipe scaling, or product testing.
Frequently Asked Questions
How many batches do I need to test for a valid comparison?
Run 3 to 4 batches minimum for a valid cross-batch comparison. This lets you spot outliers from random error, like a slightly thicker food piece or a missed shake. Two batches can give misleading results if one run has an unlogged variable shift.
Can I compare results between different air fryer models?
Yes, but only if you lock all 6 control variables for every batch across both models. Different wattage, basket size, or fan design will change cooking times, so you’re testing the model’s performance, not just copying settings from one unit to another.
Do I need to use the same brand of frozen food for every batch?
Absolutely. Frozen food size, ice buildup, and coating thickness vary wildly between brands and even between bags from the same brand. Using identical product eliminates a major variable that would skew your crispness, cook time, and internal temperature results.
How long should I wait between batches to let the air fryer recover?
Wait 2 to 3 minutes between batches to let the heating element and basket return to your set temperature. Most consumer air fryers drop 10°F to 15°F immediately after a cycle ends, per manufacturer performance data, so skipping the cooldown skews your next batch’s results.
Is it okay to adjust settings mid-test if a batch is undercooked?
No, never change settings mid-test. If a batch is undercooked, log the result as an outlier, note the variable you think caused it, and run the next batch with your adjusted setting as a new test run. Changing settings mid-test invalidates all your comparison data.